falloween

*Original Post: October 14th, 2015

Today, I am going to show you how I decorate my home for fall/Halloween. I’m having a flashback moment and going back to my home in Savannah last year when I went ALL OUT for this glorious season/holiday. Some like to decorate strictly for fall and/or autumn while some prefer to decorate strictly for a spooky Halloween. I prefer to mix the two together. Falloween (copyright a yellow peach).

Step one: buy a TON of fall crap from any kind of decoration store (Michael’s, Hobby Lobby, etc.). It’s really amazing how many things you can get for such a low price at places like this, which is awesome considering these things really only live in your home for about 3-4 weeks. You can almost always find coupons online as well to help lower your price. So the fall things include, but are not limited to: strings of leaves, bags of plastic pumpkins, some kind of fall looking floral plant, metal vase to put fall looking floral things in (these are all the correct technical terms by the way), wooden church/house (unpainted), fall colored paints, paint brushes, mini pumpkin candles, stringy twigs with orange things on them, skeletons on twine, orange string of lights, and a wreath.

Step two: drink spooky wine (this part is easy). The wine was purchased from World Market. Or as I like to call it: Heaven. Seriously, this place is everything. I can never walk in and not leave with a full cart. Their online selection is awesome and they deliver quickly. Check out my Heaven here.
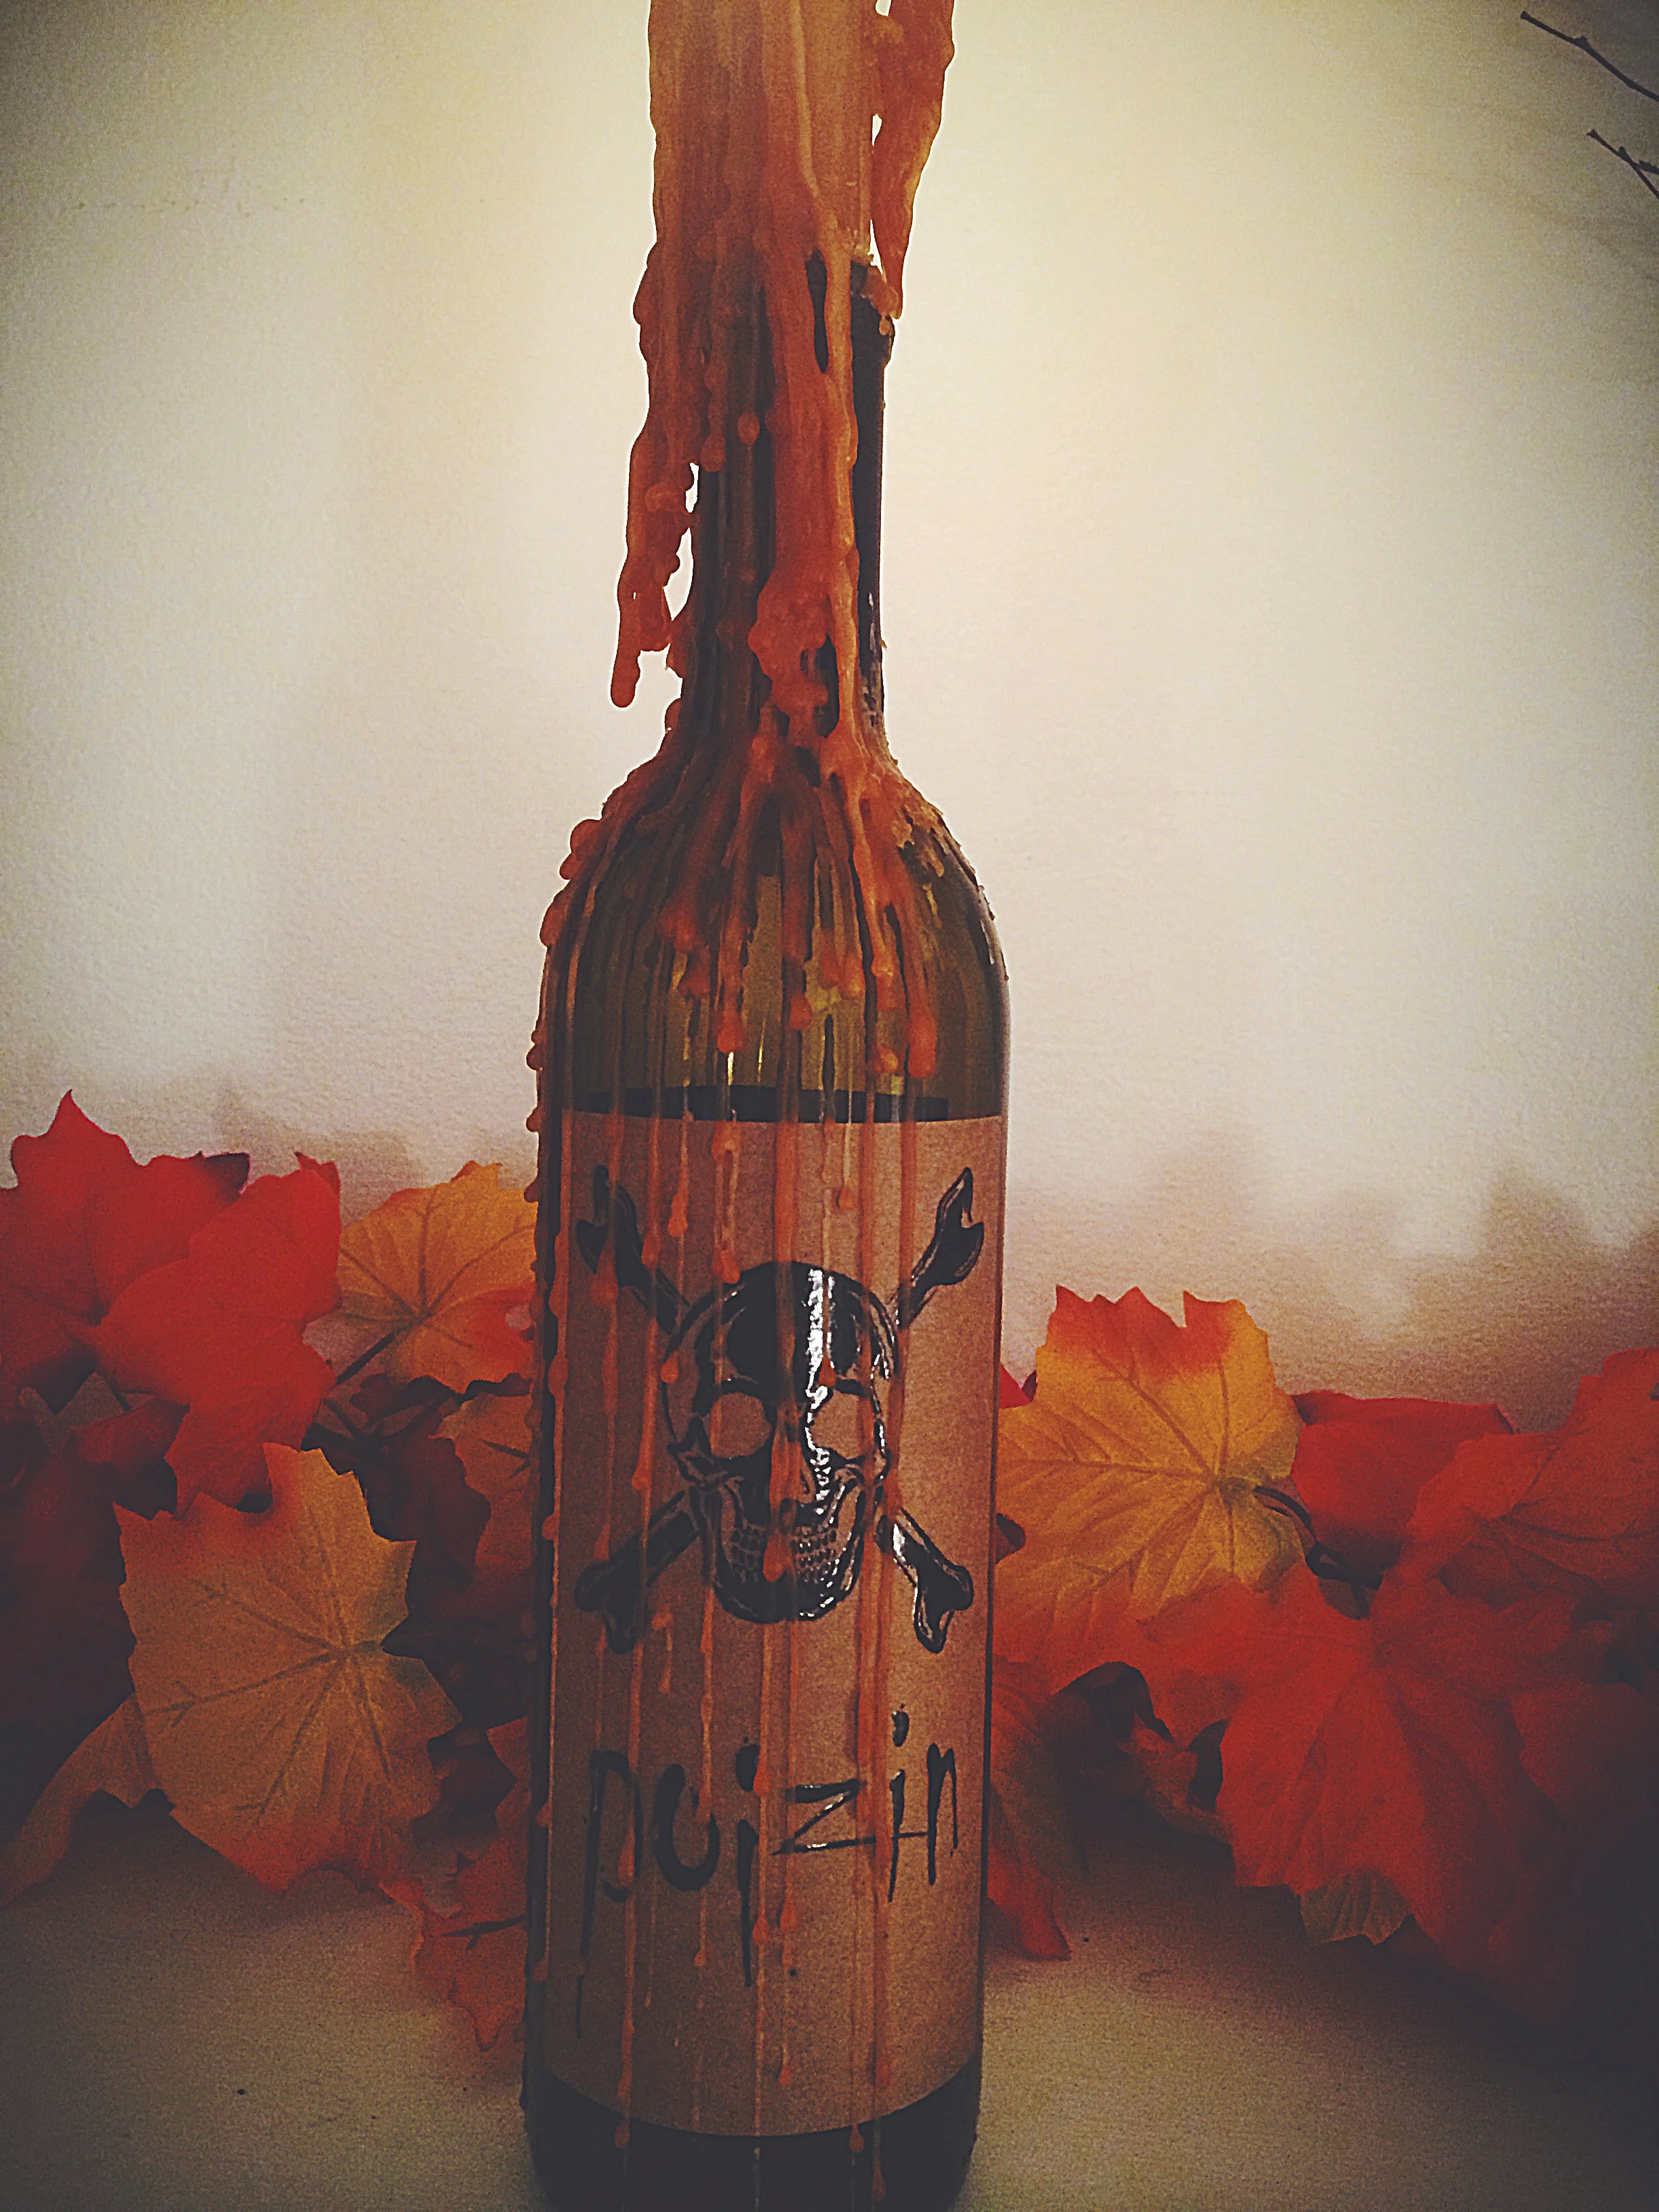
Step three: put candle in spooky wine and watch it get extra spooky.
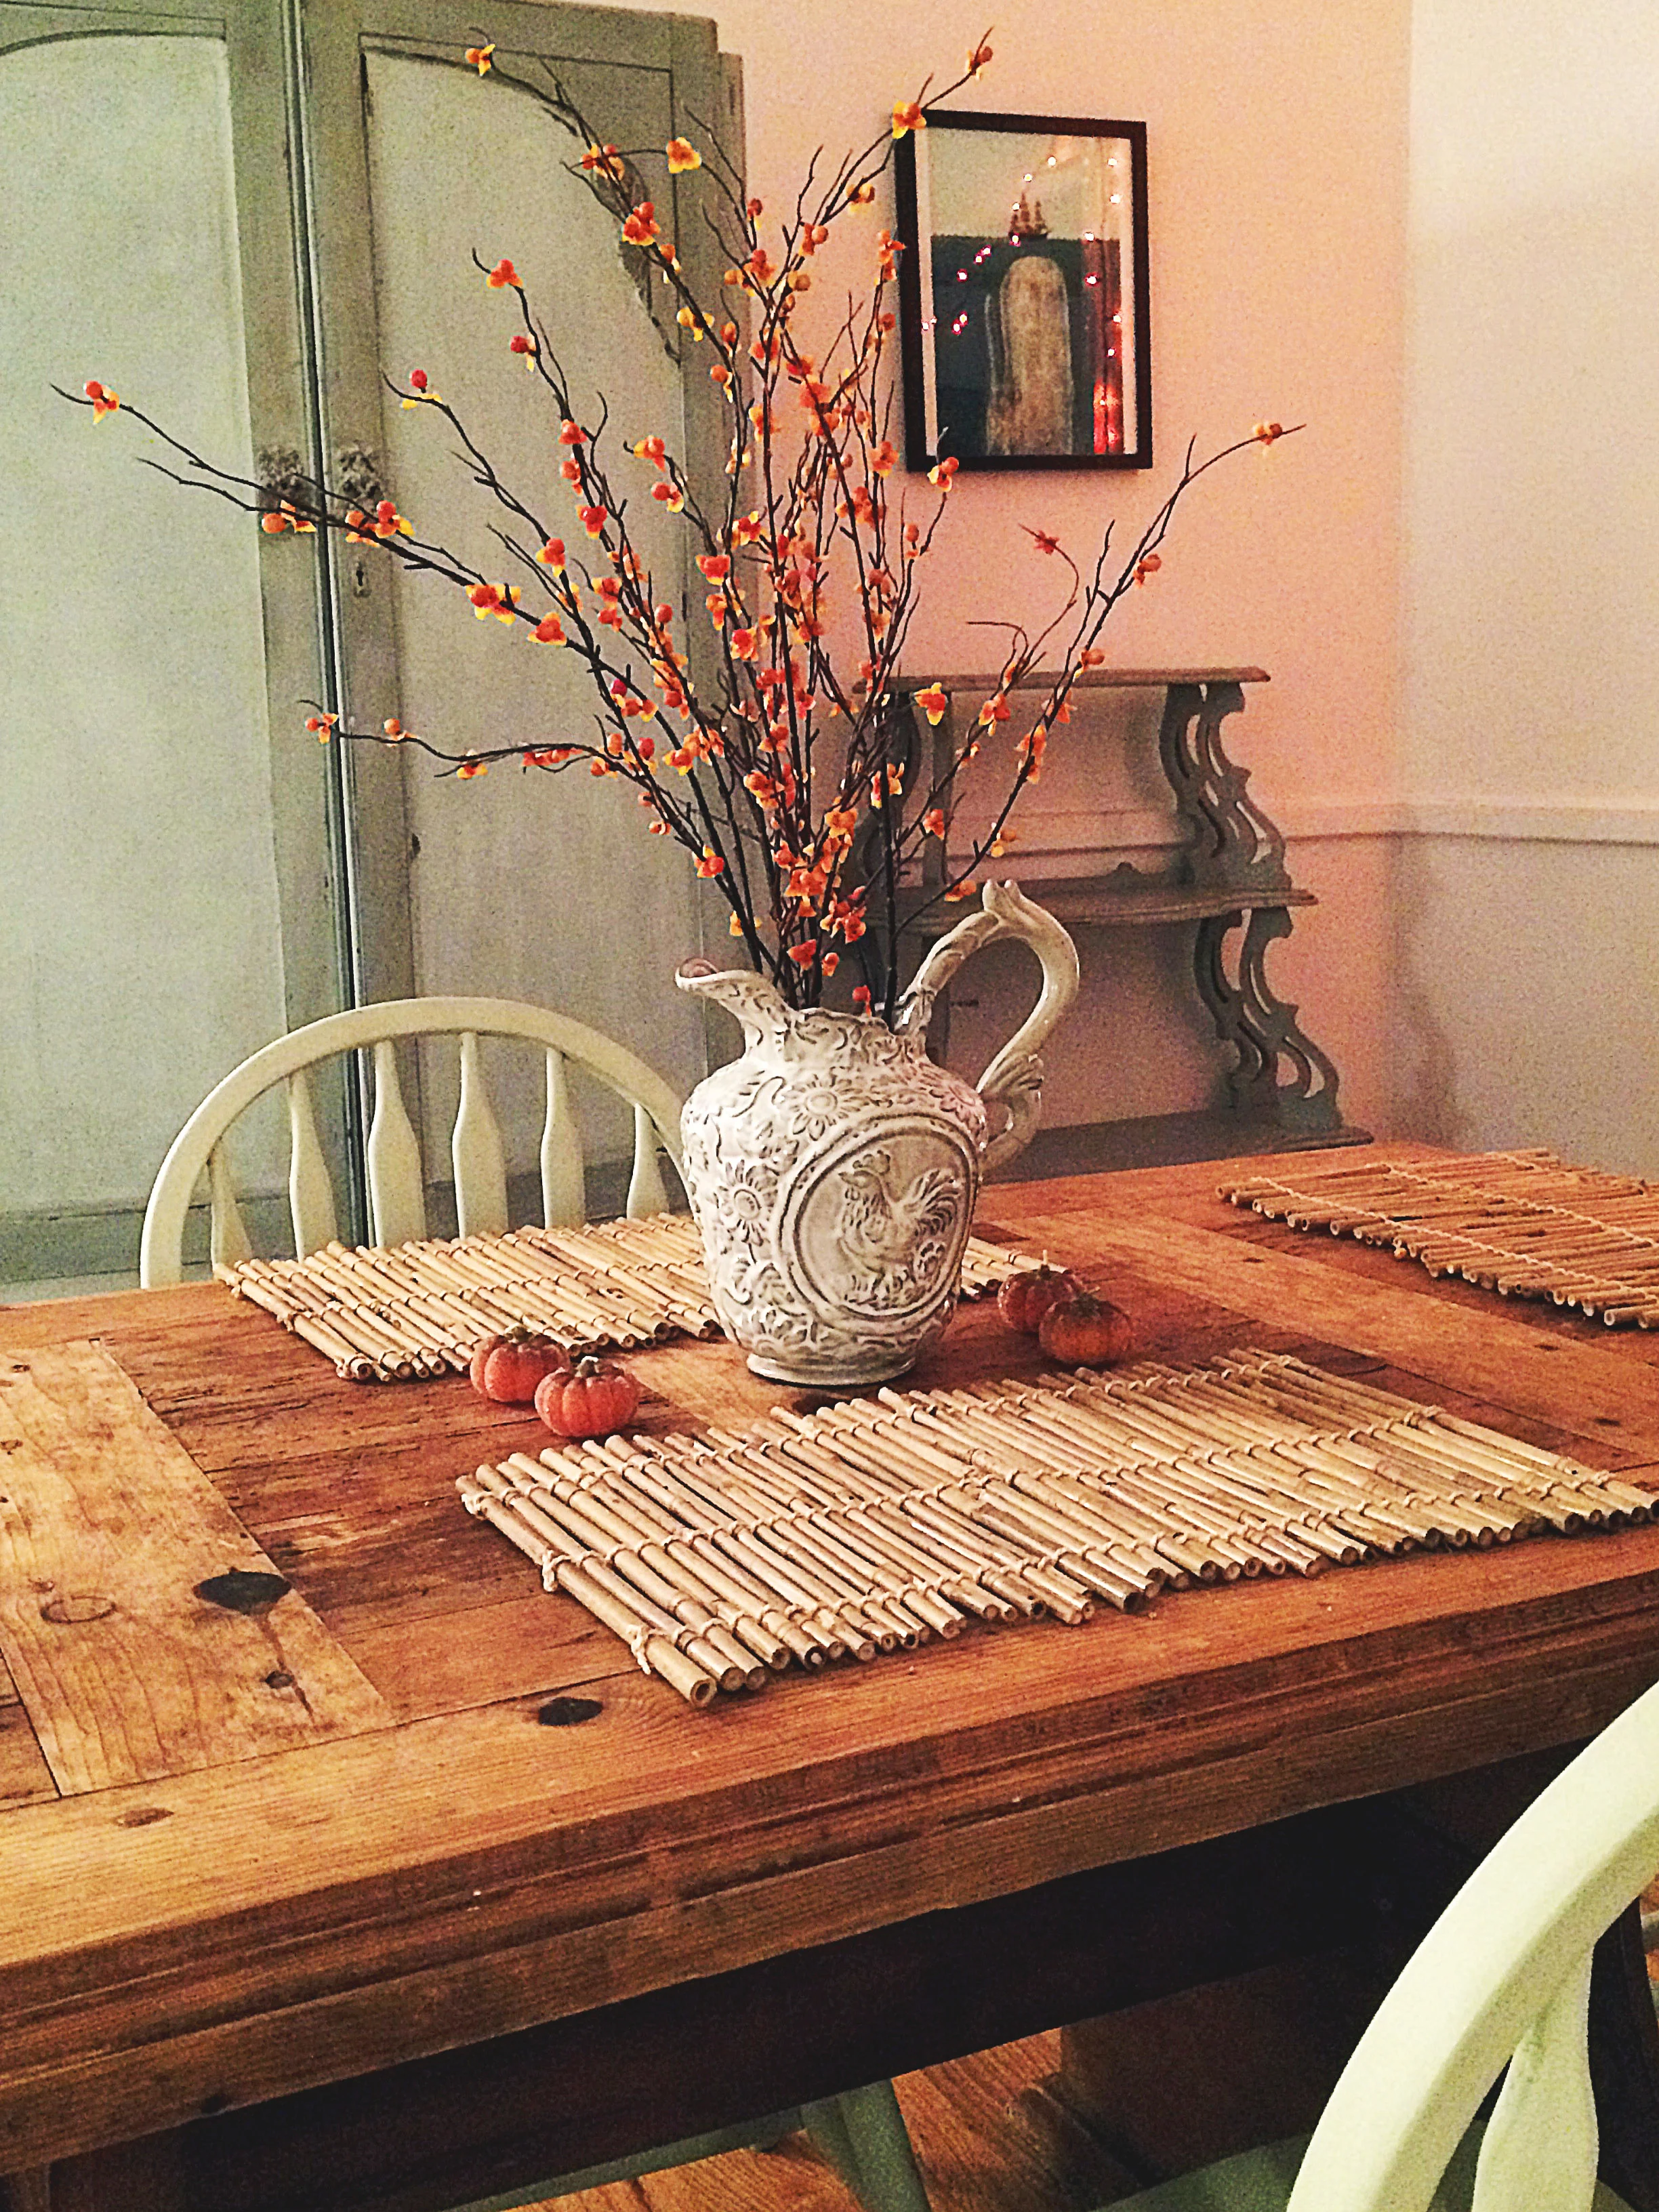
Step four: assemble some goodies as a centerpiece for your dining room table. This is where the cute little pumpkin candles and stringy twigs come into play.
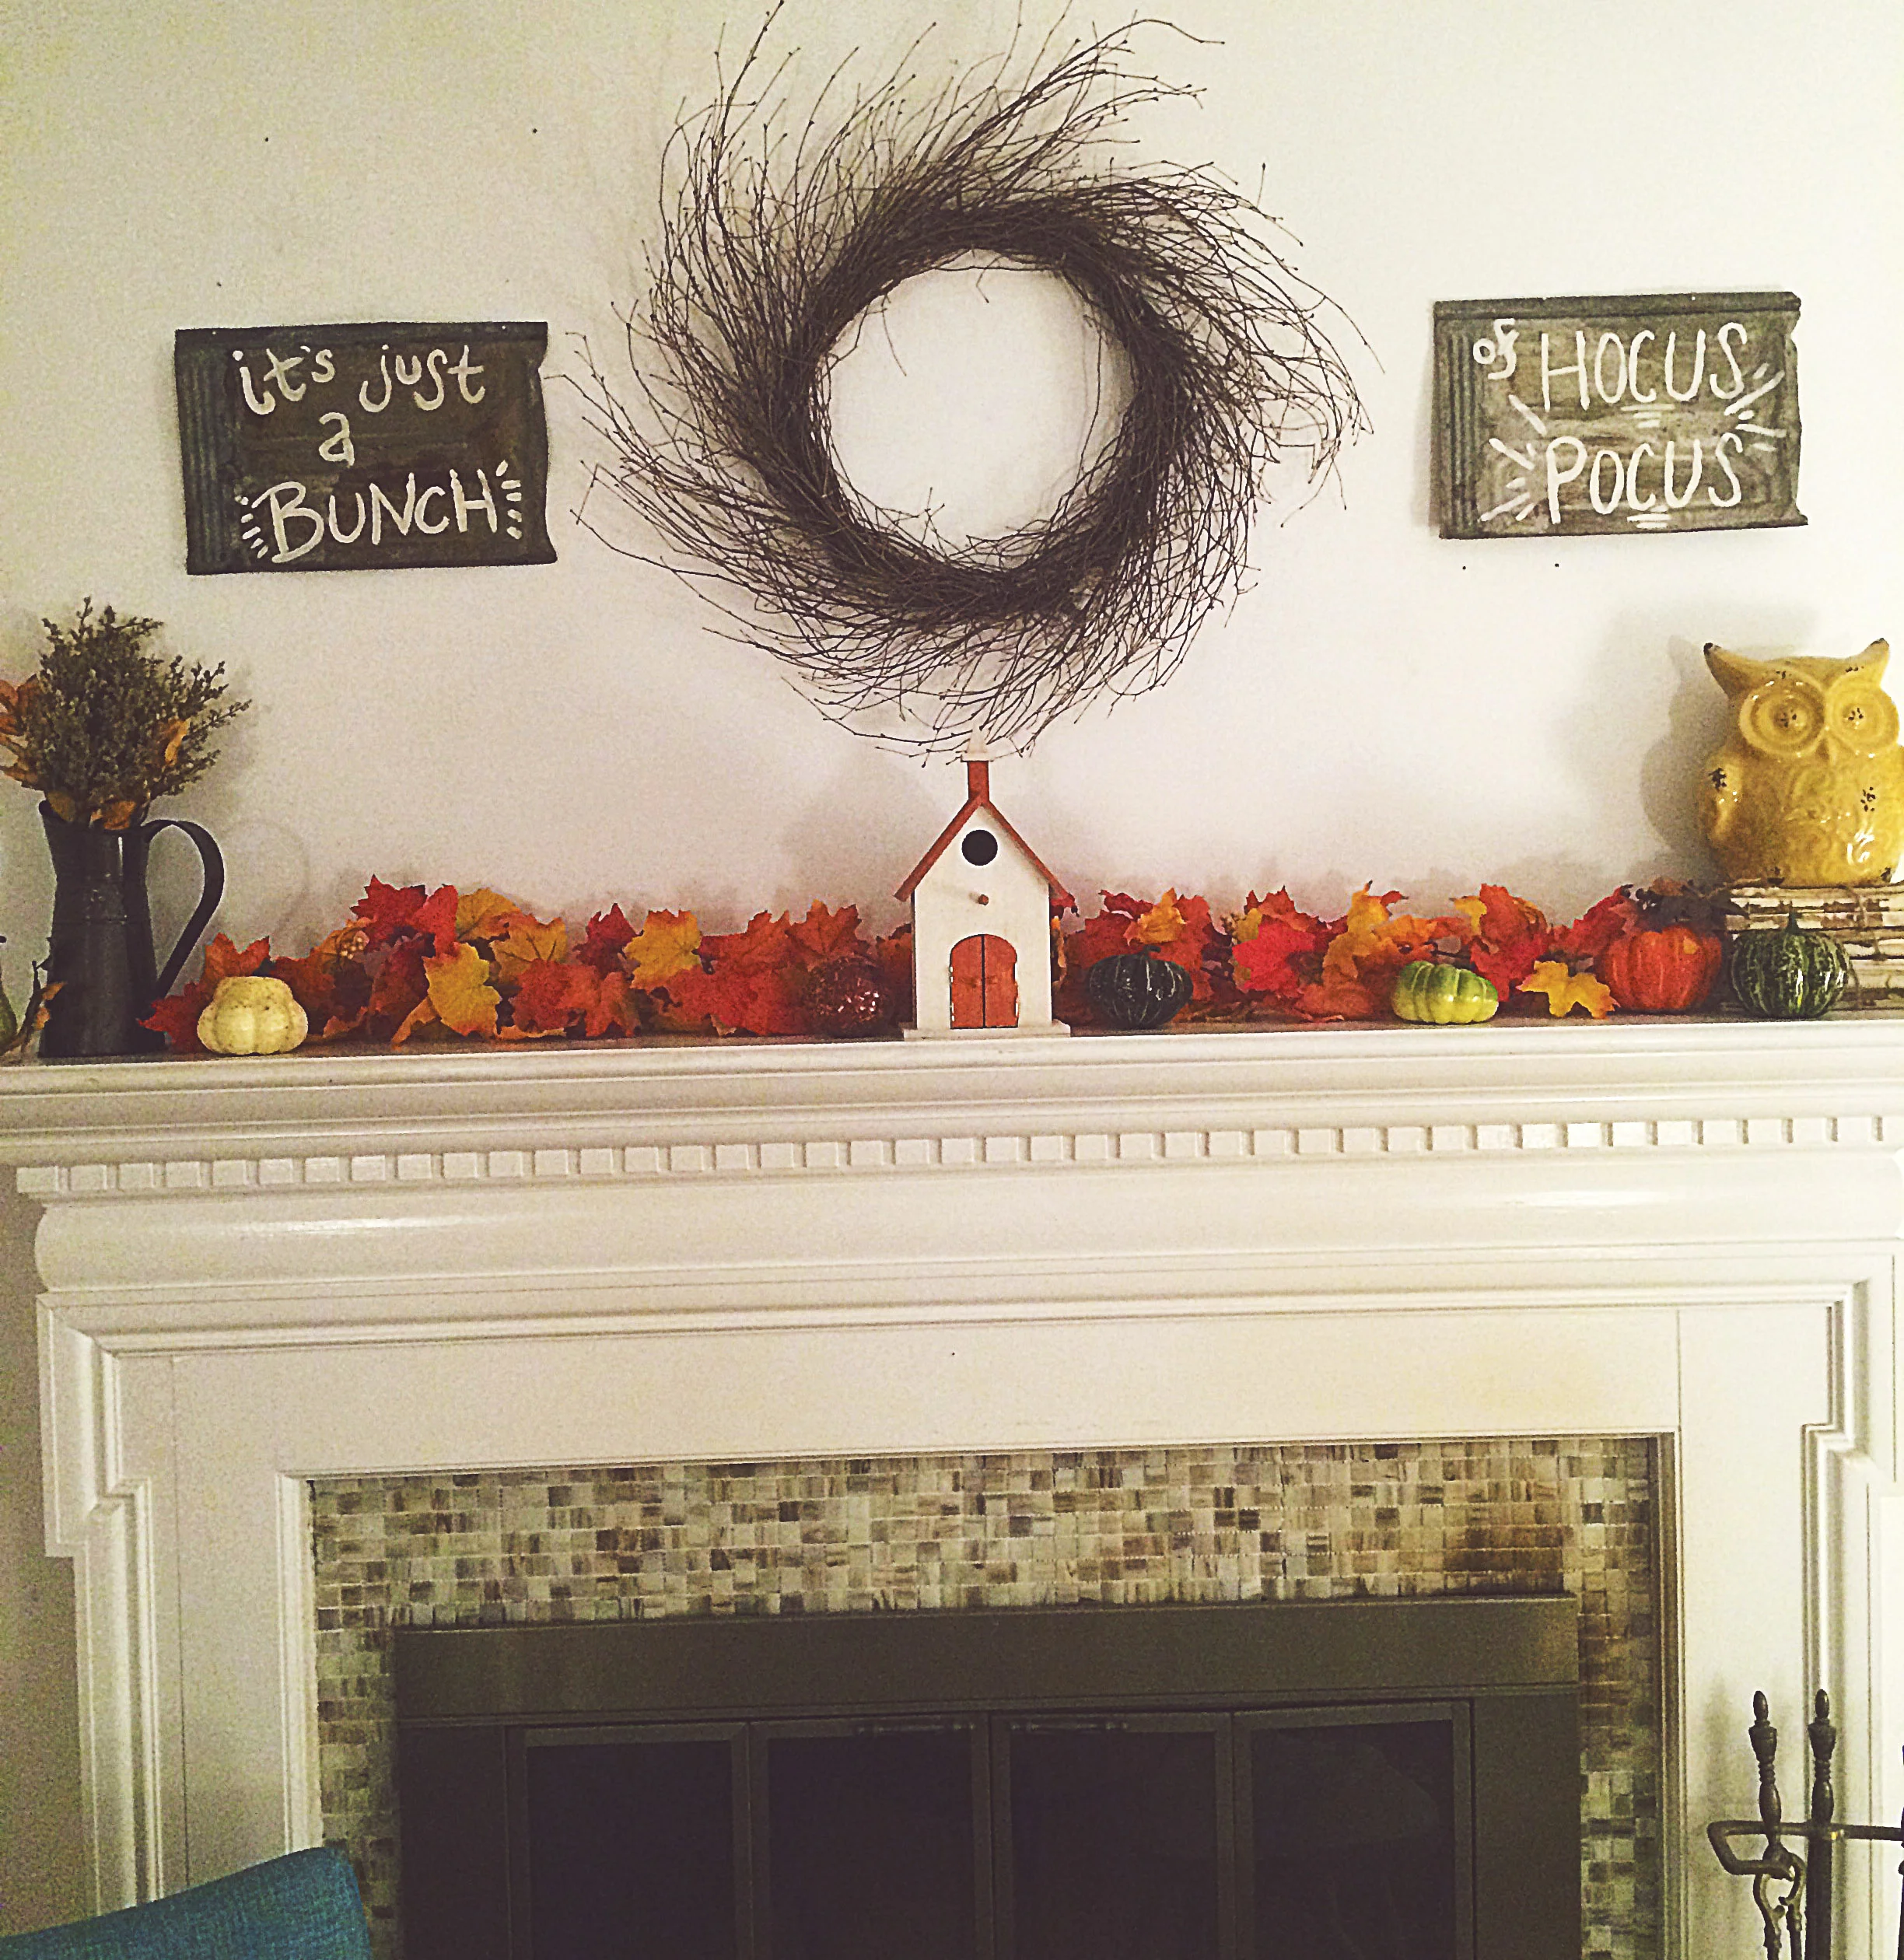
Step five: forget everything you’ve ever known and completely clear off everything from your mantel. But for real, when I started this design for my mantel I looked up a lot of fall mantel designs on Pinterest and Instagram for inspiration. Then I drew out what I wanted my set up to look like and went from there.

Step six: paint wooden church/house and put all your goodies together! I found the tin boards you see from an antique store in Downtown Savannah. I believe the owner said they used to be old ceiling tiles. I purchased a few of them and my usual mantel design has an inspirational saying as them, but Falloween requires a good Hocus Pocus quote. *Side note: if you have not already watched Hocus Pocus AT LEAST three times so far this month, you are doing Falloween incorrectly. Get it together.
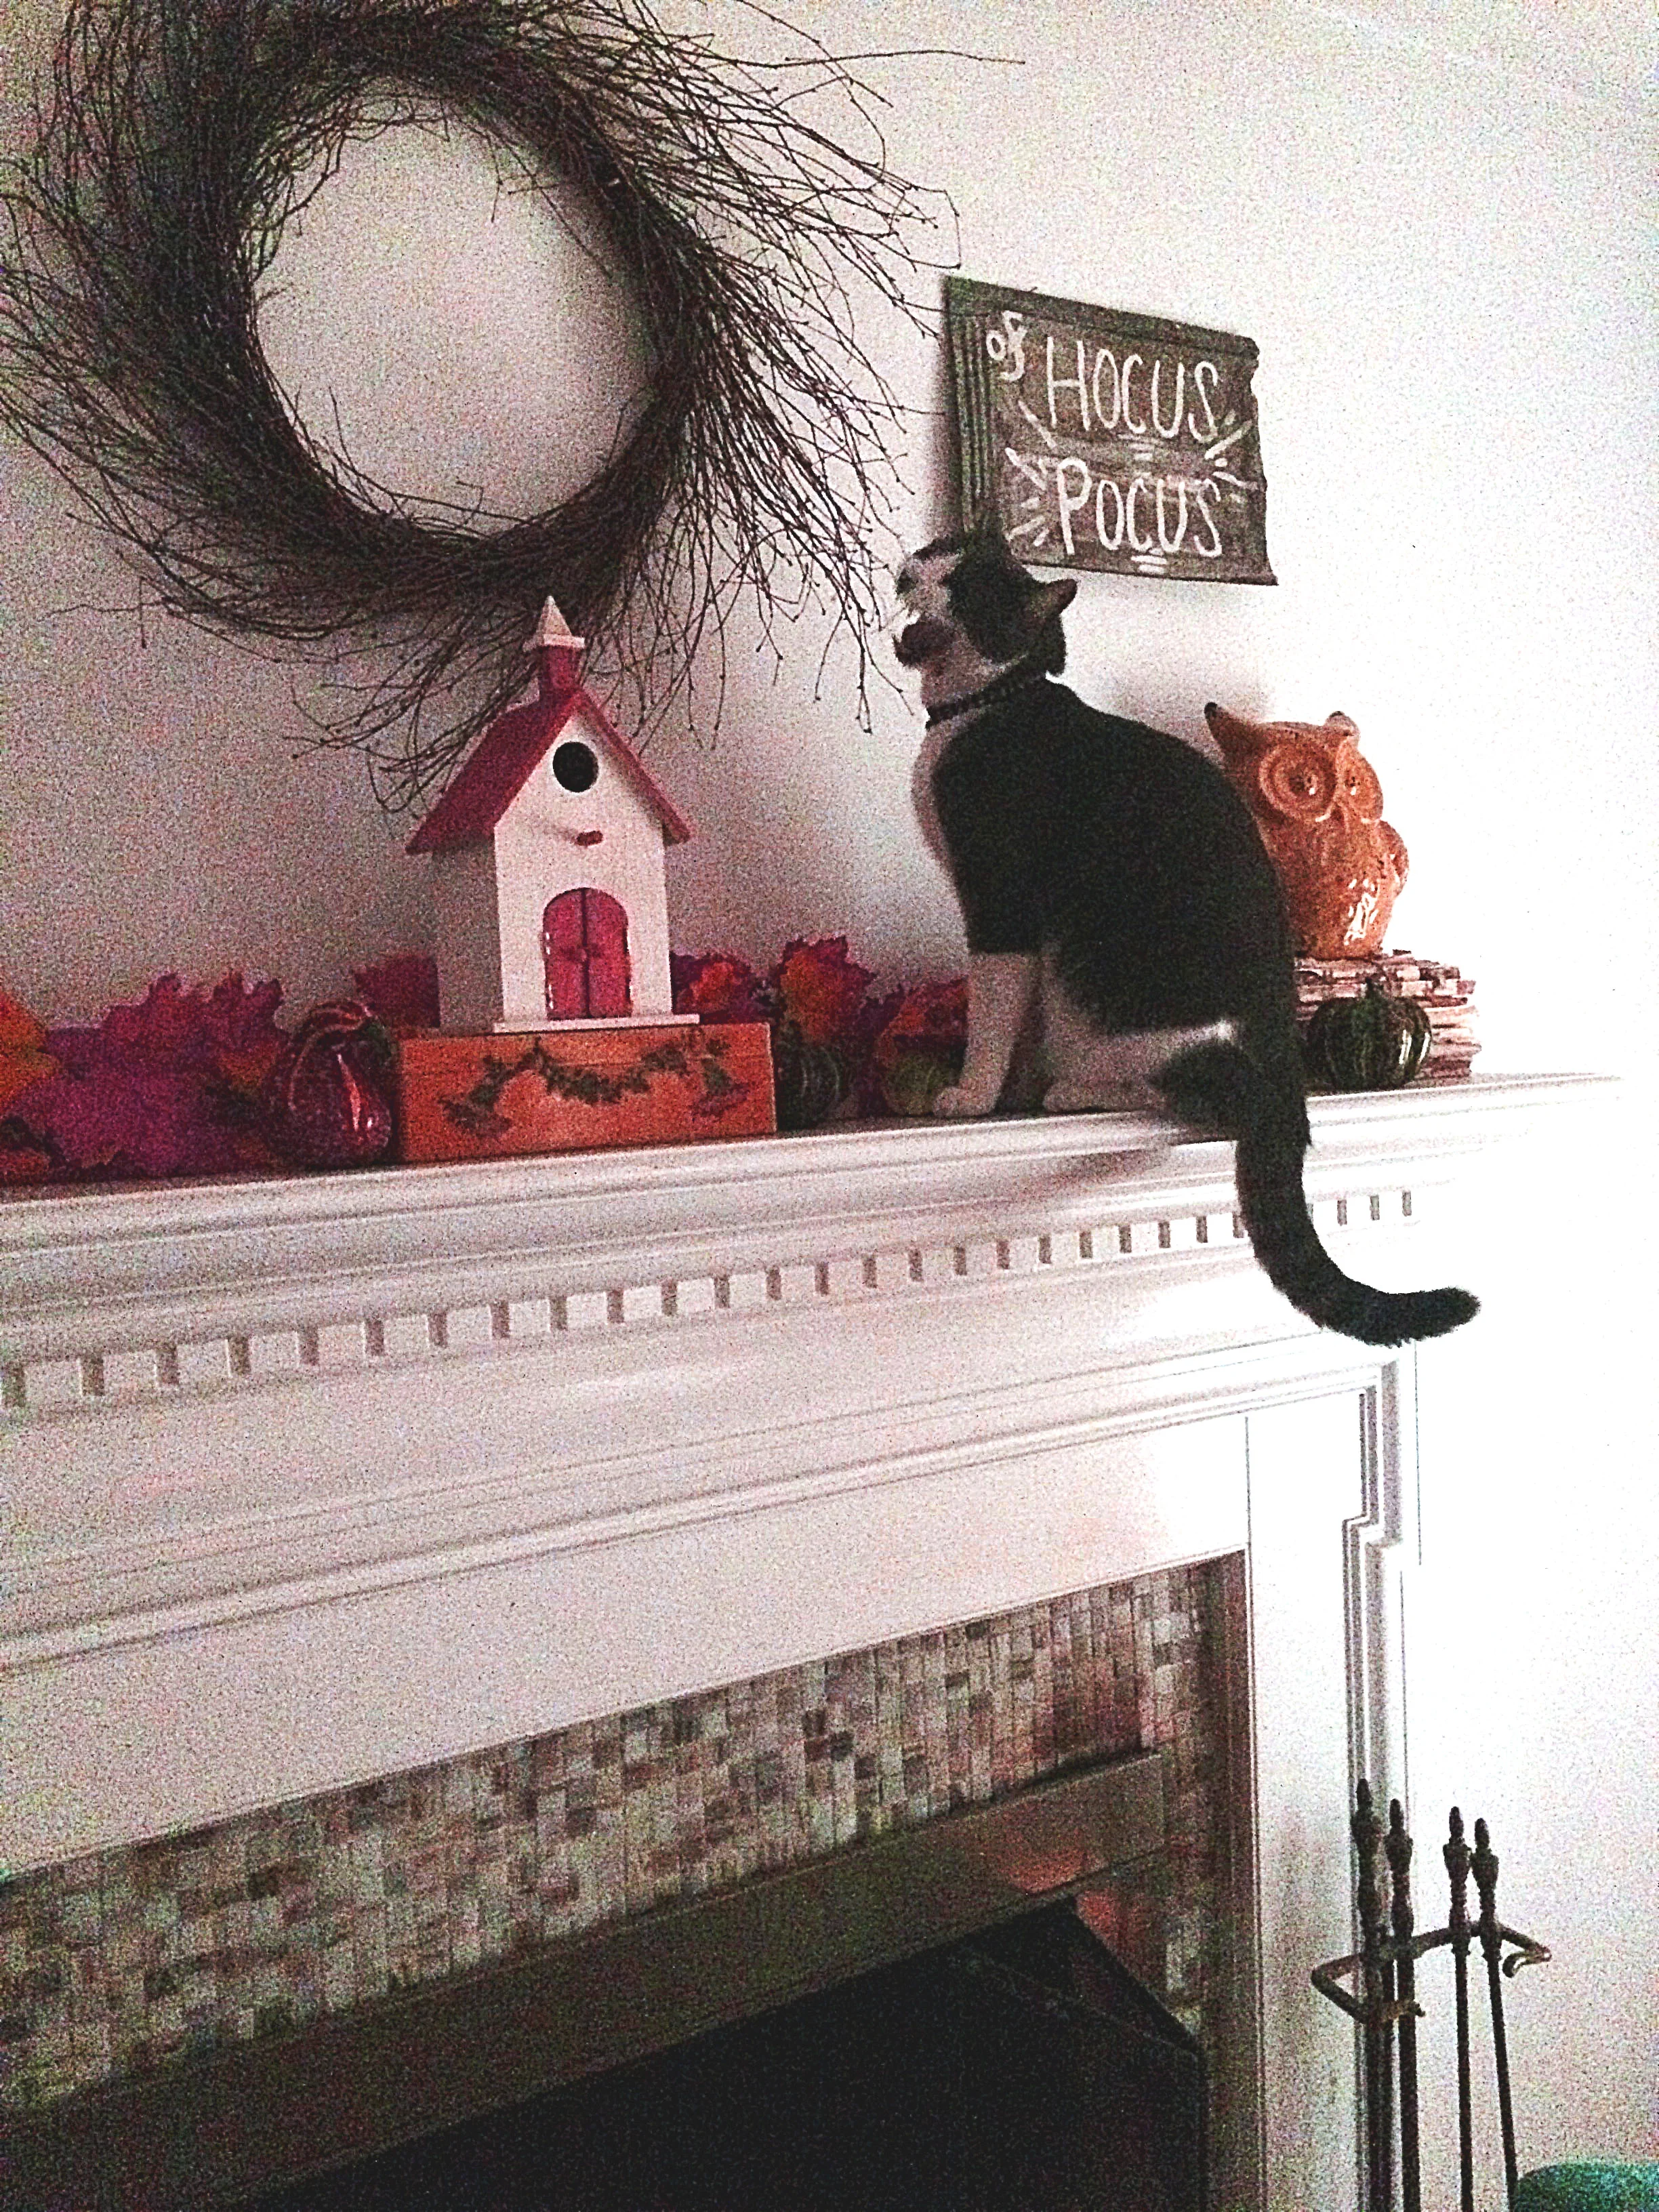
Step seven: make sure devil cat does not eat all of the decorations.

And there you have it, Falloween a la a yellow peach.  While I’m having this Savannah flashback, make sure you pick out a really good pumpkin with good friends.

And if you’re anything like me, maybe have someone else handle the carving. Yikes.

Last, but certainly not least, you’re going to need some good Falloween music. Lucky for you, I have created an entire playlist especially for this occasion on Spotify called “I Put a Spell on You”. Check it out here.
pumpkin coconut curry

*Original post: October 8th, 2015

Happy Thursday!! Today has been such a happy day. Something about the nice weather that puts me in the best mood, as I’m sure it does with everyone as well.  And on happy days I do things that make me happy. Like drive with the windows down and blare my favorite music, treat myself to a delicious coffee and blueberry muffin, and make PUMPKIN CURRY. Yes, you read correctly.

I am curry obsessed. I could literally eat Thai curry-anything every day of my life and be just fine (as well as plumpy). I usually make this dish with peanut butter or almond butter but it is October, my friends so you know what that means. PUMPKIN PUREE!

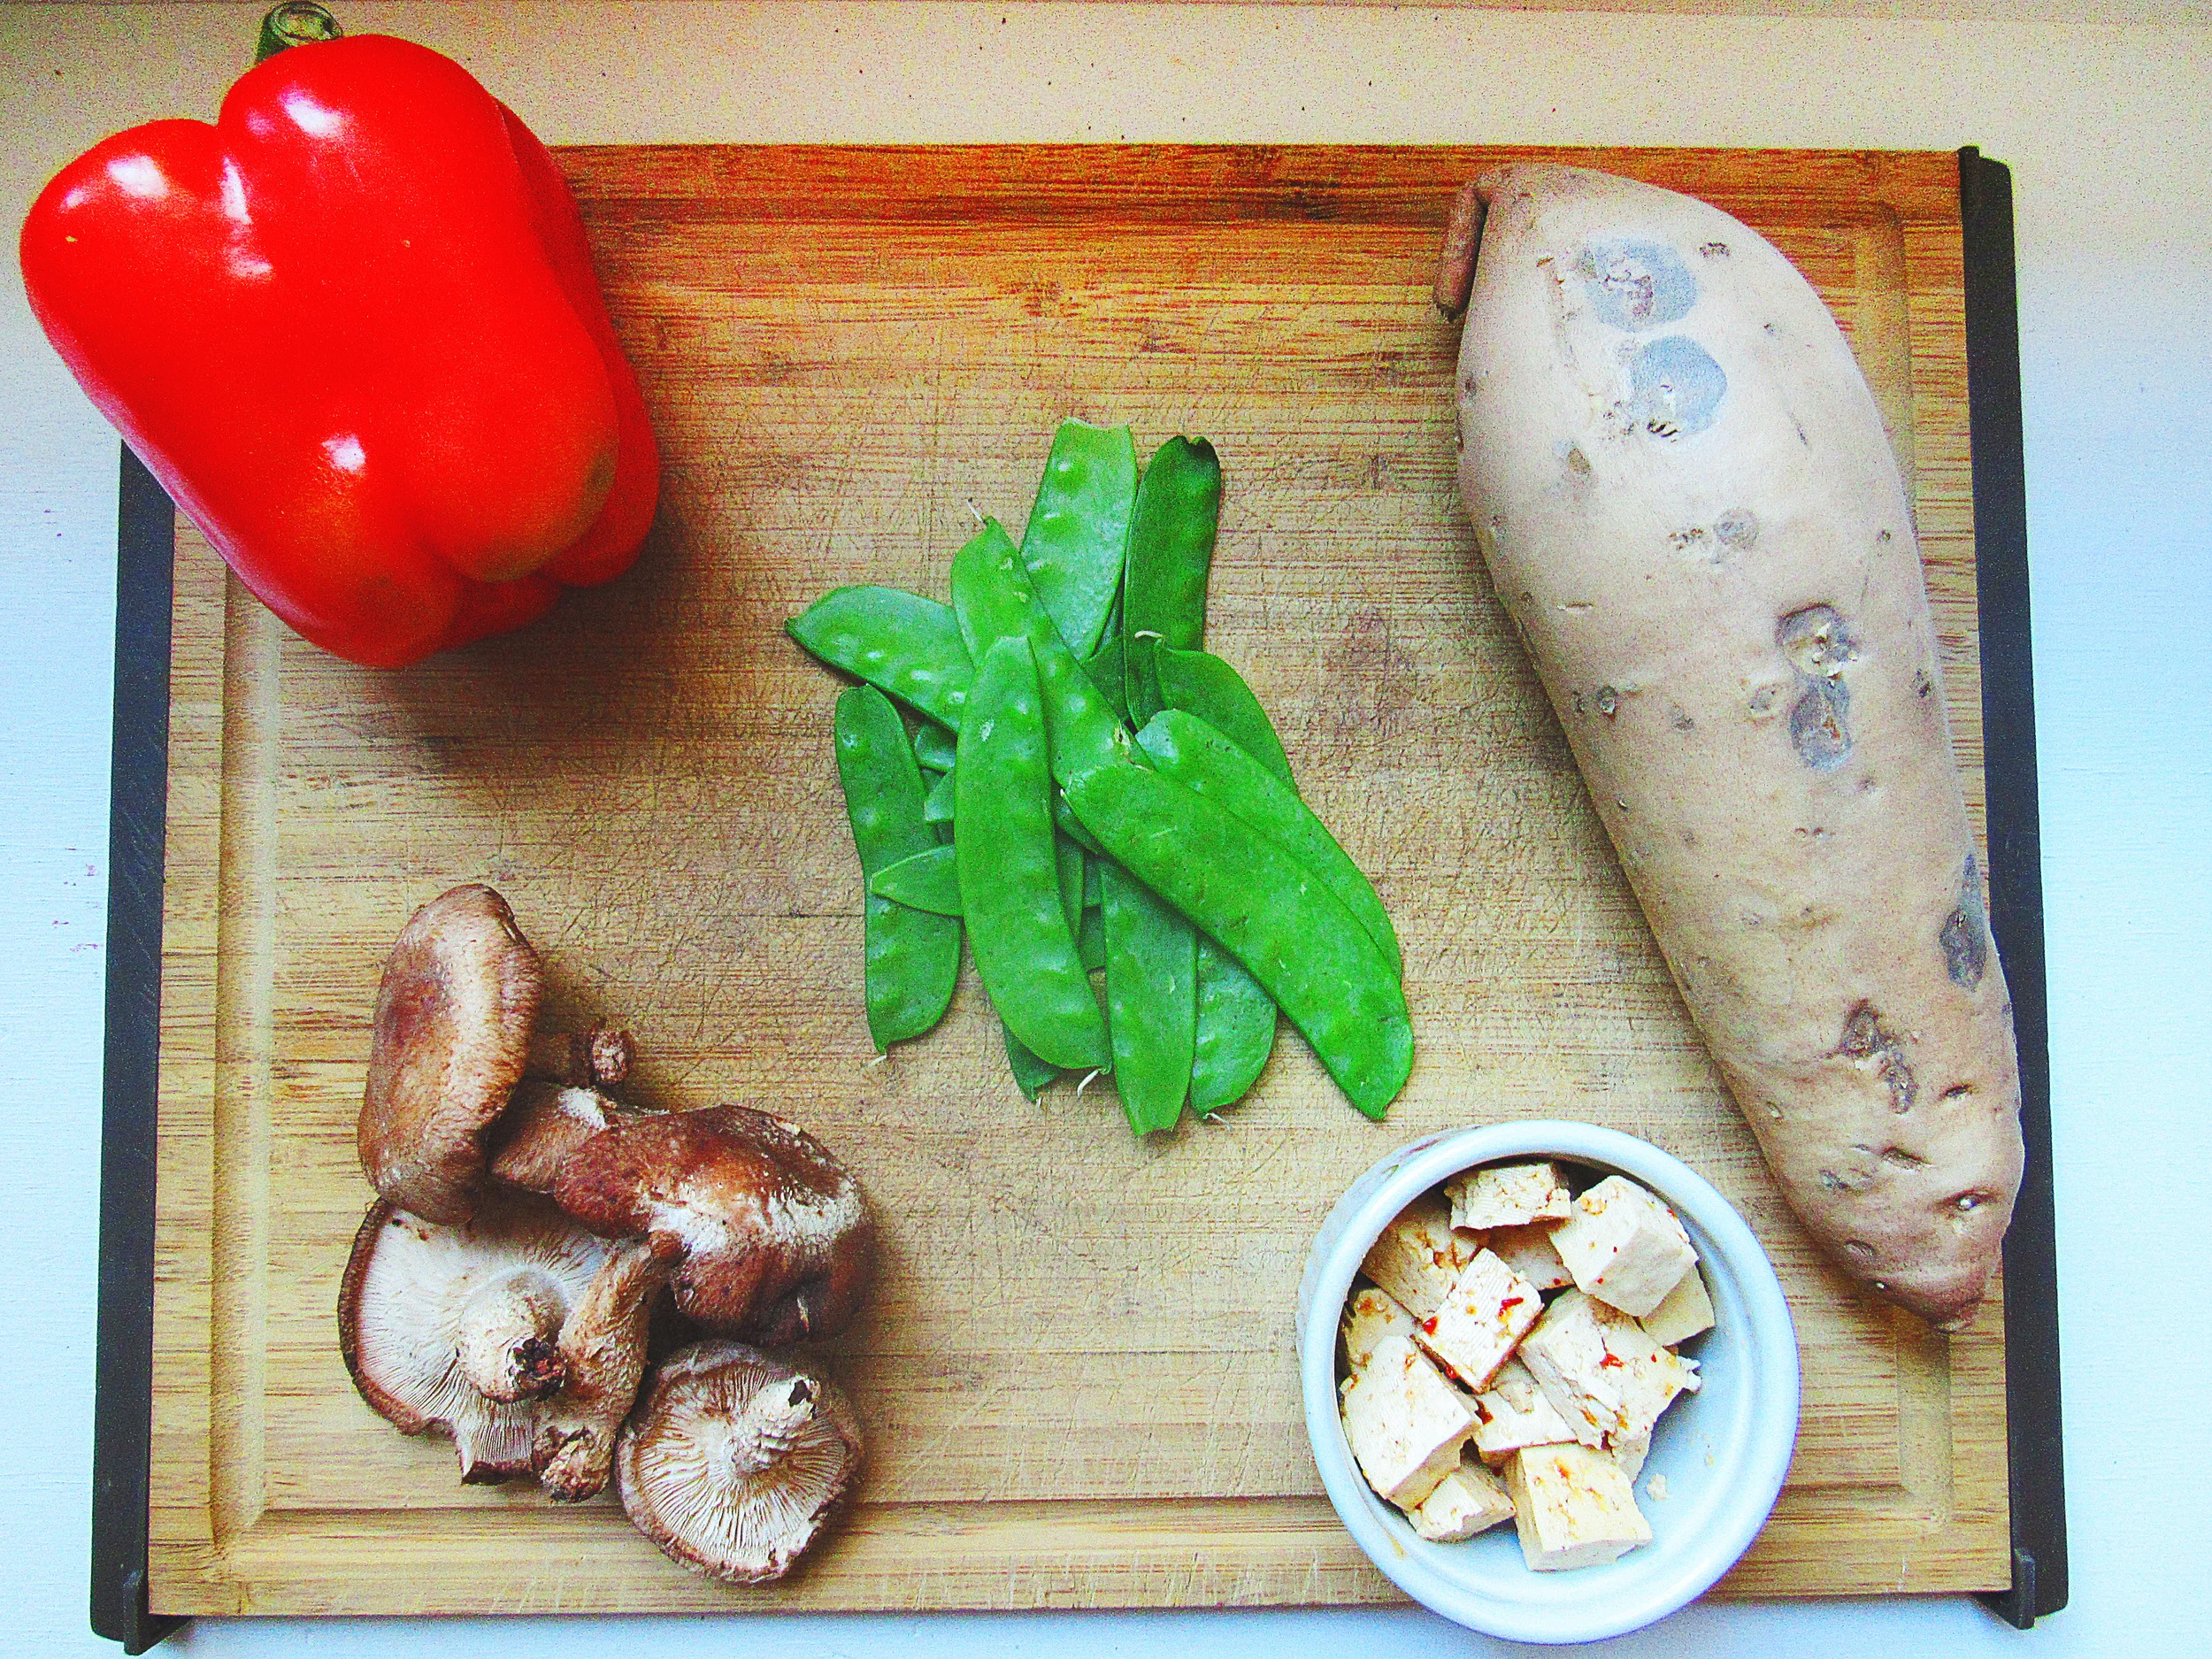
The main ingredients that usually go into my curry are:

-red bell pepper
-shiitake mushrooms
-some kind of crunchy green (either snow peas or green beans)
-some kind of protein (today was baked tofu)
-and usually a sweet potato, but today is a Jewel yam

Jewel yam. Never heard of it. But the grocery store was out of sweet potatoes. Yes, OUT of sweet potatoes. I even checked in the frozen section for the pre-cut ones but it was a no go. So I decided to try something new and go with a Jewel yam, WHICH believe it or not (after a little research) is not actually a yam, it is sweet potato of a different color. Who knew?
 
So I started by marinating the tofu. The marinade I used is:

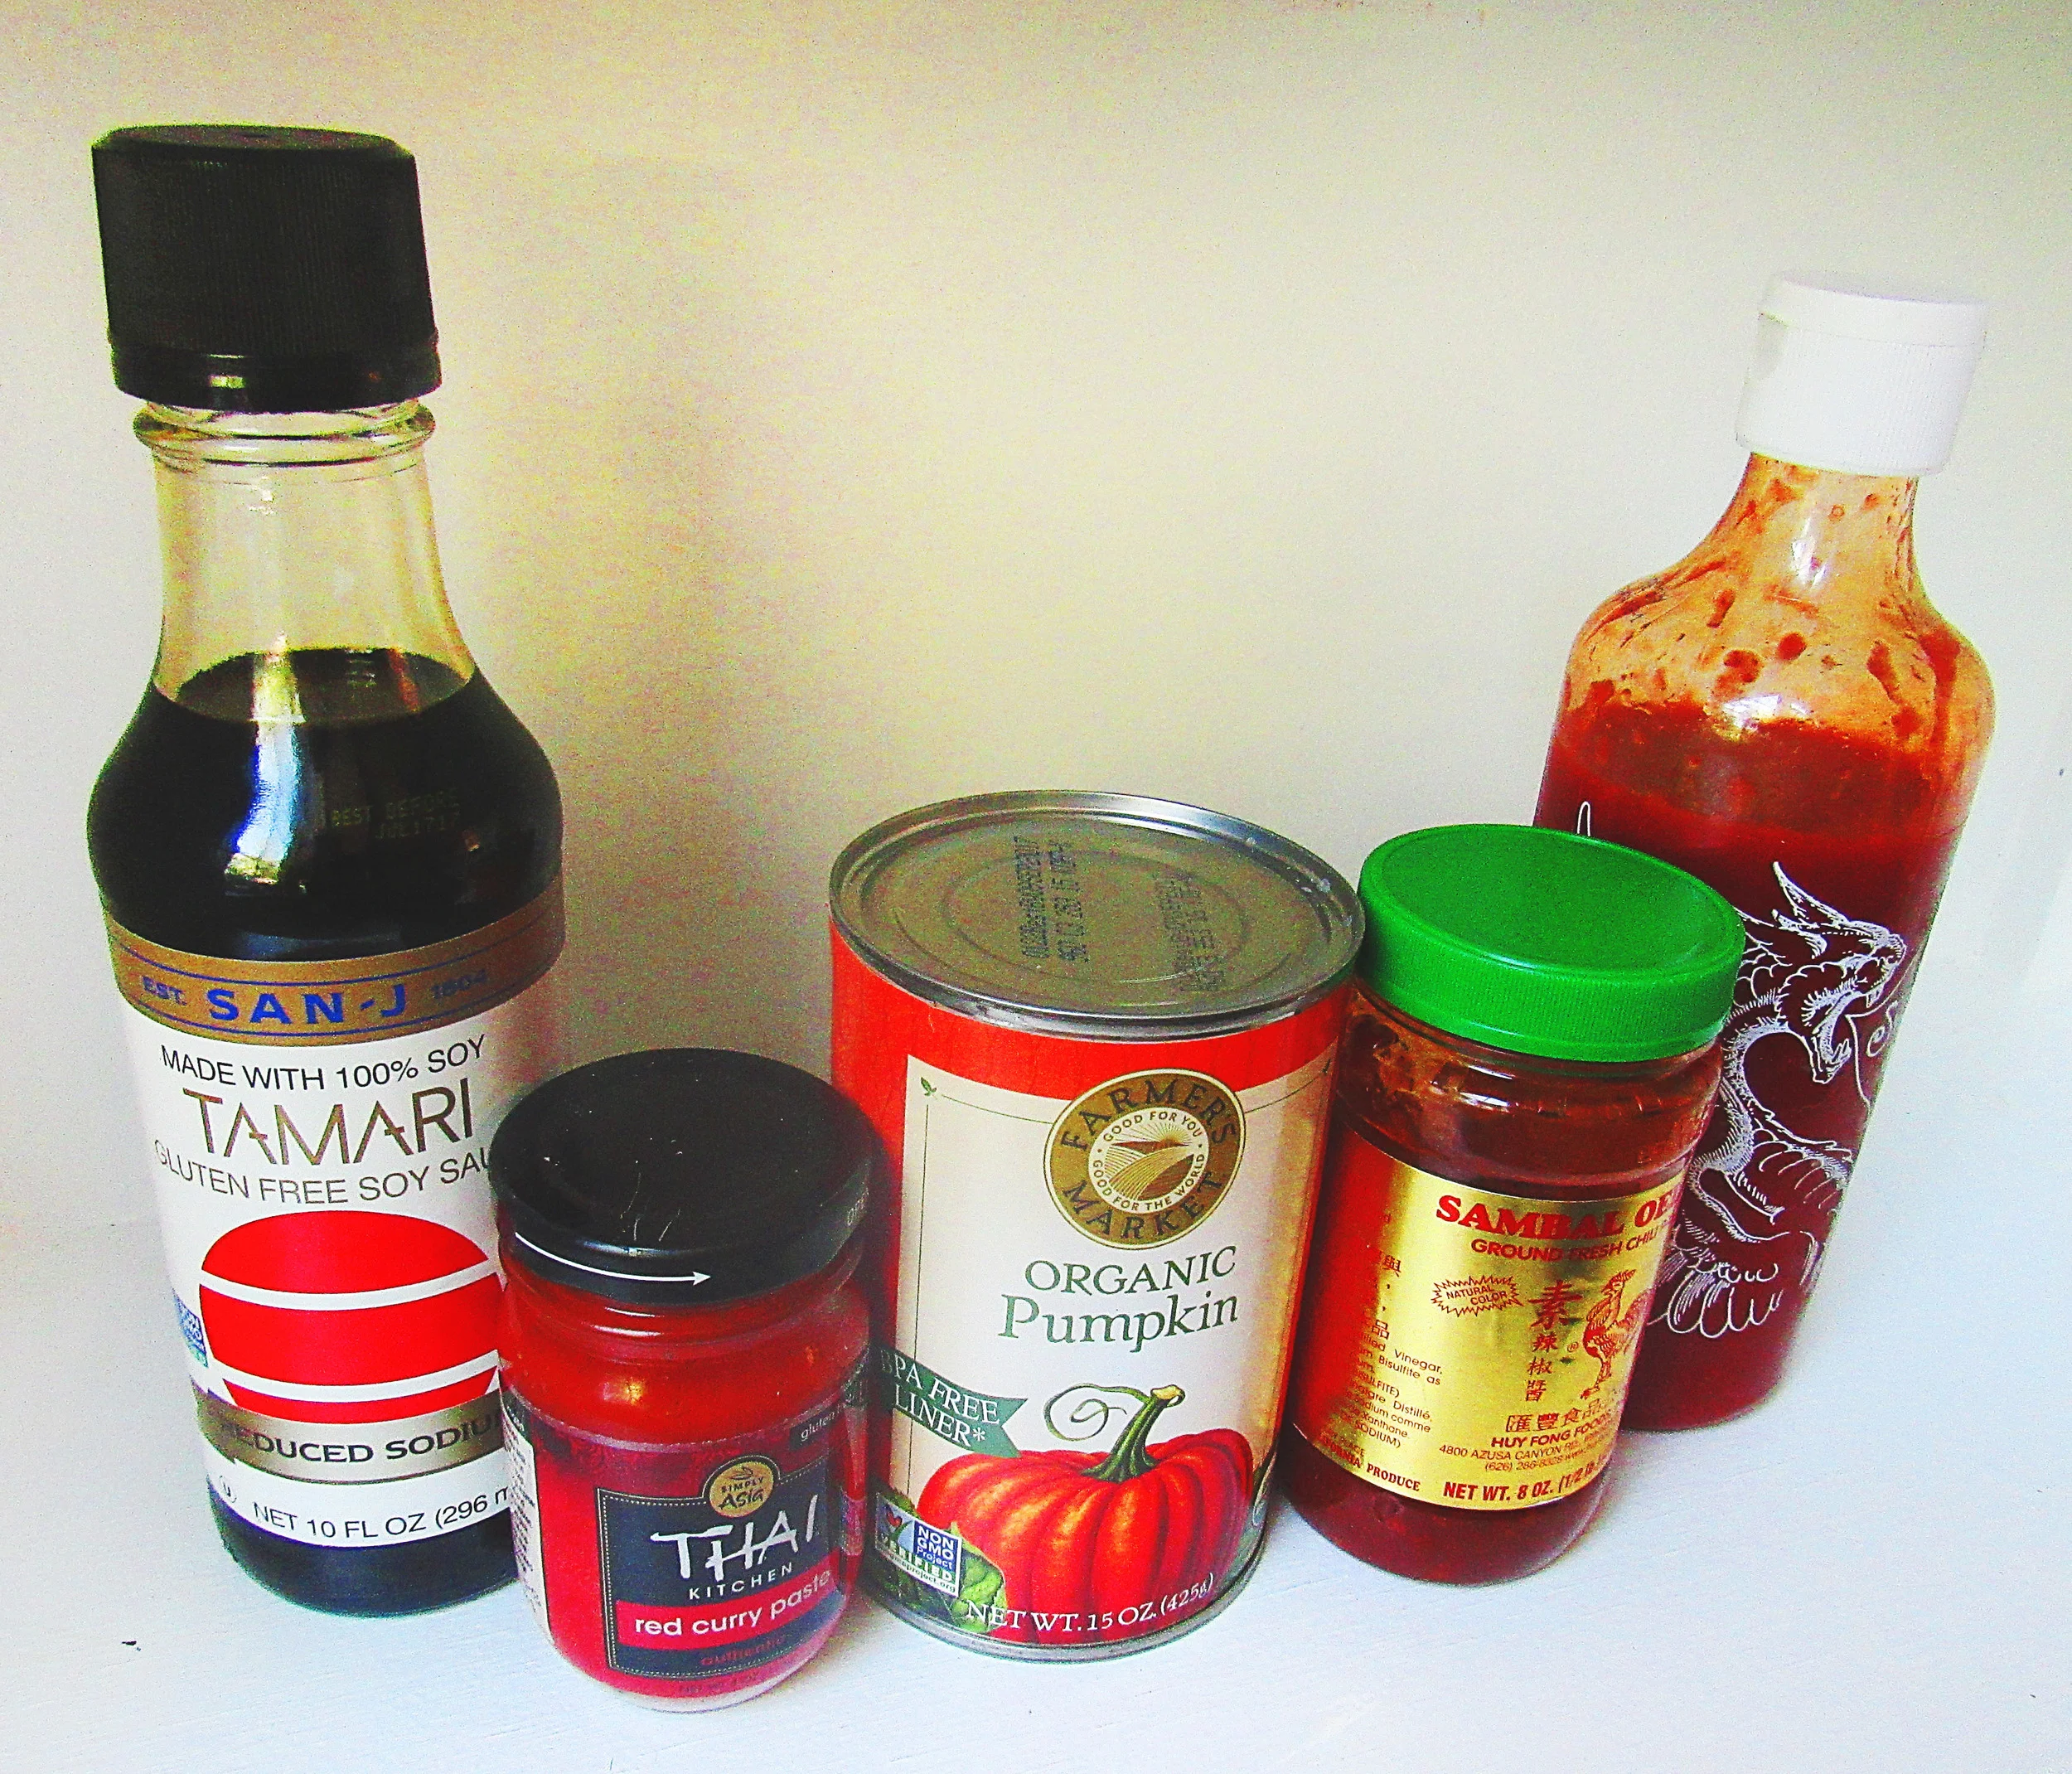
-1 tblsp tamari
-1 tblsp rice wine vinegar
-1 tsp ginger
-1 tsp chili sauce
-a couple dashes of sriracha
-1 tblsp water
-dash of salt

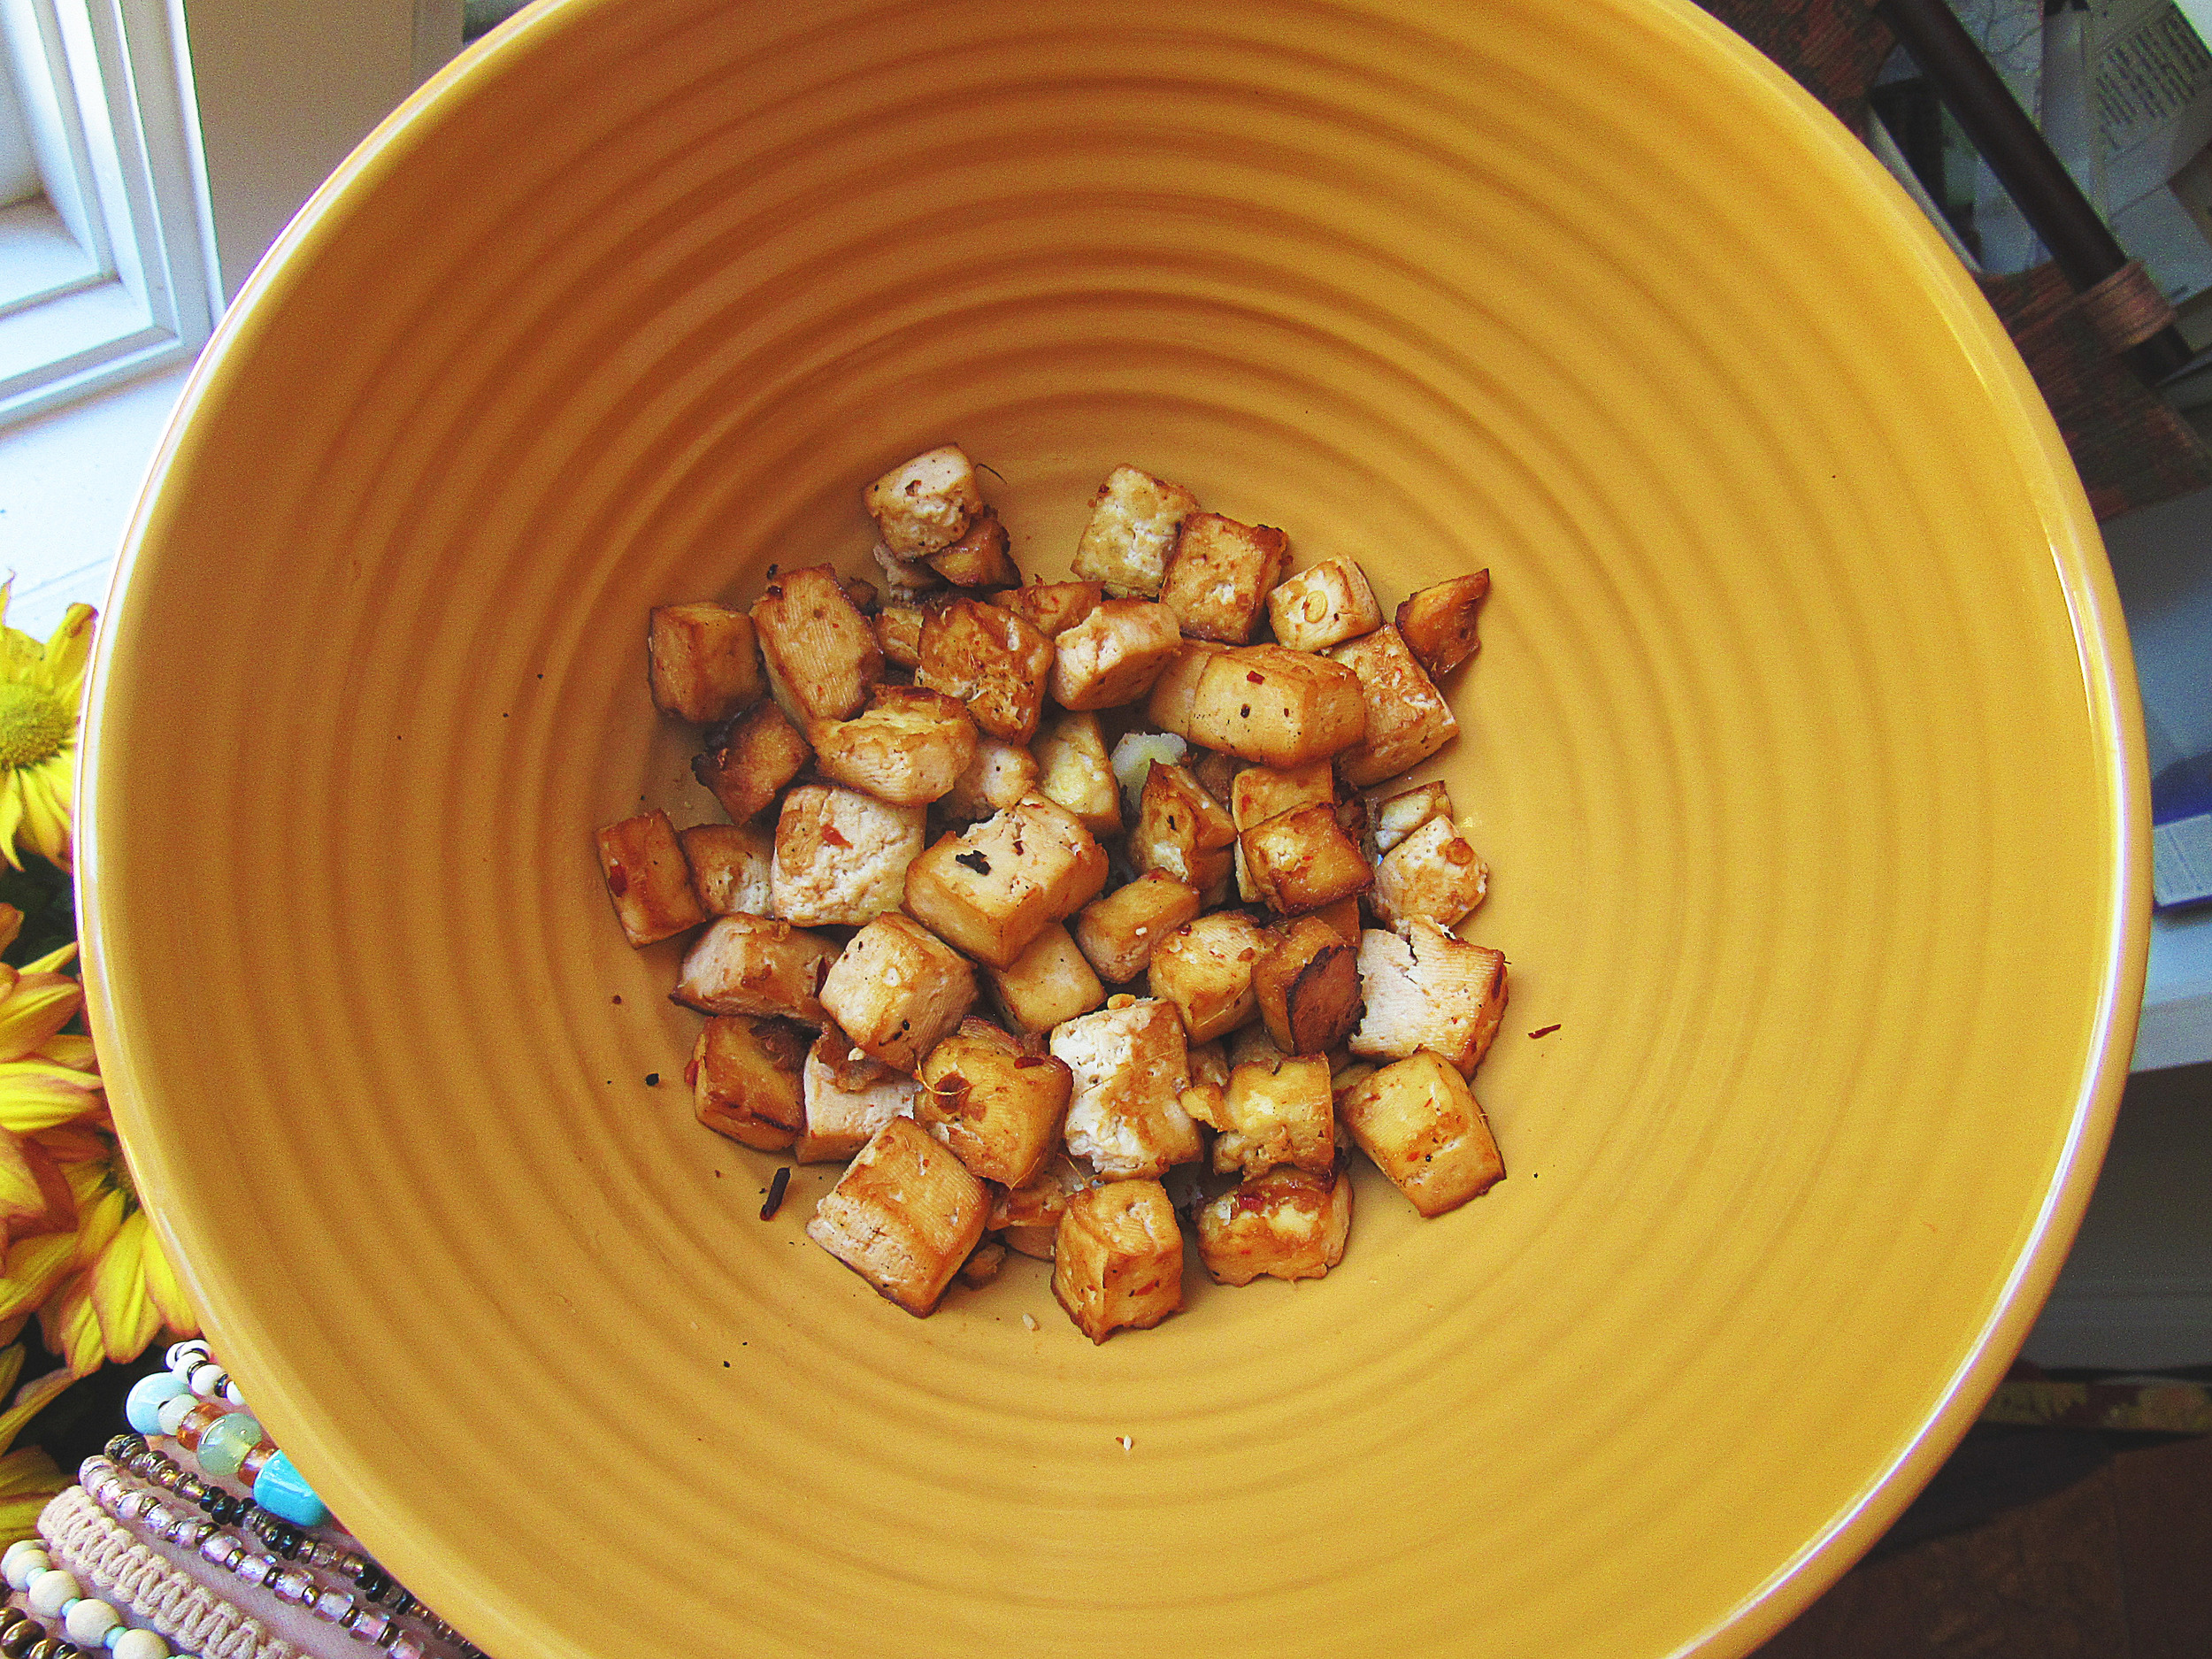
After mixing these together I cut up about ¾ of the block of tofu into cubes and let sit in the marinade for hour (longer if you like). Preheat the oven to 350F and spread the tofu out on a tray, cook for 40 minutes stirring halfway through. After this, your tofu should look yummy and browned like so:

I then peeled and cut up the yam into cubes and steamed for about 25-30 minutes until they were soft. Once this is soft and the tofu is getting to be about halfway done, get everything else ready.

To make the curry sauce, here’s what I popped into the food processor:

-3 tblsp of pumpkin puree

-2 tblsp red curry paste

-2 tsp chili sauce

-2 tblsp tamari

-dash of ginger

-dash sriracha

Once the tofu is about halfway done, I cut up the red bell pepper and got it going in about a tblsp of coconut oil. I added the shiitake mushrooms, yams, snow peas, baked tofu and seasoned this with salt.

After these have been cooking for a couple minutes, pour in the pumpkin curry mixture and one can of coconut milk; stir together. I brought this to a light boil and then let simmer while the rice cooks so it thickens into a yummy sauce.

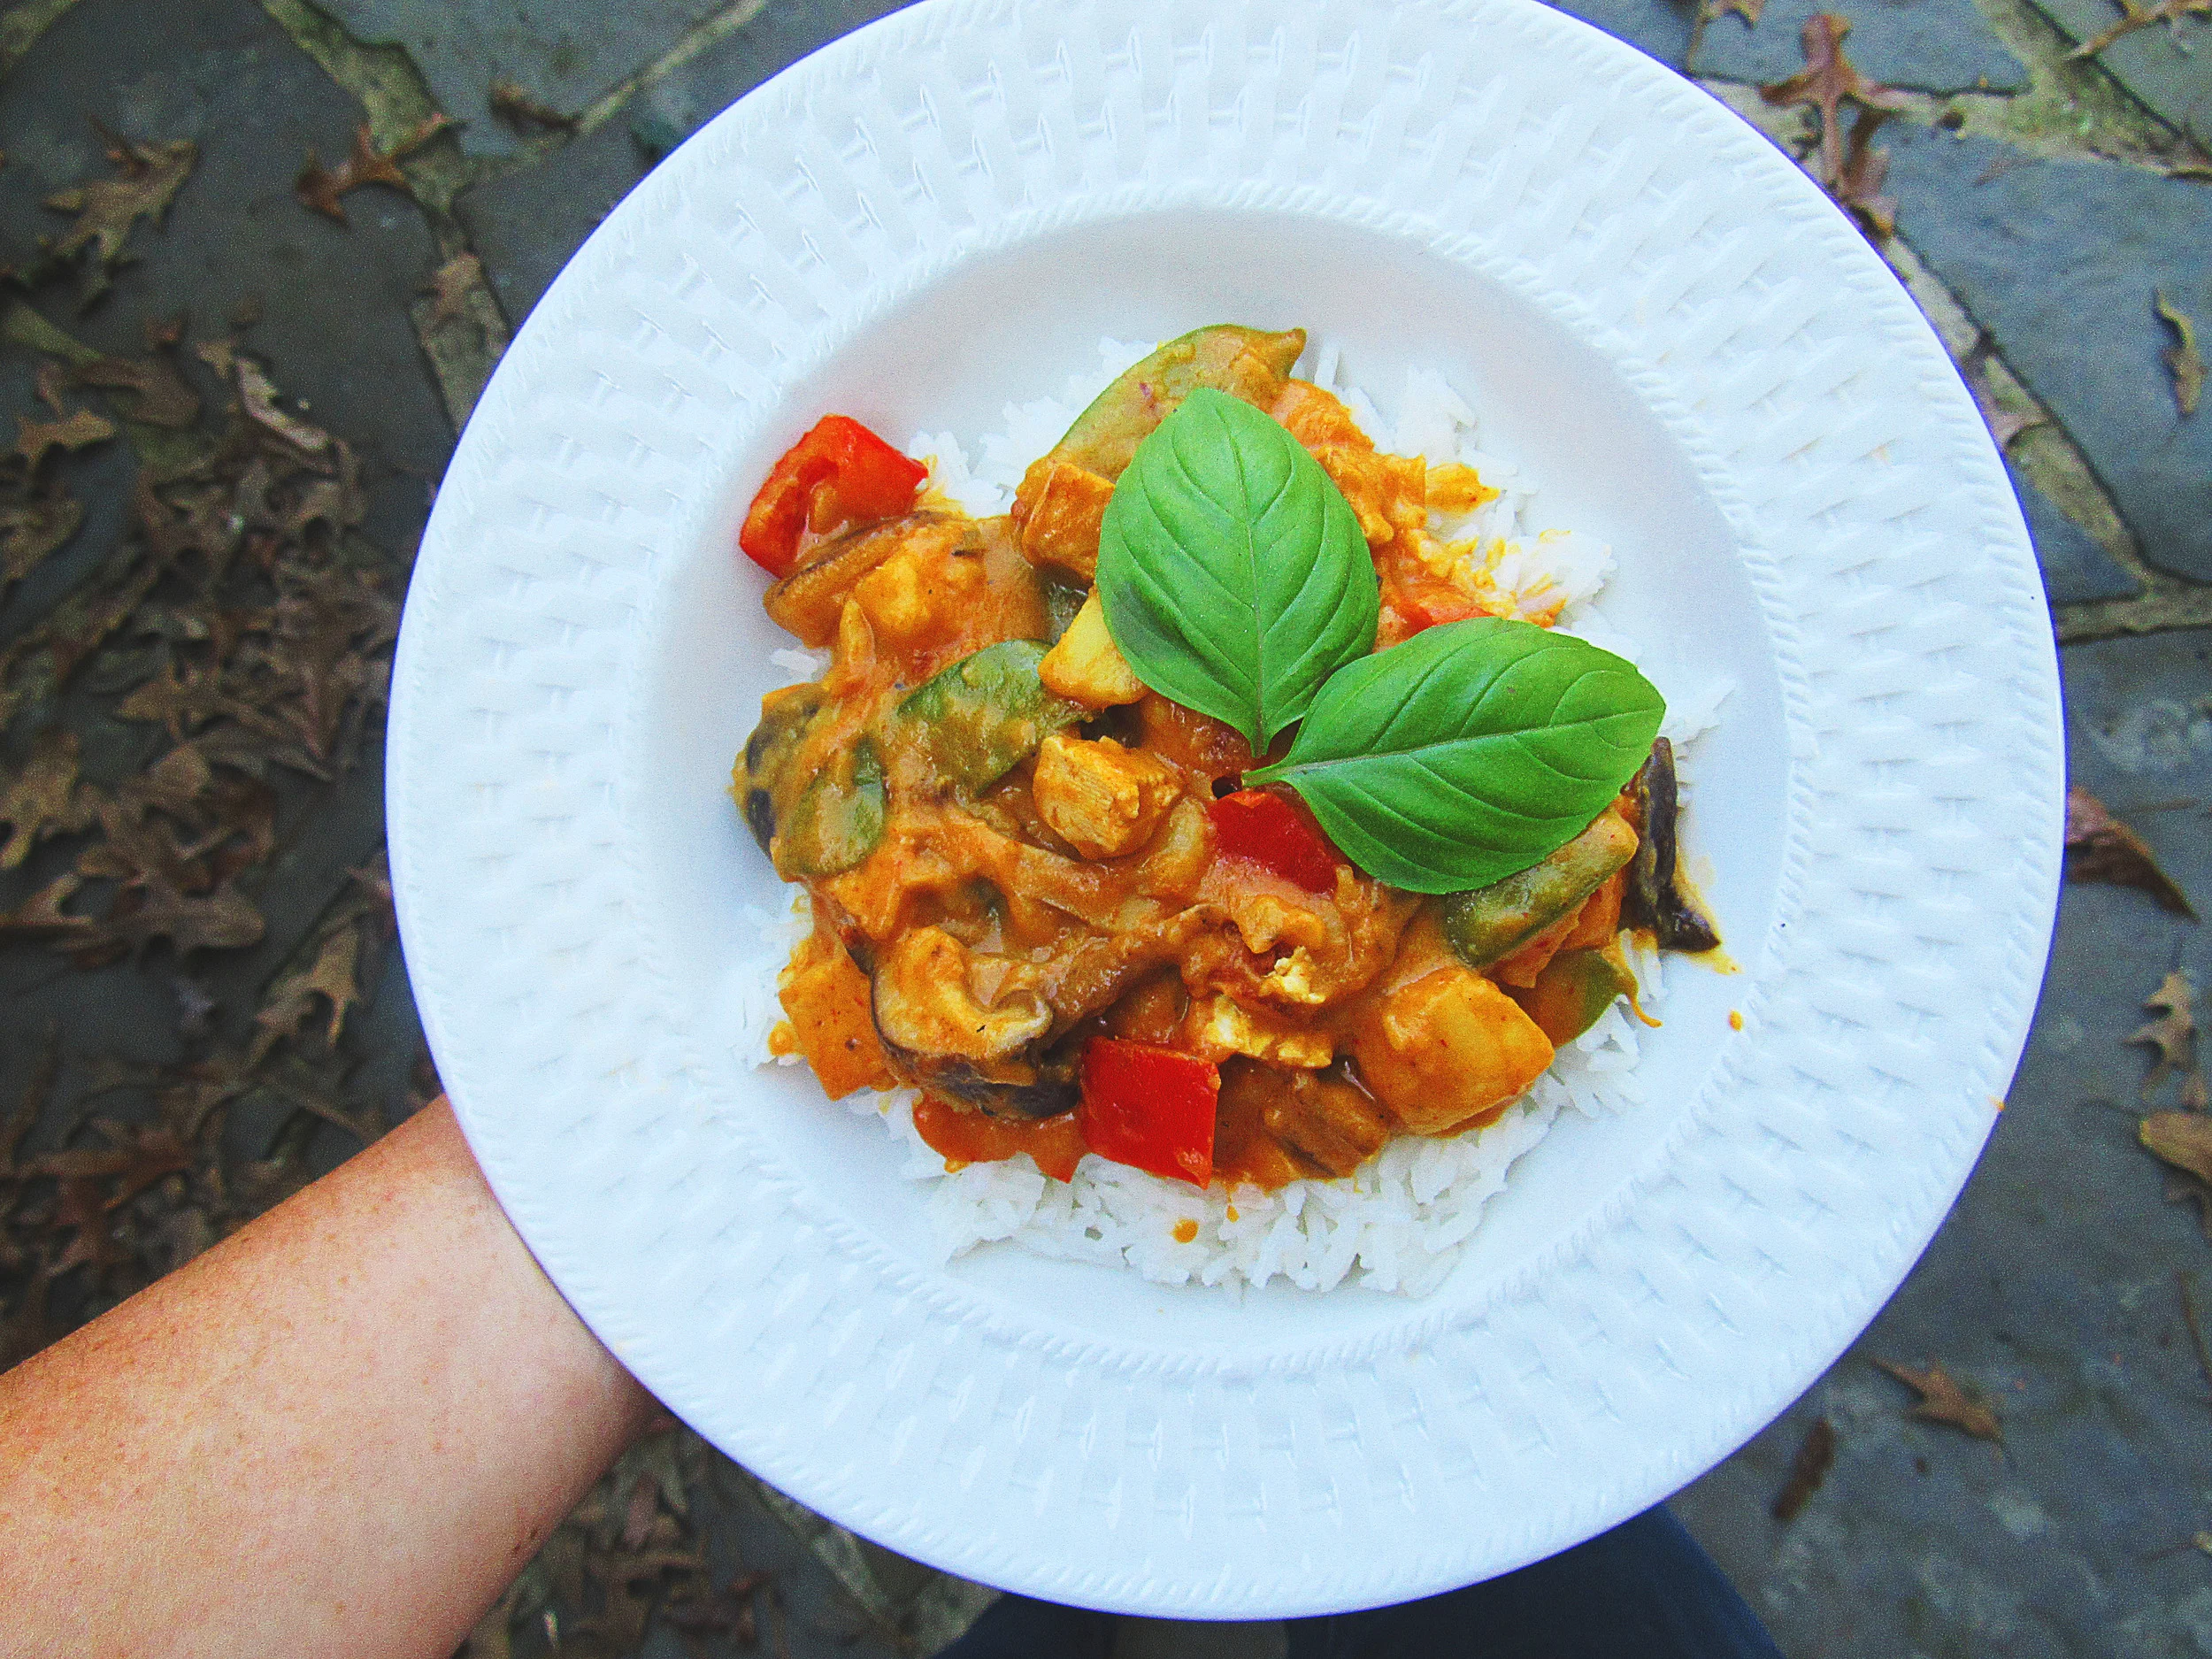
Put a scoop of the rice into the bowl and top with the mixture, garnish with basil and enjoy the pumpkin goodness!

Now on top of this happy weather, happy day, and happy pumpkin meal, I needed happy music. A friend suggested Leon Bridges to me. I had previously only heard one of his songs but it turns out his entire album is amazing, and exactly the happy tunes I needed.


Check it out here.
DIY hanging plants

*Original post: October 4th, 2015

IT'S OFFICIALLY FALL Y'ALL!

Alright, I know it has technically been fall for a little bit now. But there is a chill in the air, I’m drinking a pumpkin coffee and I have a soup on in the crockpot at home that I plan to eat while I watch Hocus Pocus and have a pumpkin candle lit. So to me, it is officially Fall. My favorite season; just like every other girl out there.

It’s true; I am your typical fall lover. And I do Fall SO well. The sweaters, leggings, boots, fall décor, candles, movies, Spotify playlists including all good Halloween songs, and of course the fall soups. I’m getting excited just talking about it. So be expecting all sorts of fall goodies throughout the month of October.

Let’s start with my latest project, which showcases one of the great fall plants: mums. Why are they so great you ask? Mums are low maintenance, easy to grow, and drought resistant. Perfect for the non-planter like me. (I try my best but truly just kill every plant I touch). I got the idea for a hanging plant display from Hometalk, you can find how they did their project here.
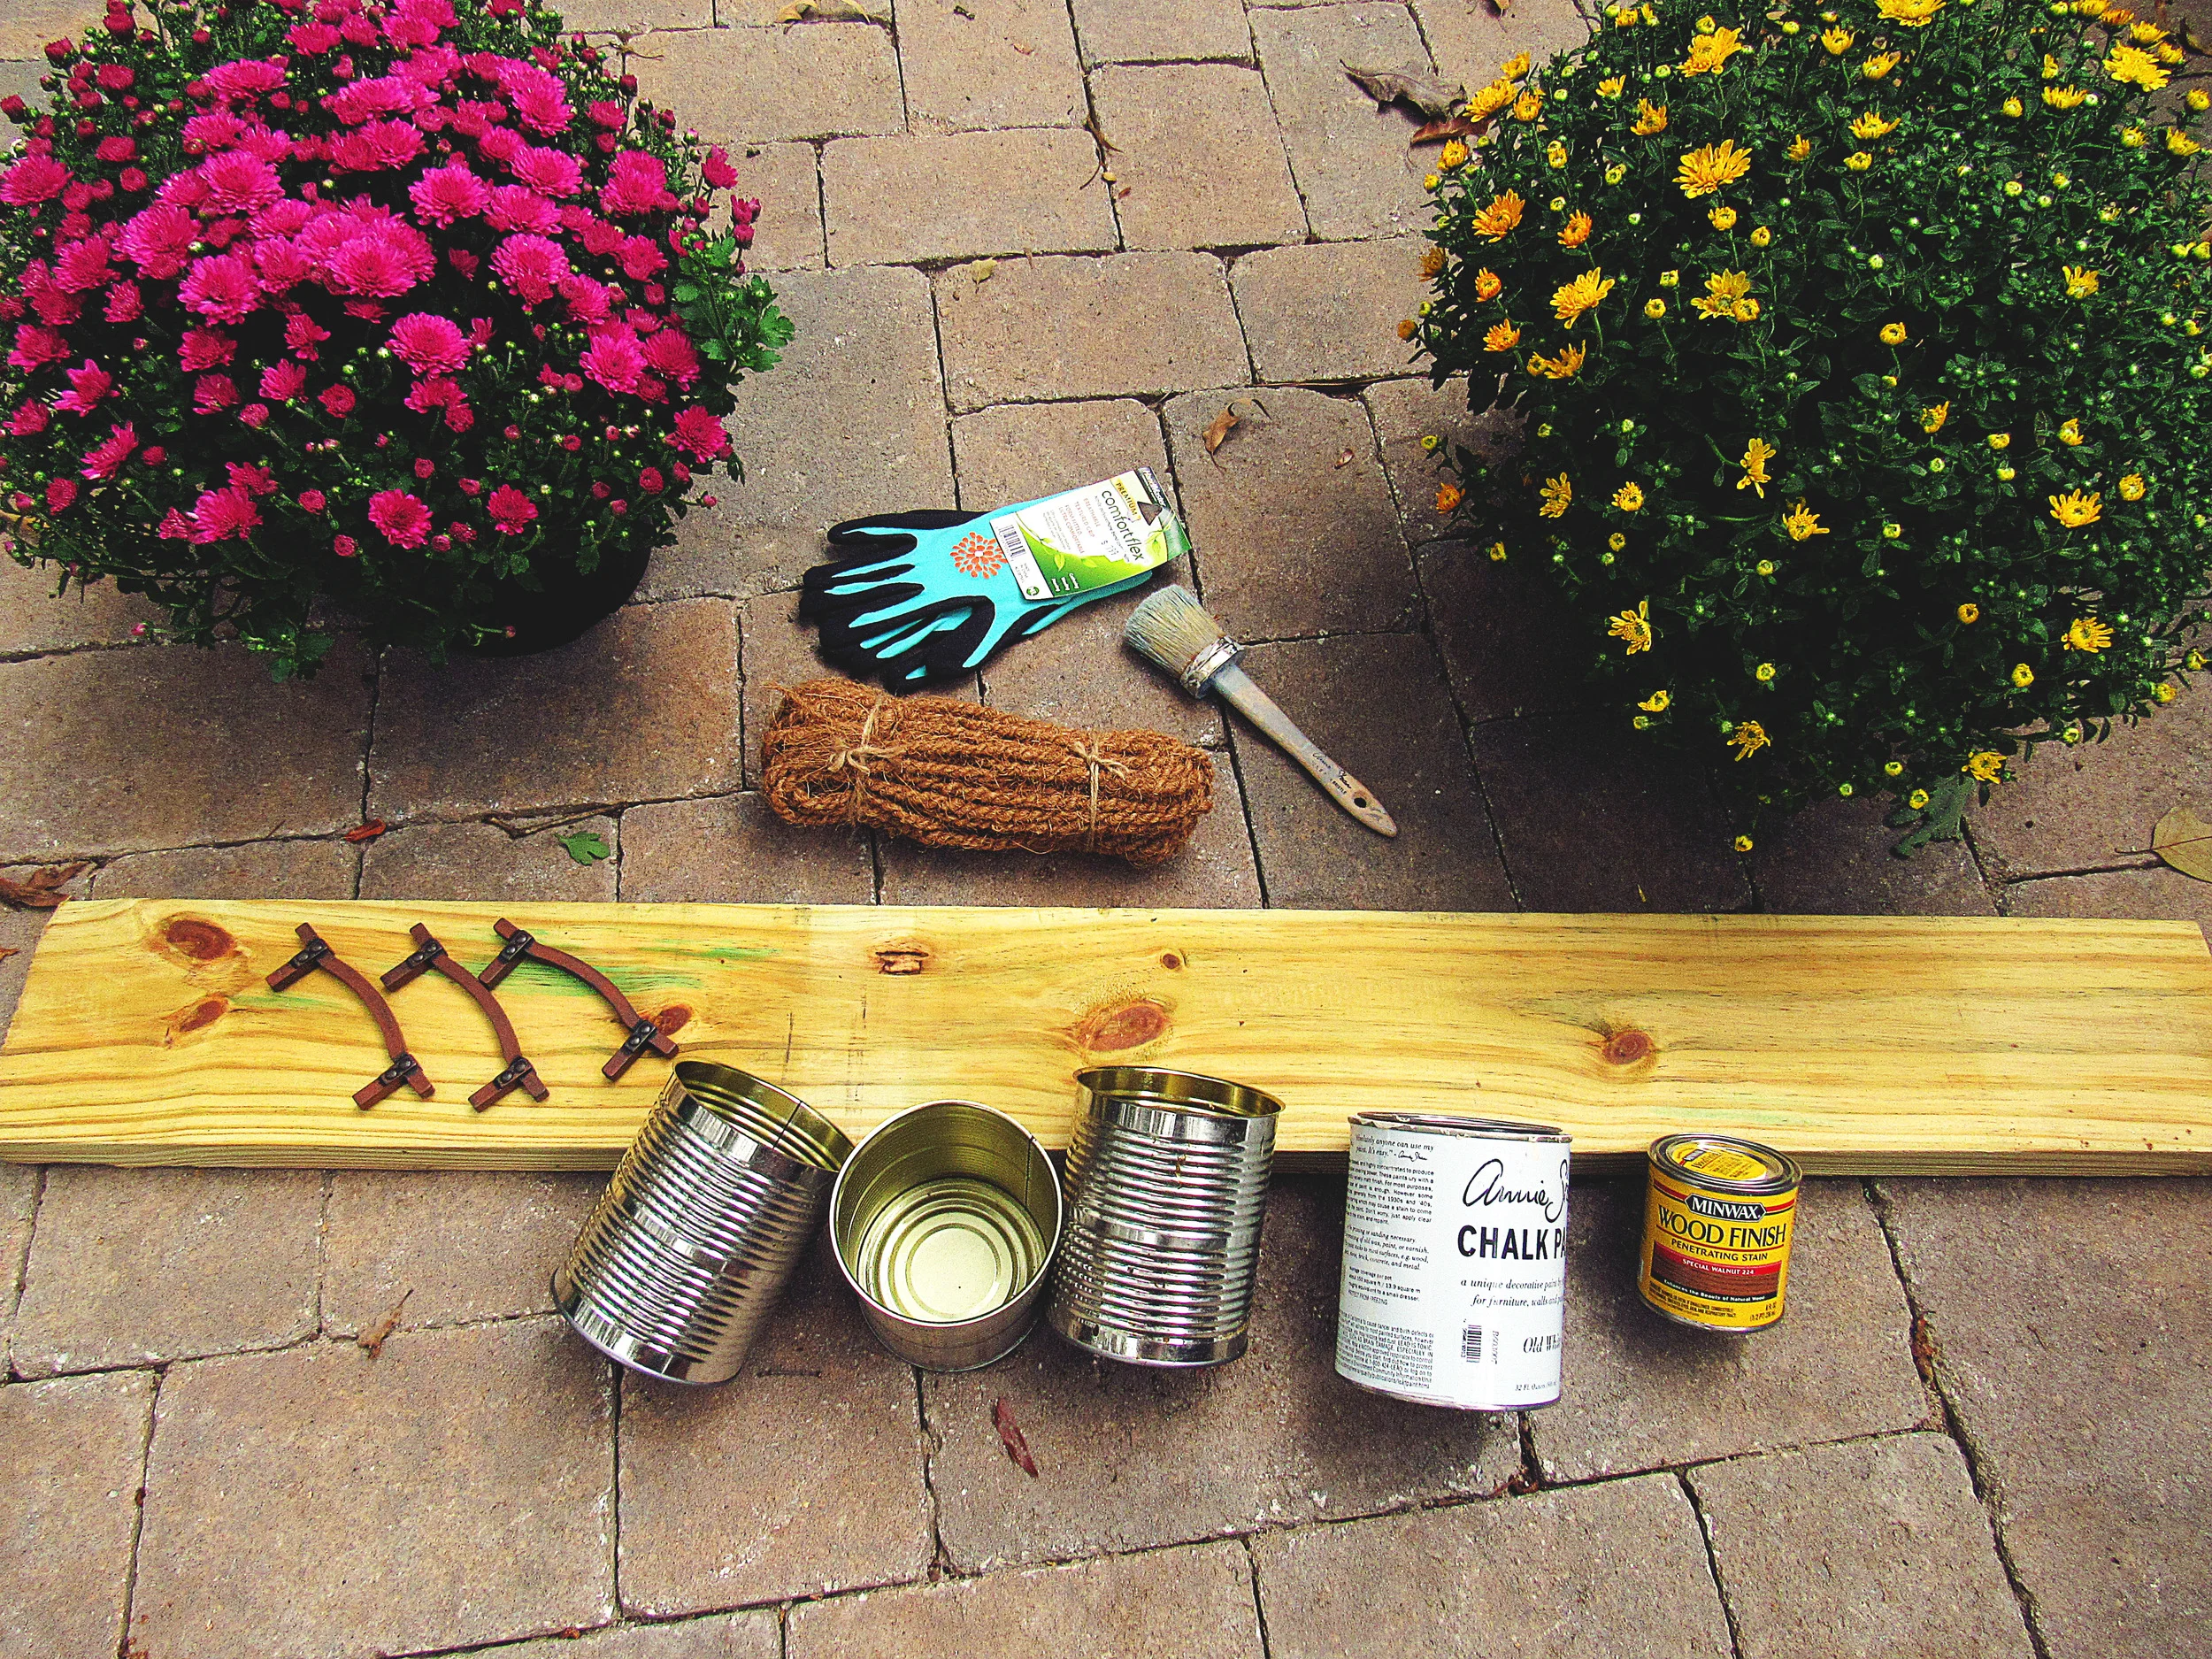
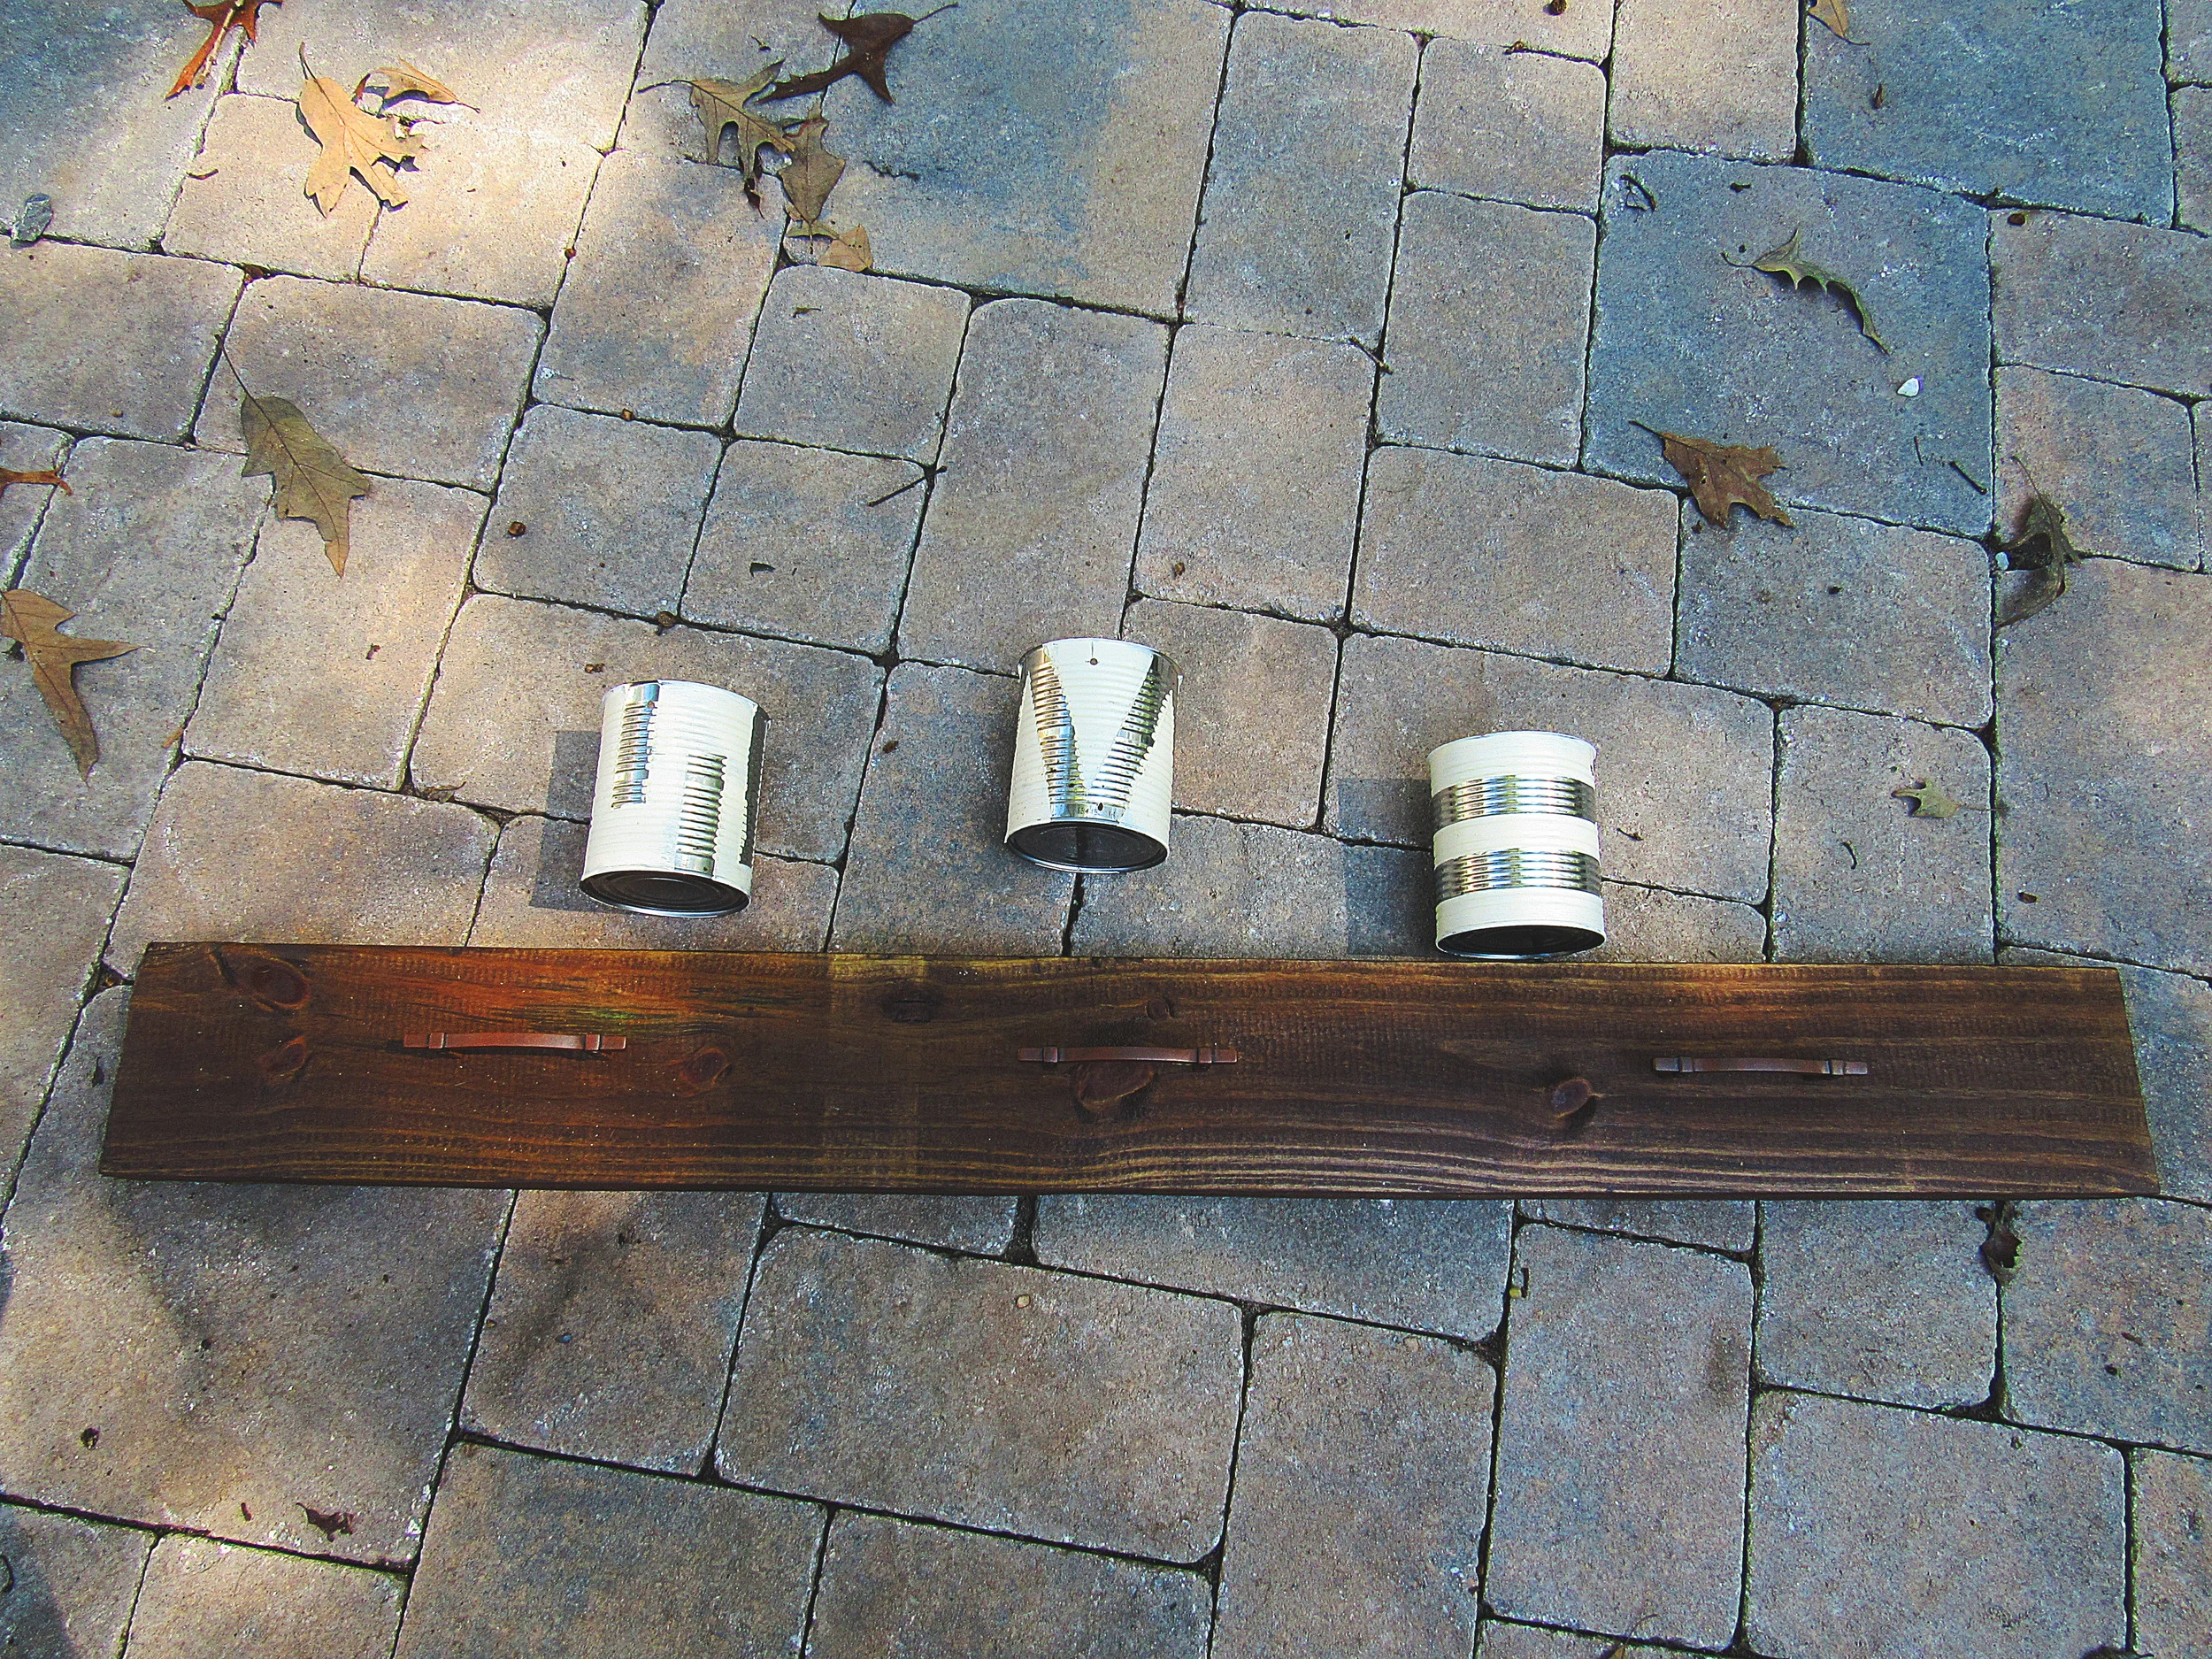
So I started off with my supplies. I got my tins from work that they were getting rid of, but you can use old paint cans or check your local craft stores. I got the 4ft board from Lowes as well as the rope, handles/hardware, and Woodfinish Penetrating Stain. I used “Special Walnut”. The mums I picked up from a local nursery as well some pretty adorable gardening gloves if I do say so myself.

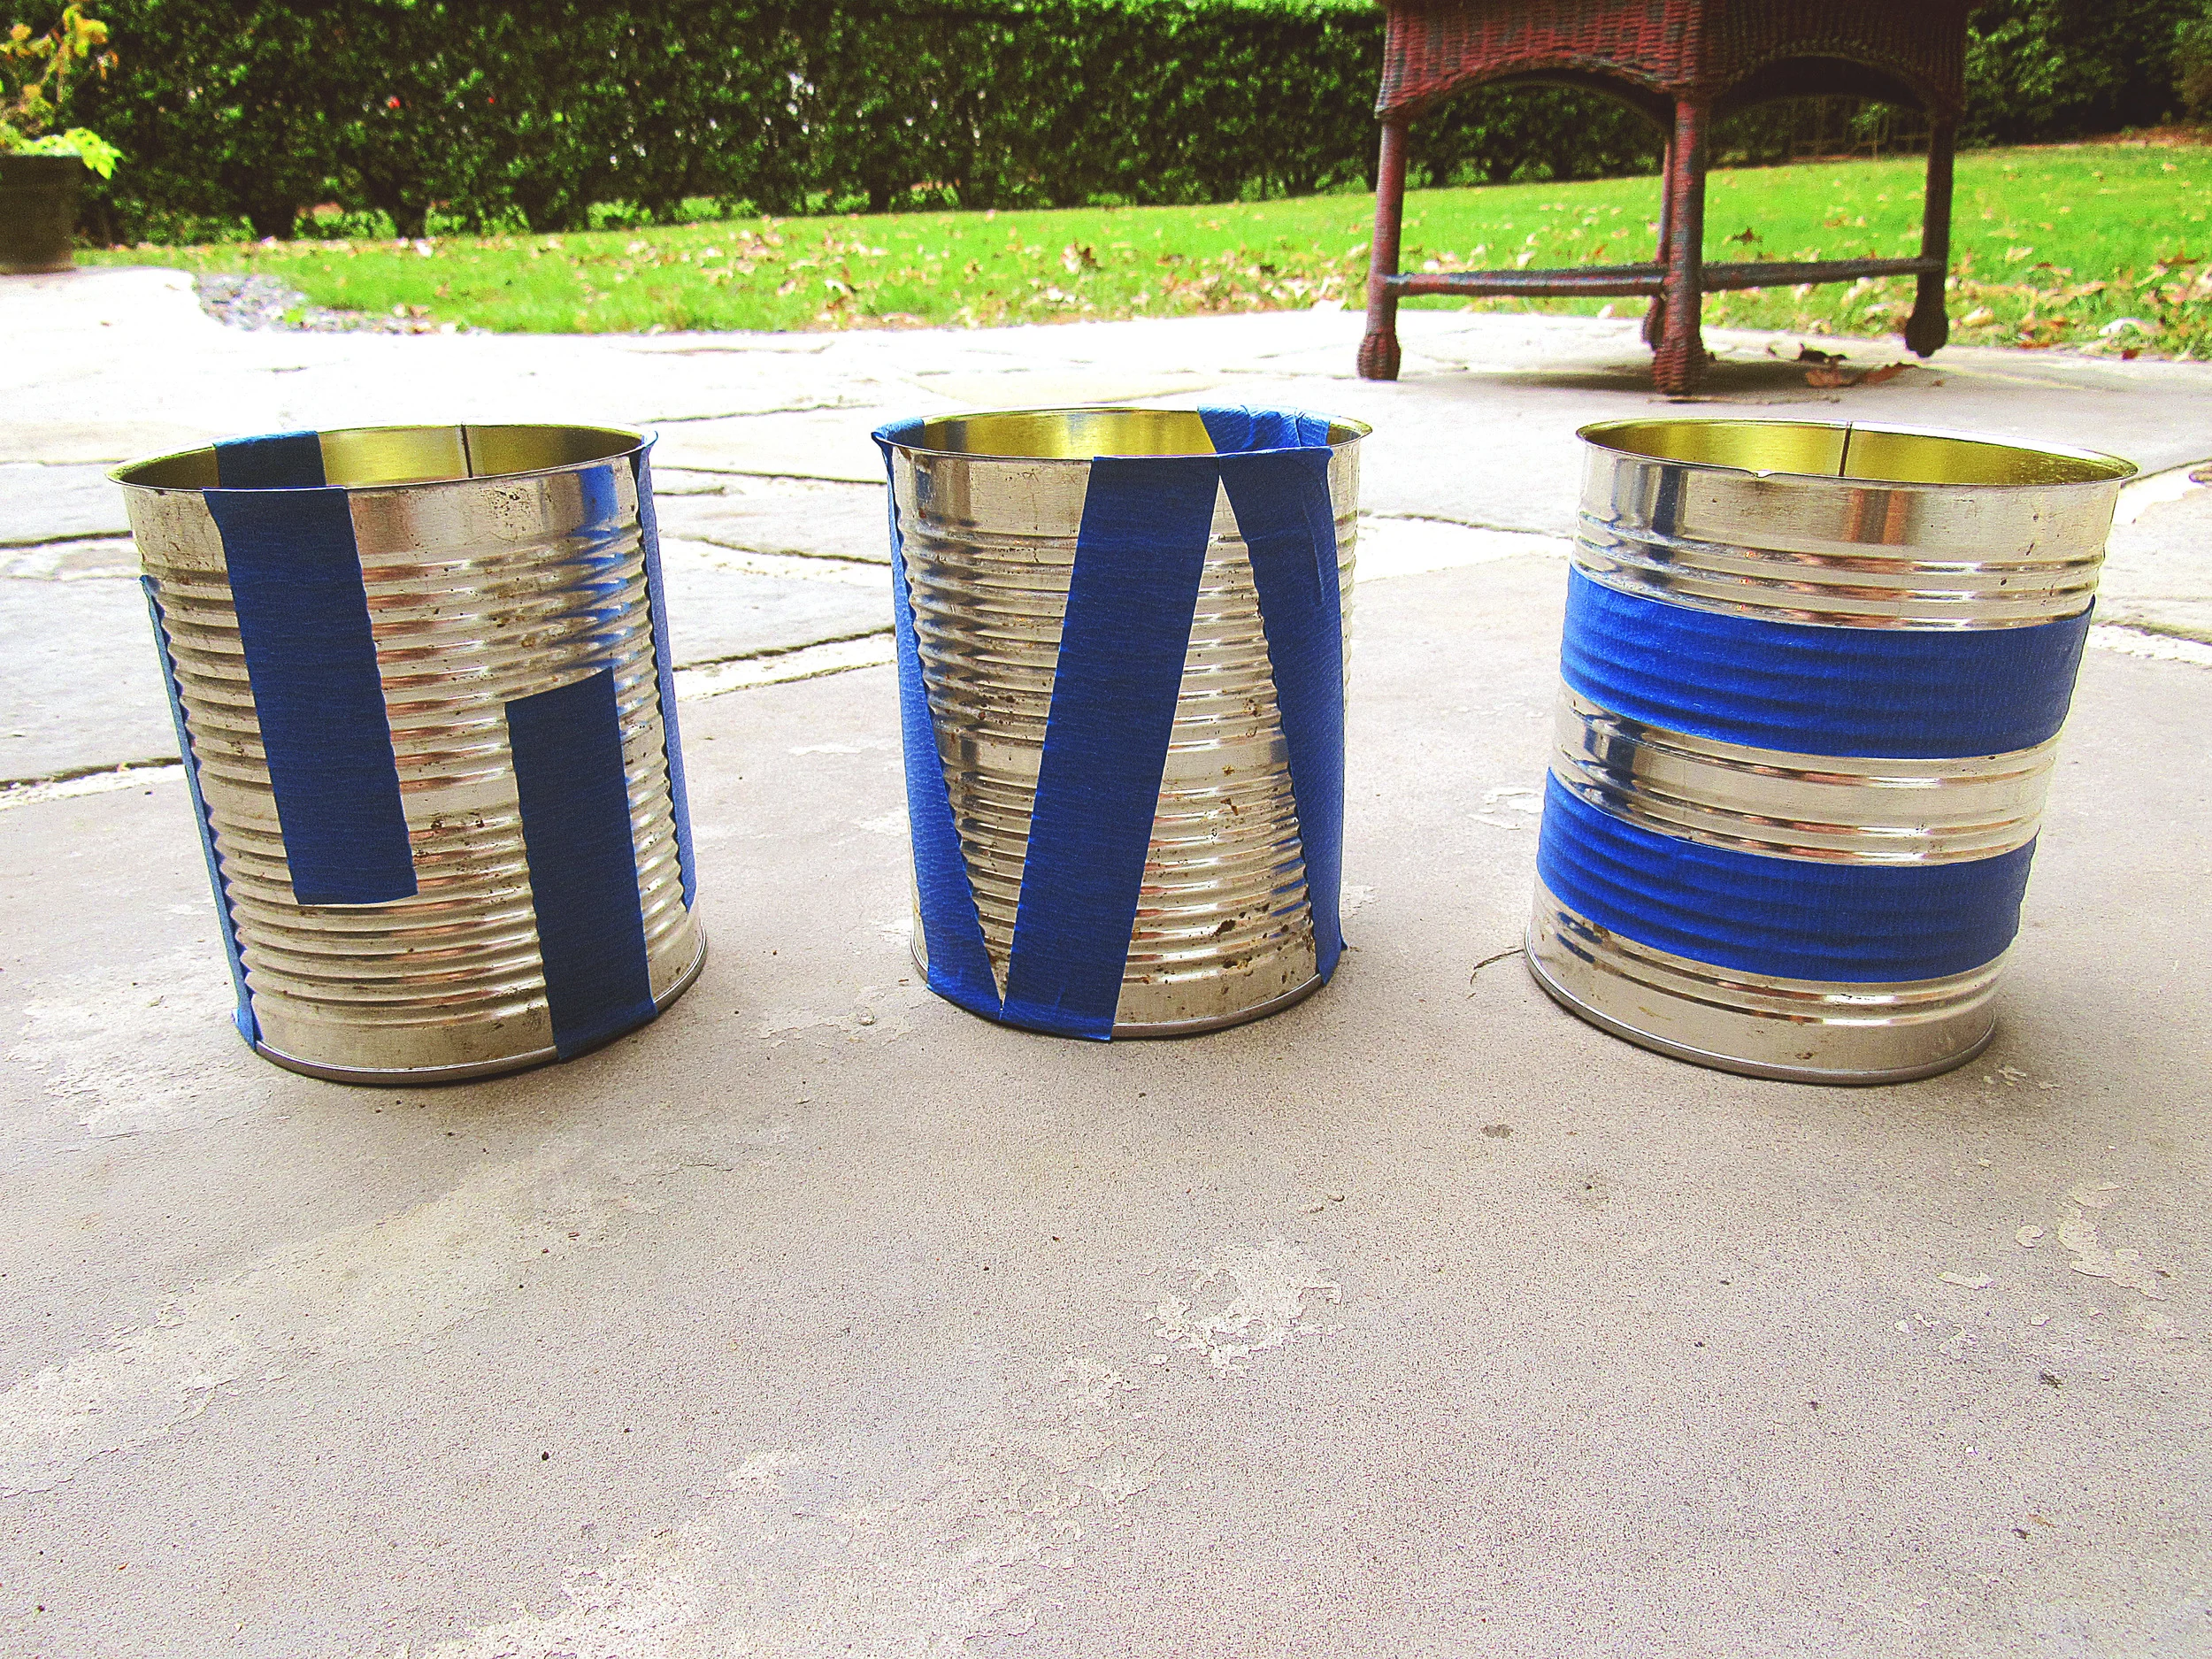
I used tape to create designs and Annie Sloan “Old White” to paint the tins. After two coats and waiting for the paint to completely dry, I removed the tape. Usually I seal chalk paint with wax, however if these tins will be outside in warm weather the wax will not hold up, so I painted two coats of Polyurethane over them to give a good shine.  I used a drill to put one hole on opposite sides. I measured out three pieces of rope (depending on how long you want them to hang) and tied them in through the holes.

For the board, I used three coats of the stain, waiting for each coat to dry in between. Using a ruler and pencil I measured out where the hooks should go and drilled them in. This is where things get tricky for me, as I am truly NOT a perfectionist. I eyeball every picture I hang up, even if that means putting multiple holes in the wall. Not the best way to go, especially for a project like this.  On the back of the board I drilled in a hook on each end so I could hang it on the house.

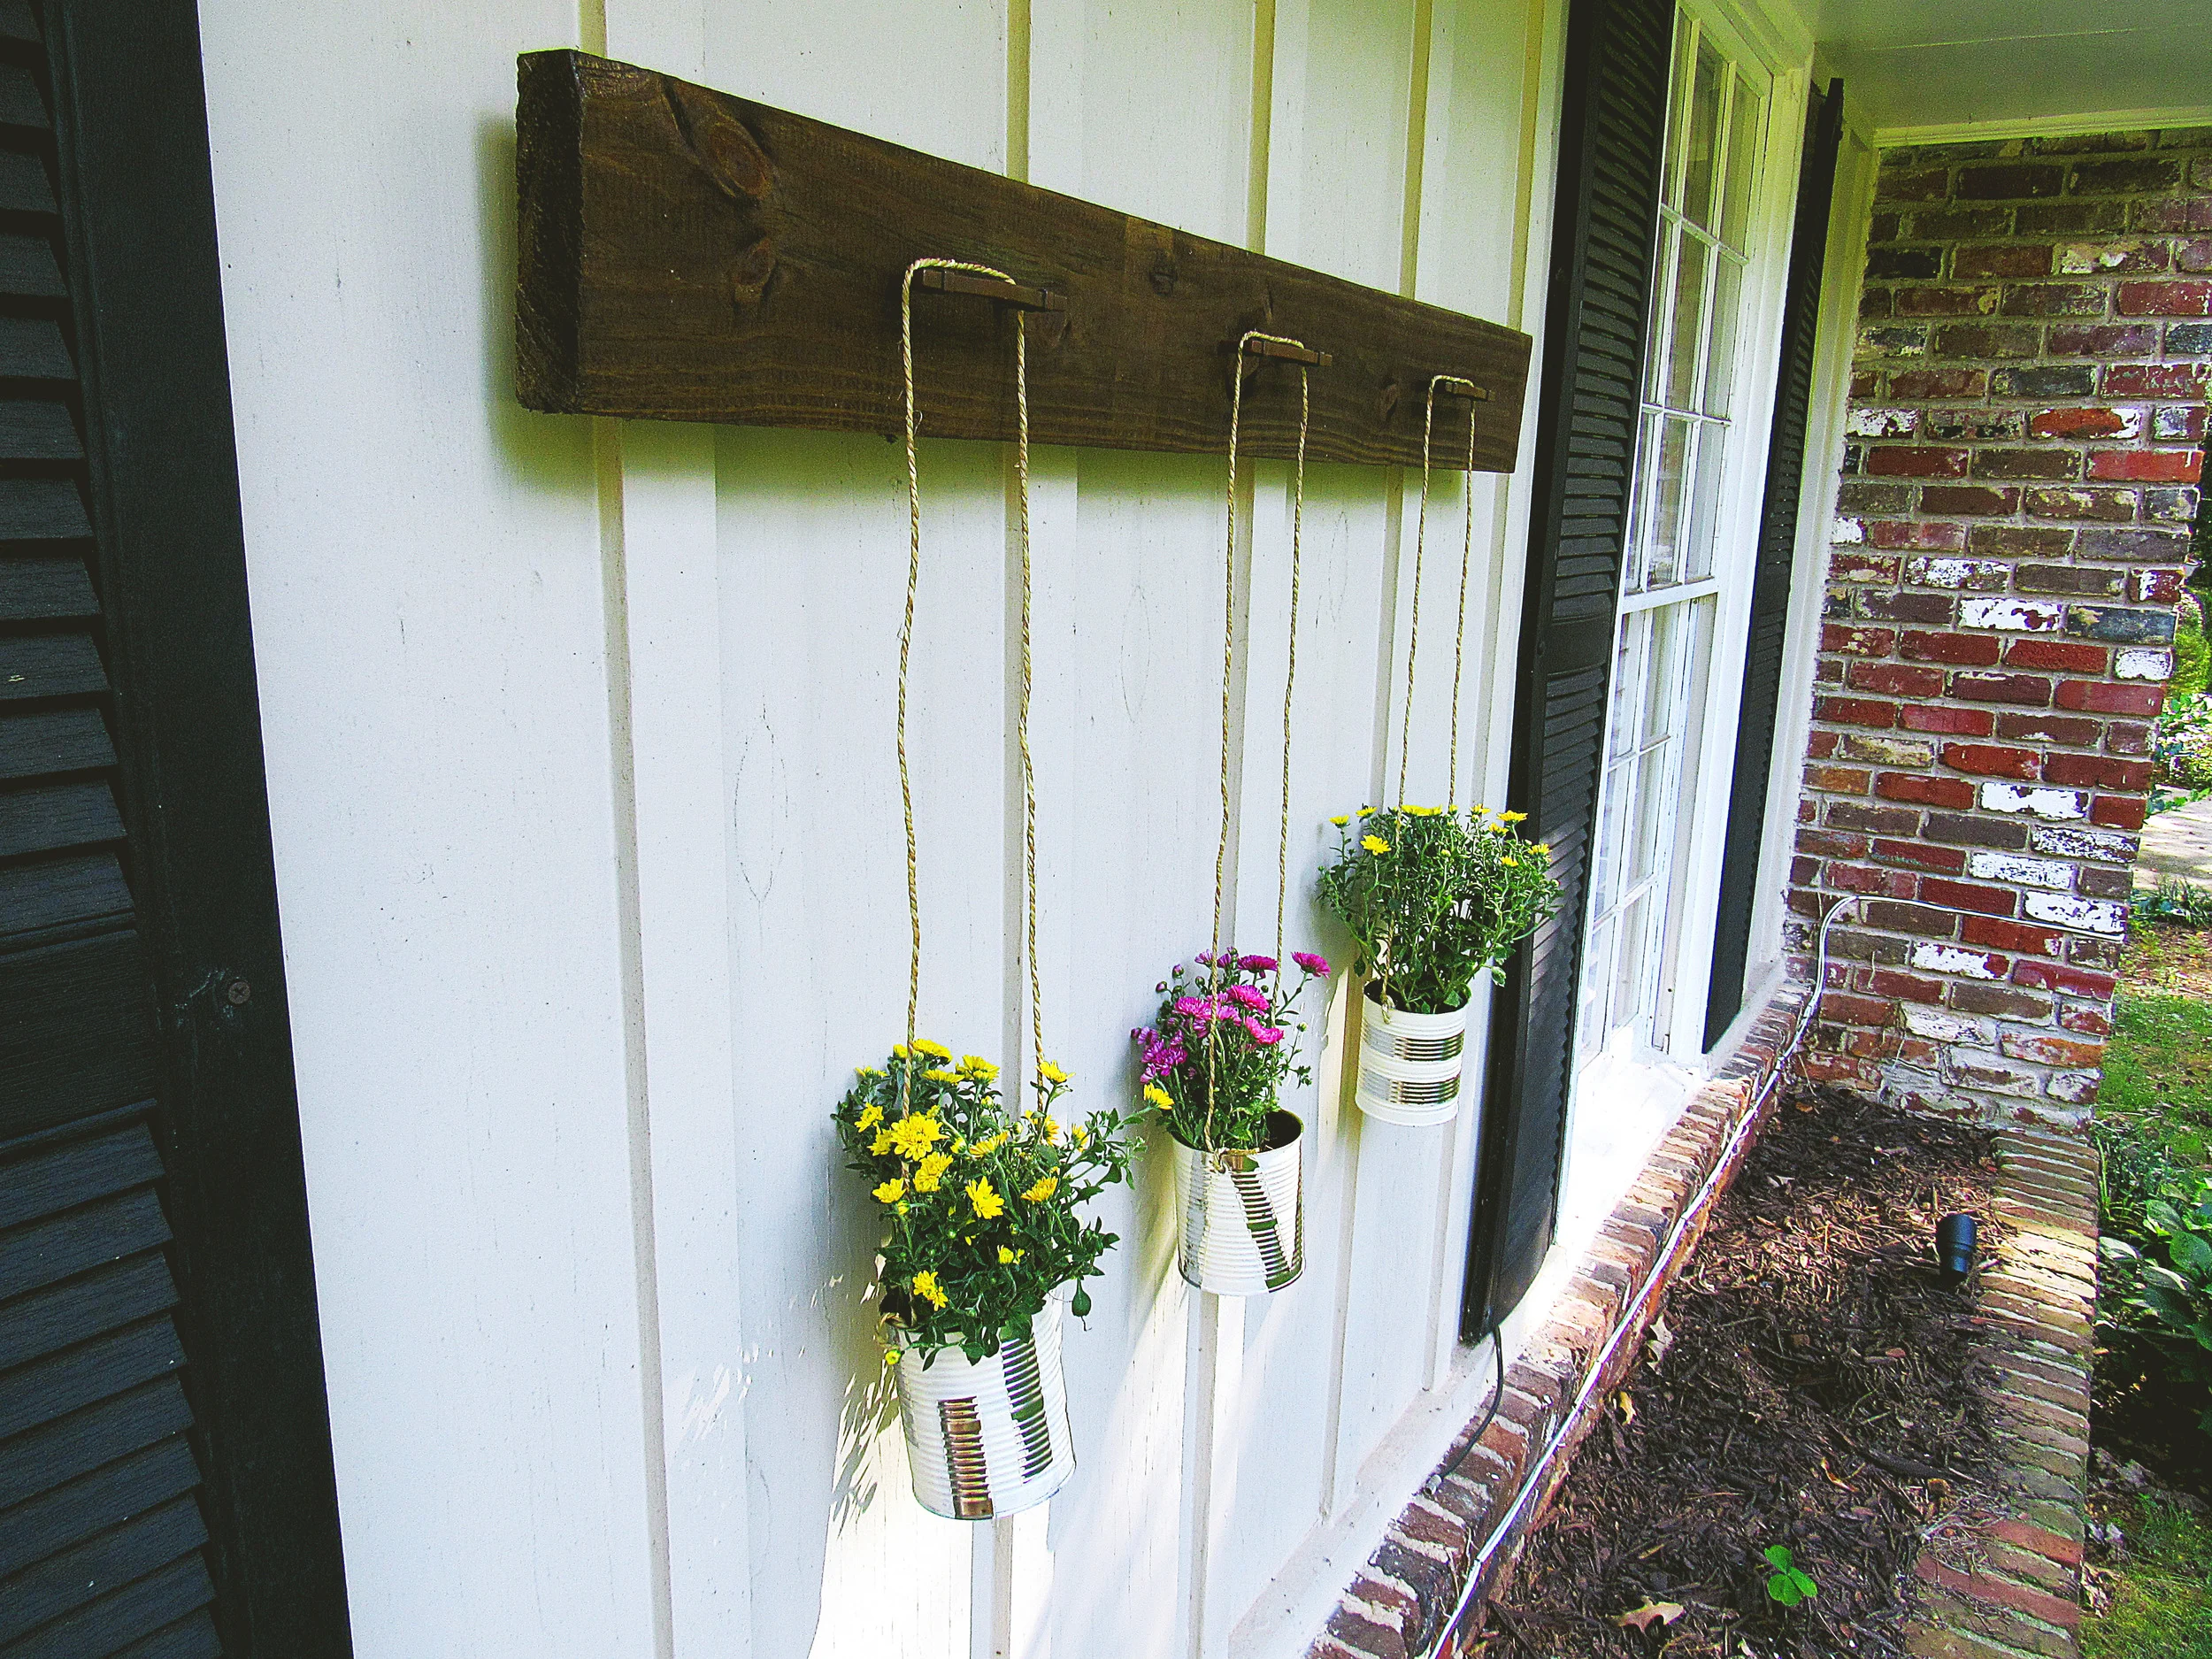
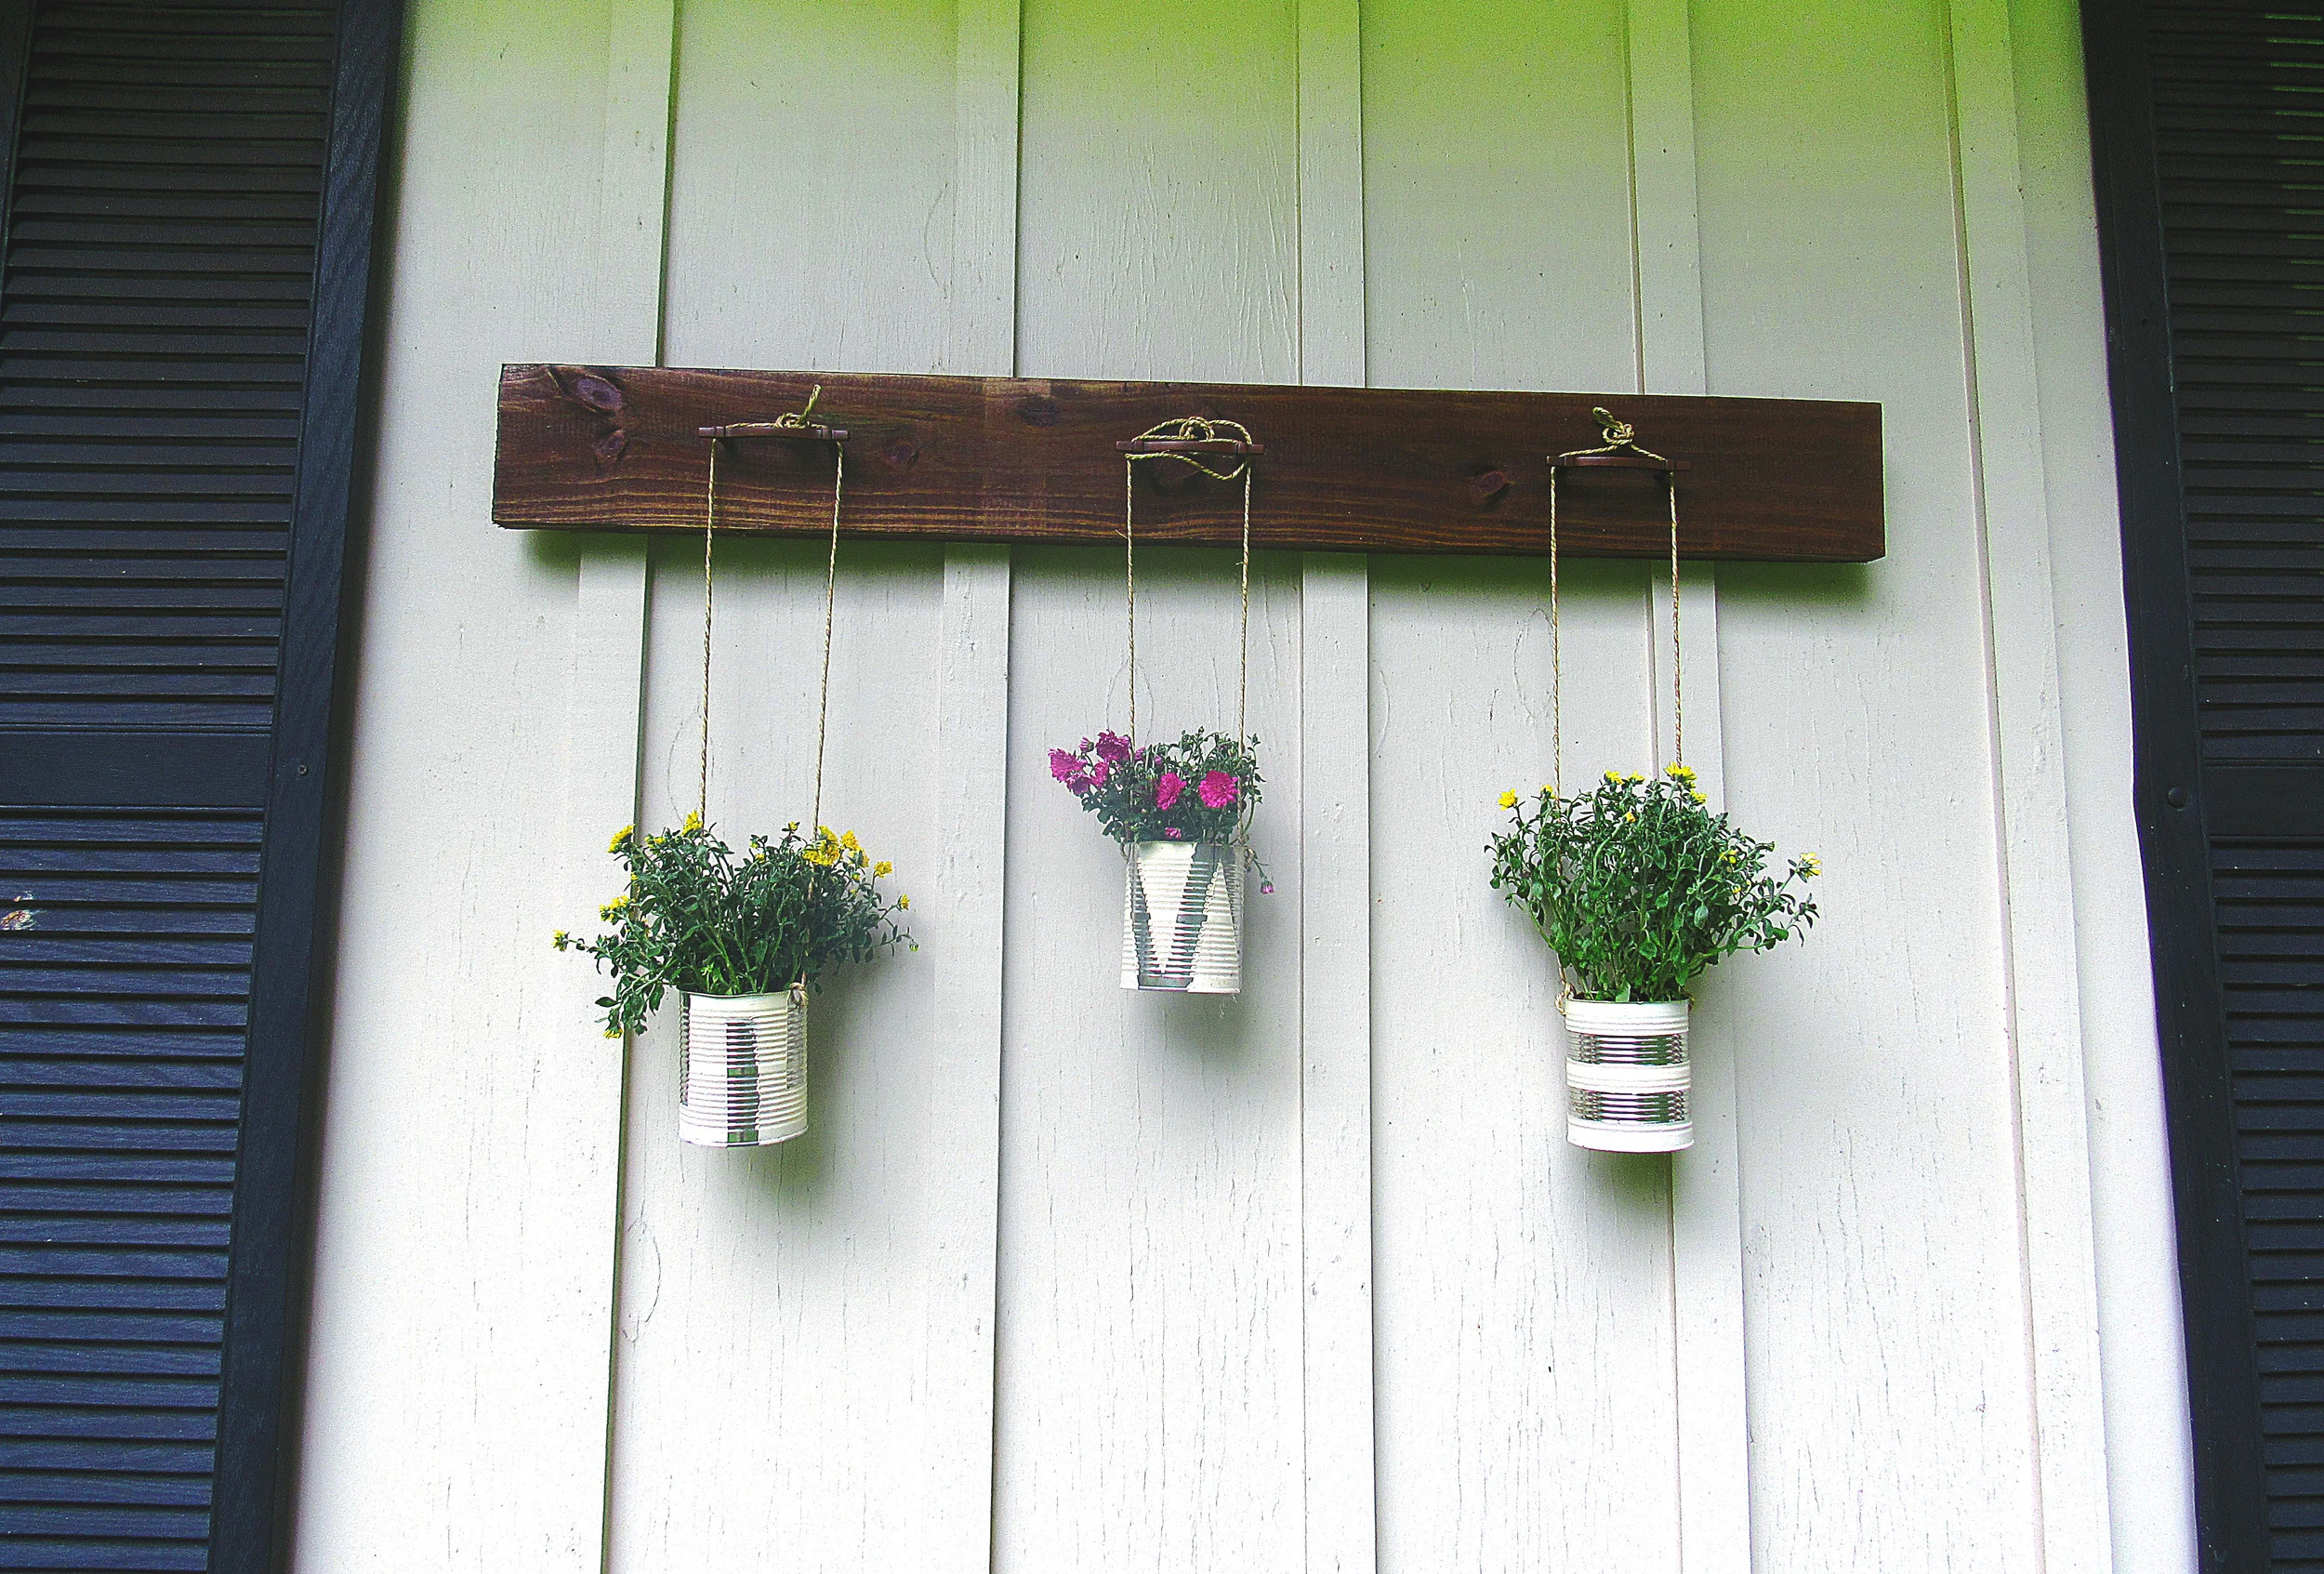
After you have all of your pieces assembled, plant your mums and hang your board and you are good to go!

You can tie knots in the rope to adjust the length. And there you have it, hanging mums! A lovely Fall project. 

While I got down and dirty with these mums I was singing along to one of my favorites, Natalie Prass:

Check out "Bird of prey" here.

how to stain a top

*Original post: September 23rd, 2015

And no, I do not mean how to stain a top that you are wearing. Although I really AM a pro at doing that. Don't believe me? Ask my sister. I have ruined many borrowed tops in my day.

Anyway, I am talking about taking a piece and taking it from drab to FAB by giving it a brand new stained top.

So from the very beginning:

Let's talk the facts about this piece.

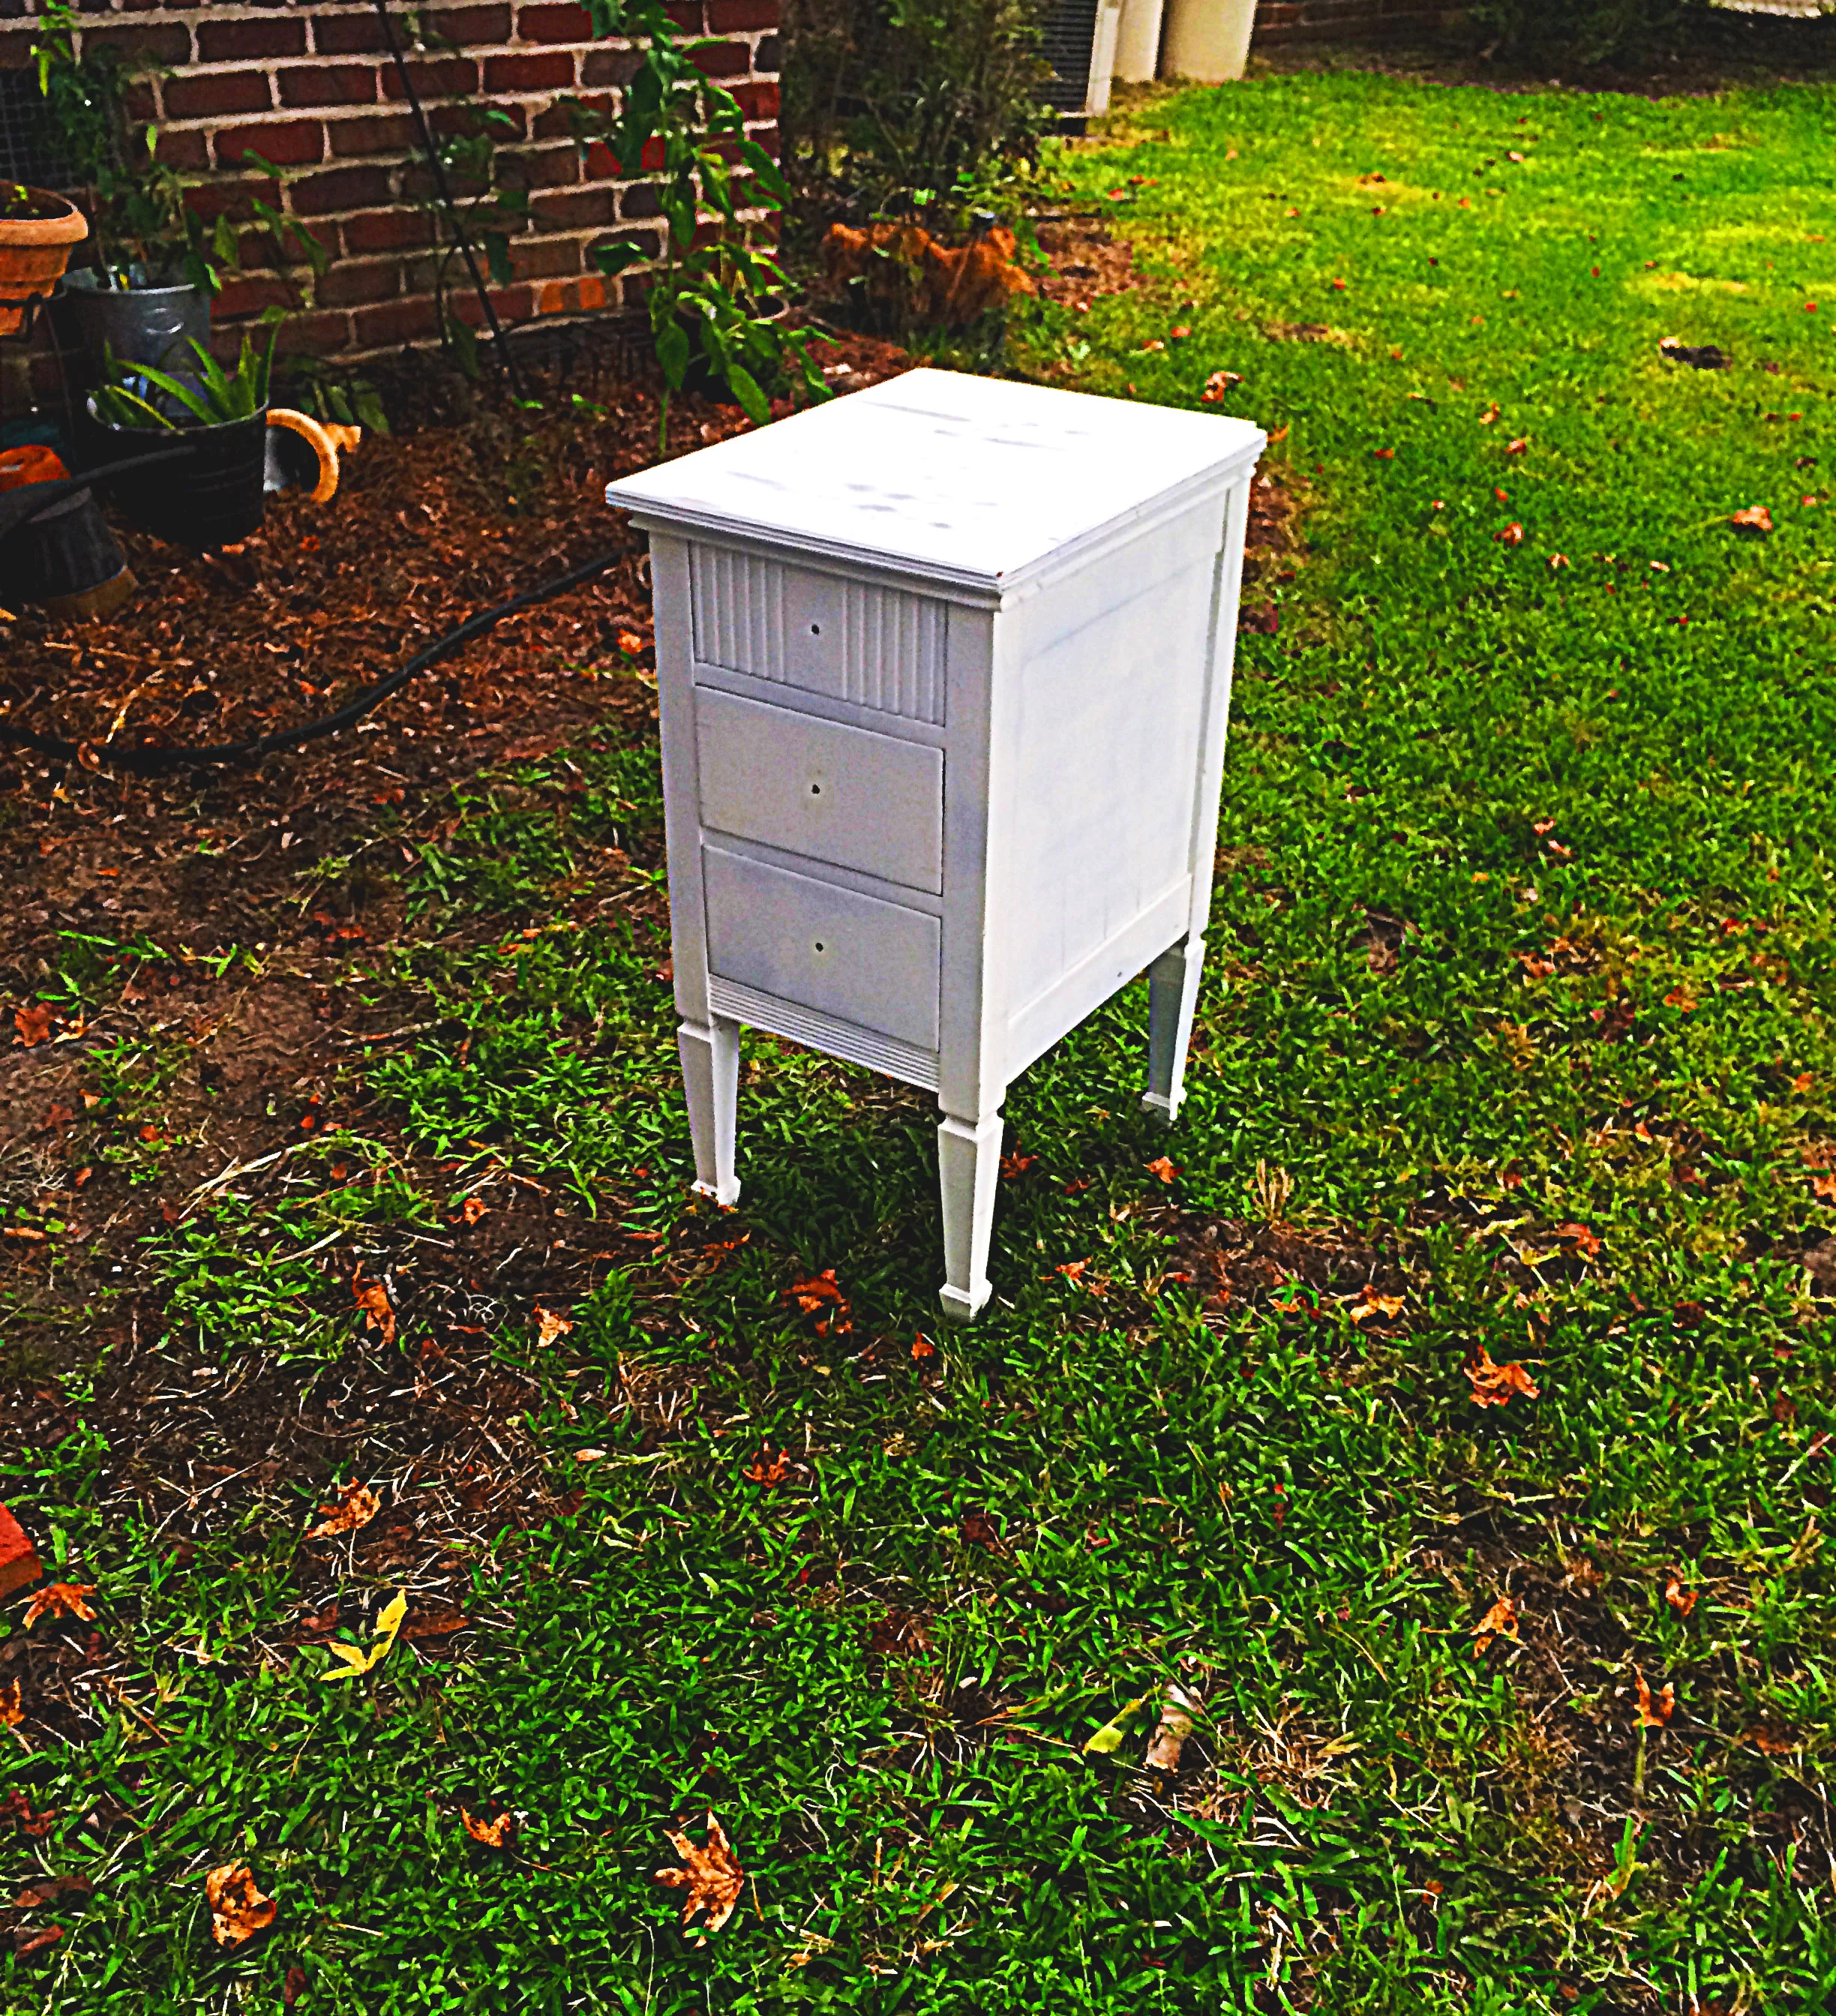
A  - poorly white spray painted 

B - no knobs!! 

C - he's overall kind of sad. Let's make him happy.

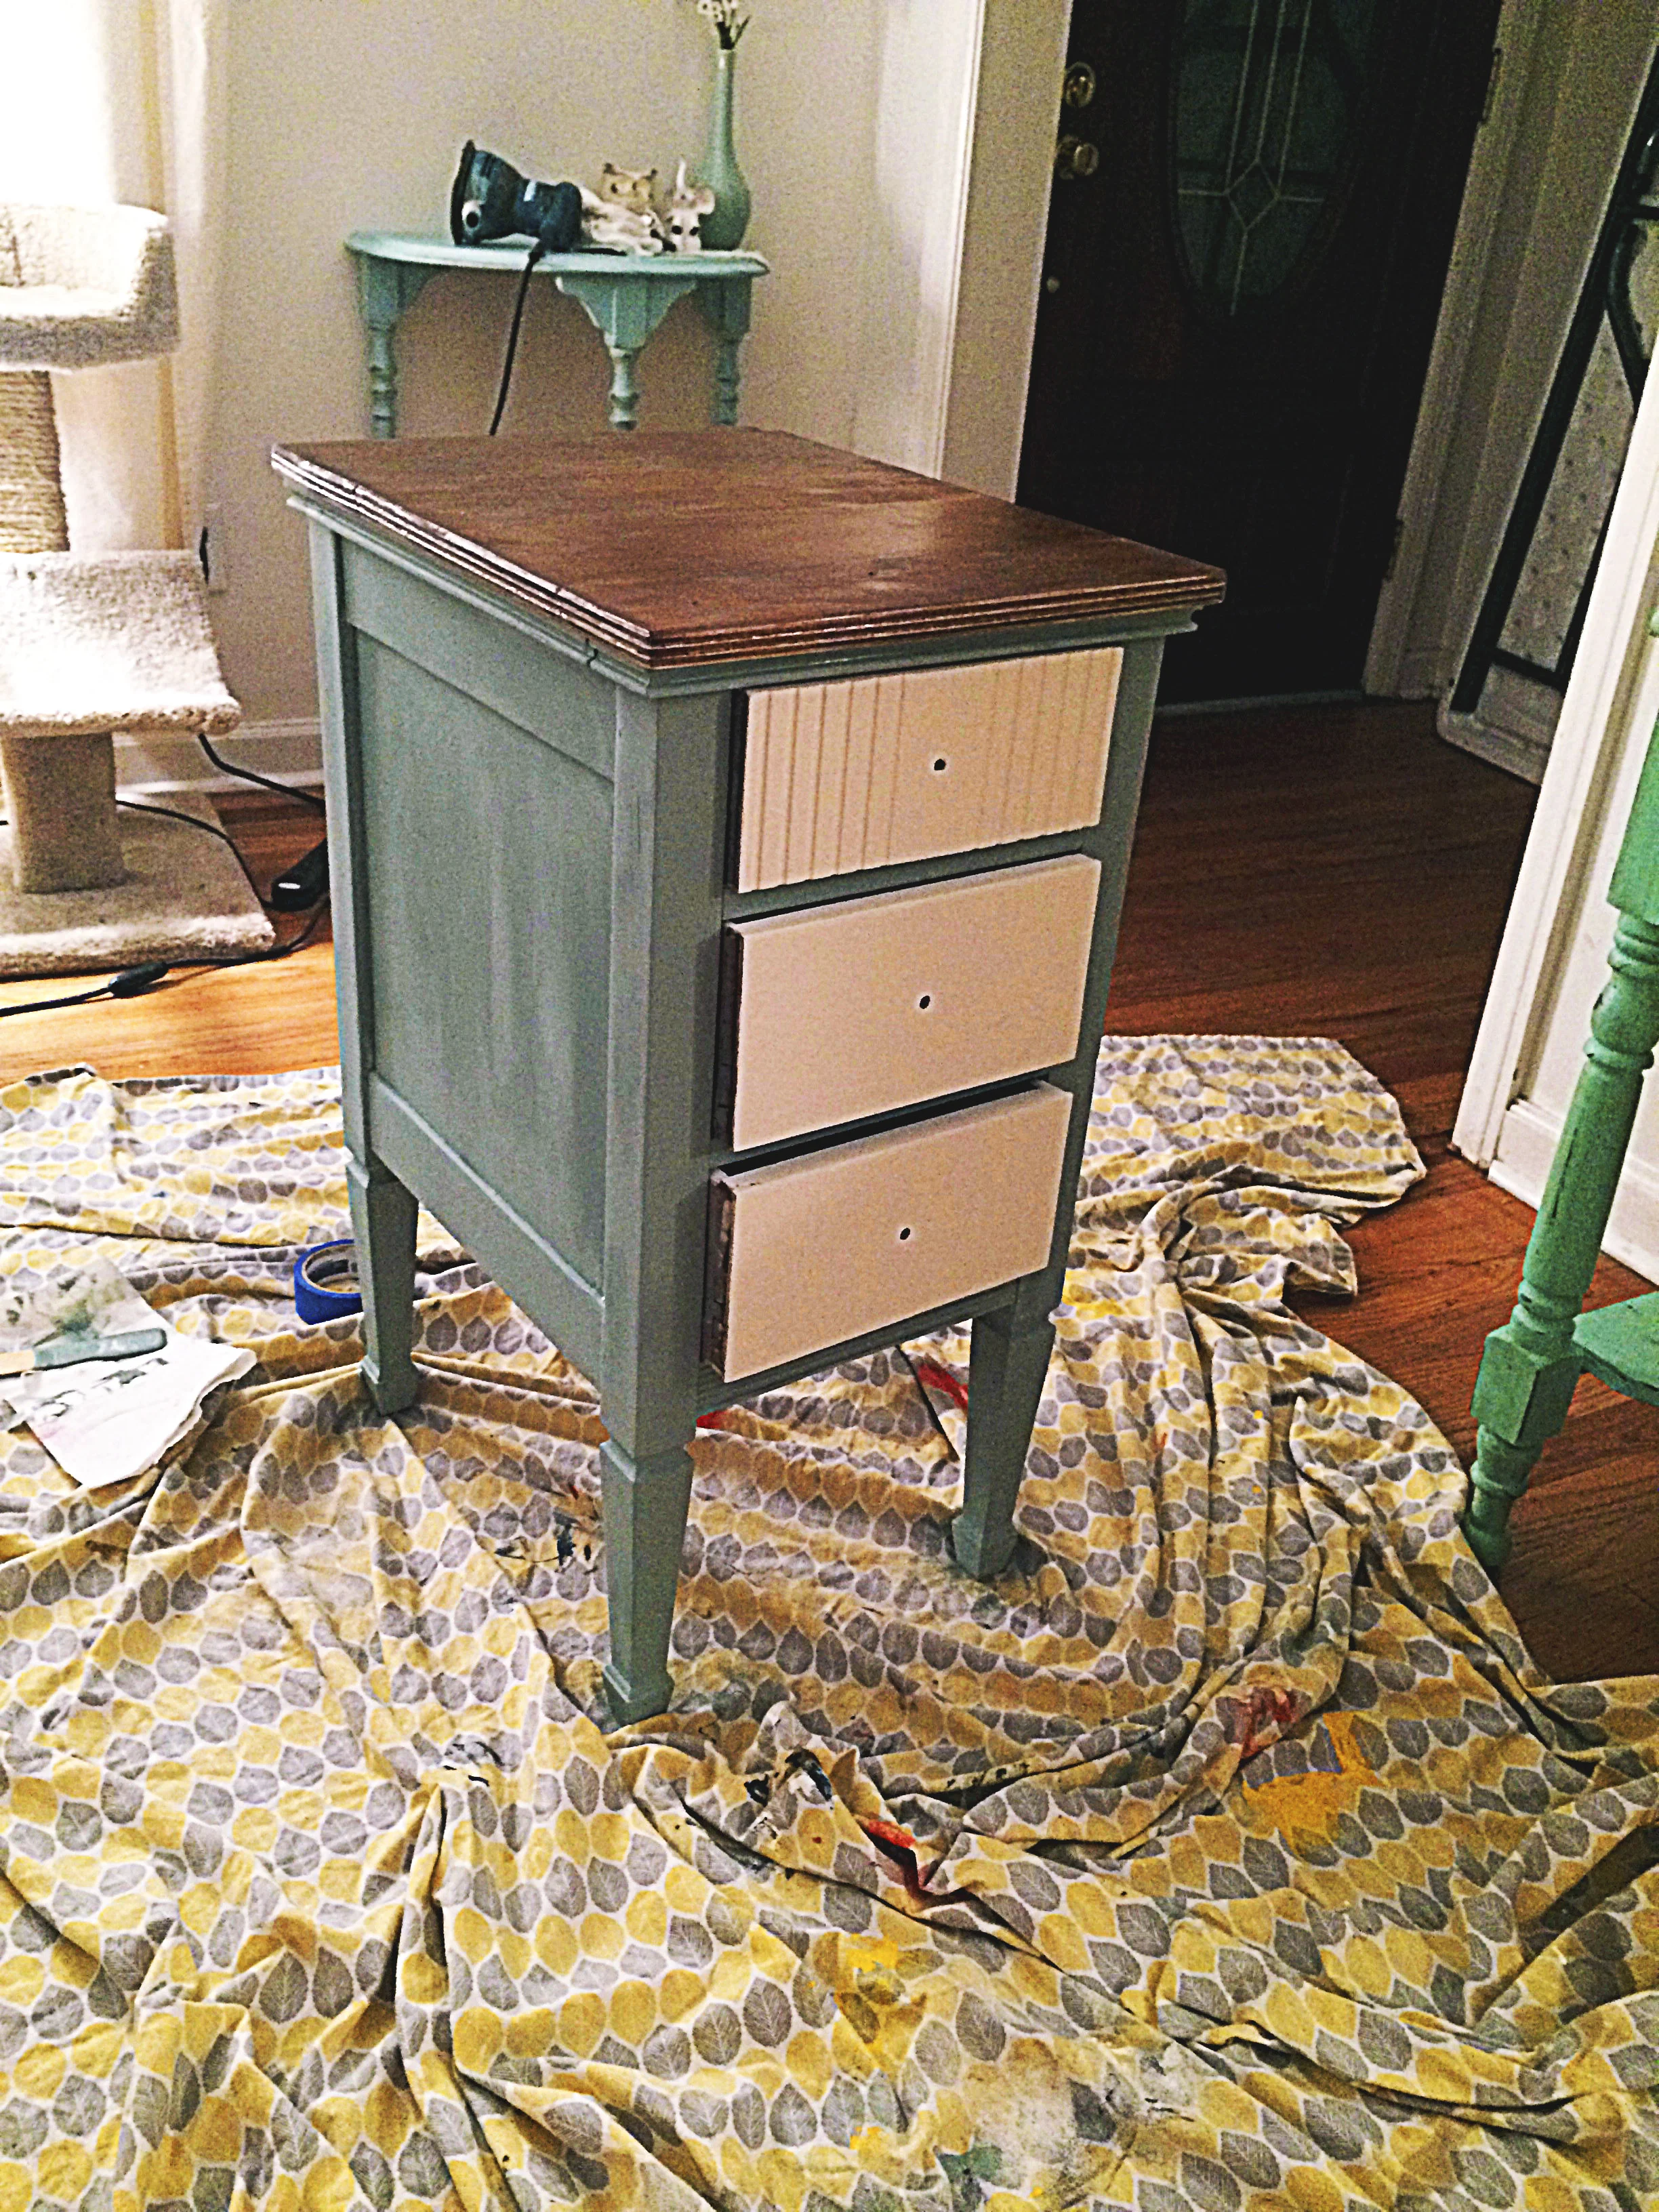
I started off by sanding the top of this bad boy and getting down the raw wood. I only concentrated on sanding the top; since I am using chalk paint, the rest will not require sanding or priming. I use a small hand sander that was given to me by a friend, but any sander will work fine.

After I get the piece cleaned off with a rag, I start the stain. I used Minwax "Special Walnut" and did three coats, waiting for the piece to dry between each. Once that dried and looked pretty and brown the way I wanted it, I did two coats of Polyeurythane over the top. Easy as that...top complete!

Then I got into the chalk paint. I used Annie Sloan "Duck Egg" to paint the body and "Old White" to paint the drawers. The glorious things about real, good quality chalk paint is that you will most likely never need more than 2 coats. I highly suggest actually watering down the second coat just a tiny bit, it will help immensely. 

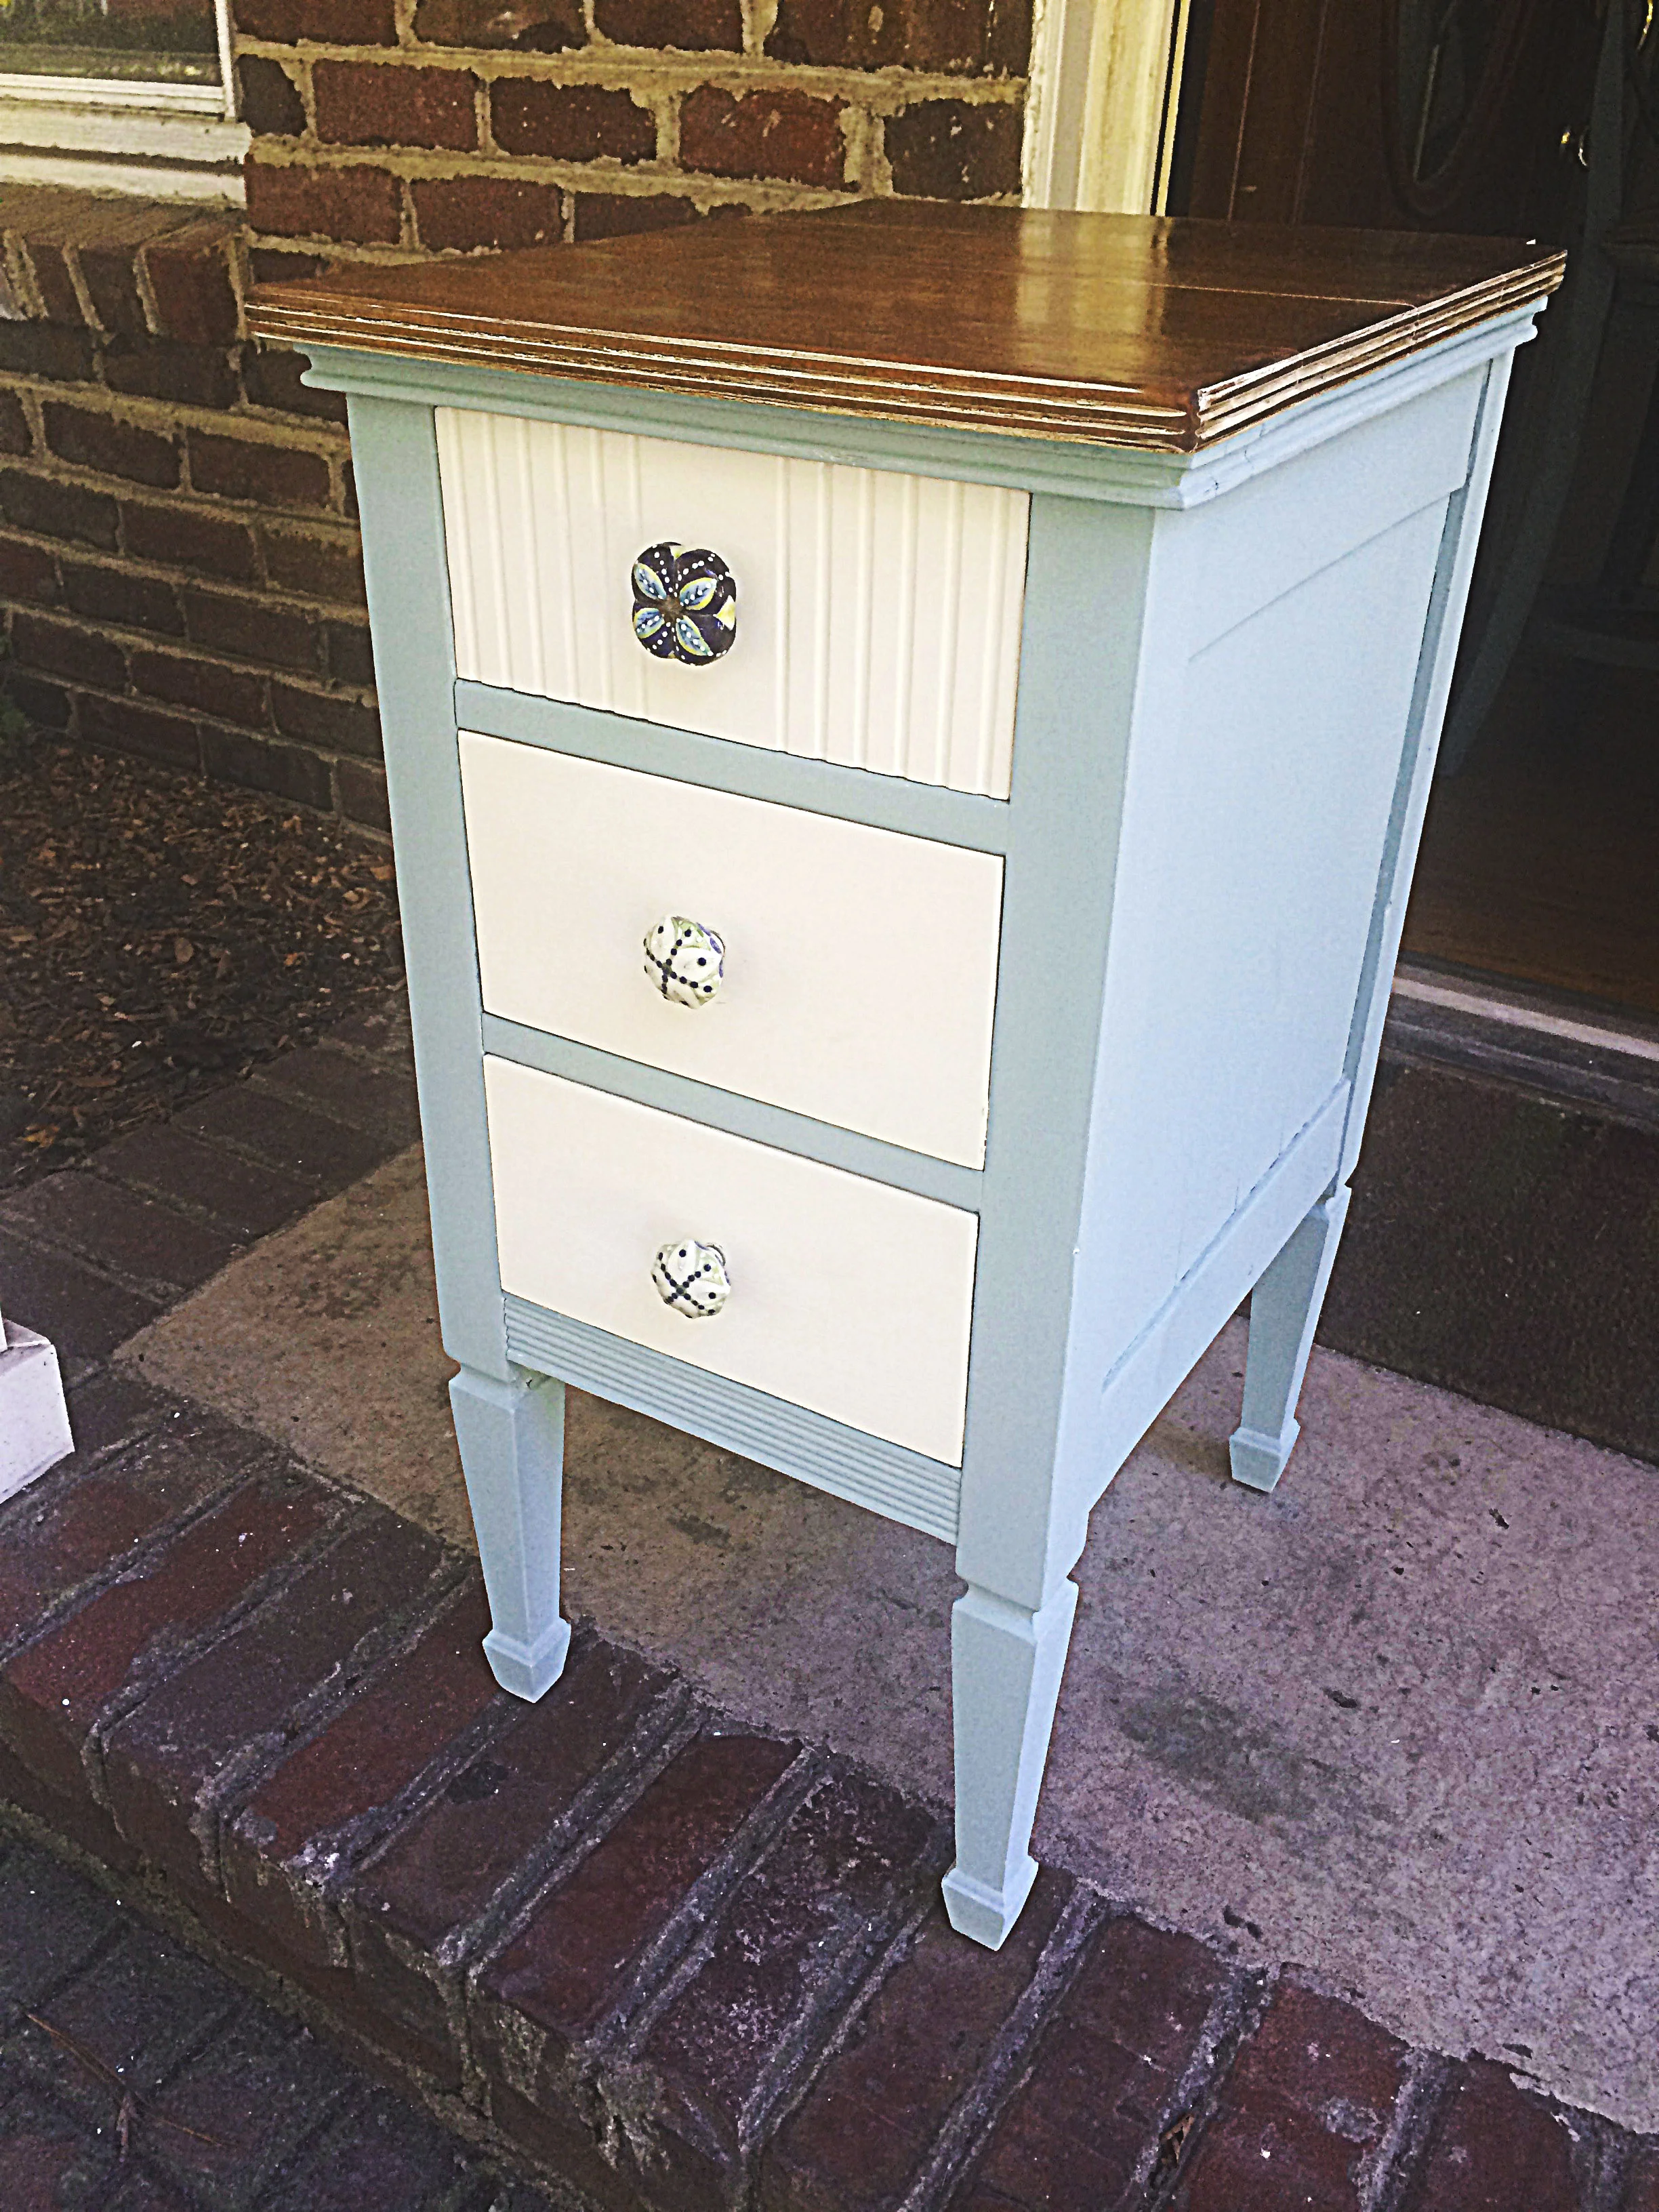
So here we have the mid process...on quite a lovely sheet don't you think? I did not want this piece to look distressed so I didn't sand or dark wax. I just covered the piece with Annie Sloan "Clear Wax", waited 8 hours, and buffed it out. Now all it needs is knobs.

Knobs....oh how I love knobs. My favorite place to buy knobs are Anthropologie, they always have a great selection.  

And there you have it....a whole new piece from a very simple makeover! 

Music while I stain:

Oh man, this guy melts my heart. Check out his song "Stun Me". Listen here.

national guacamole day

*Original post: September 18th, 2015

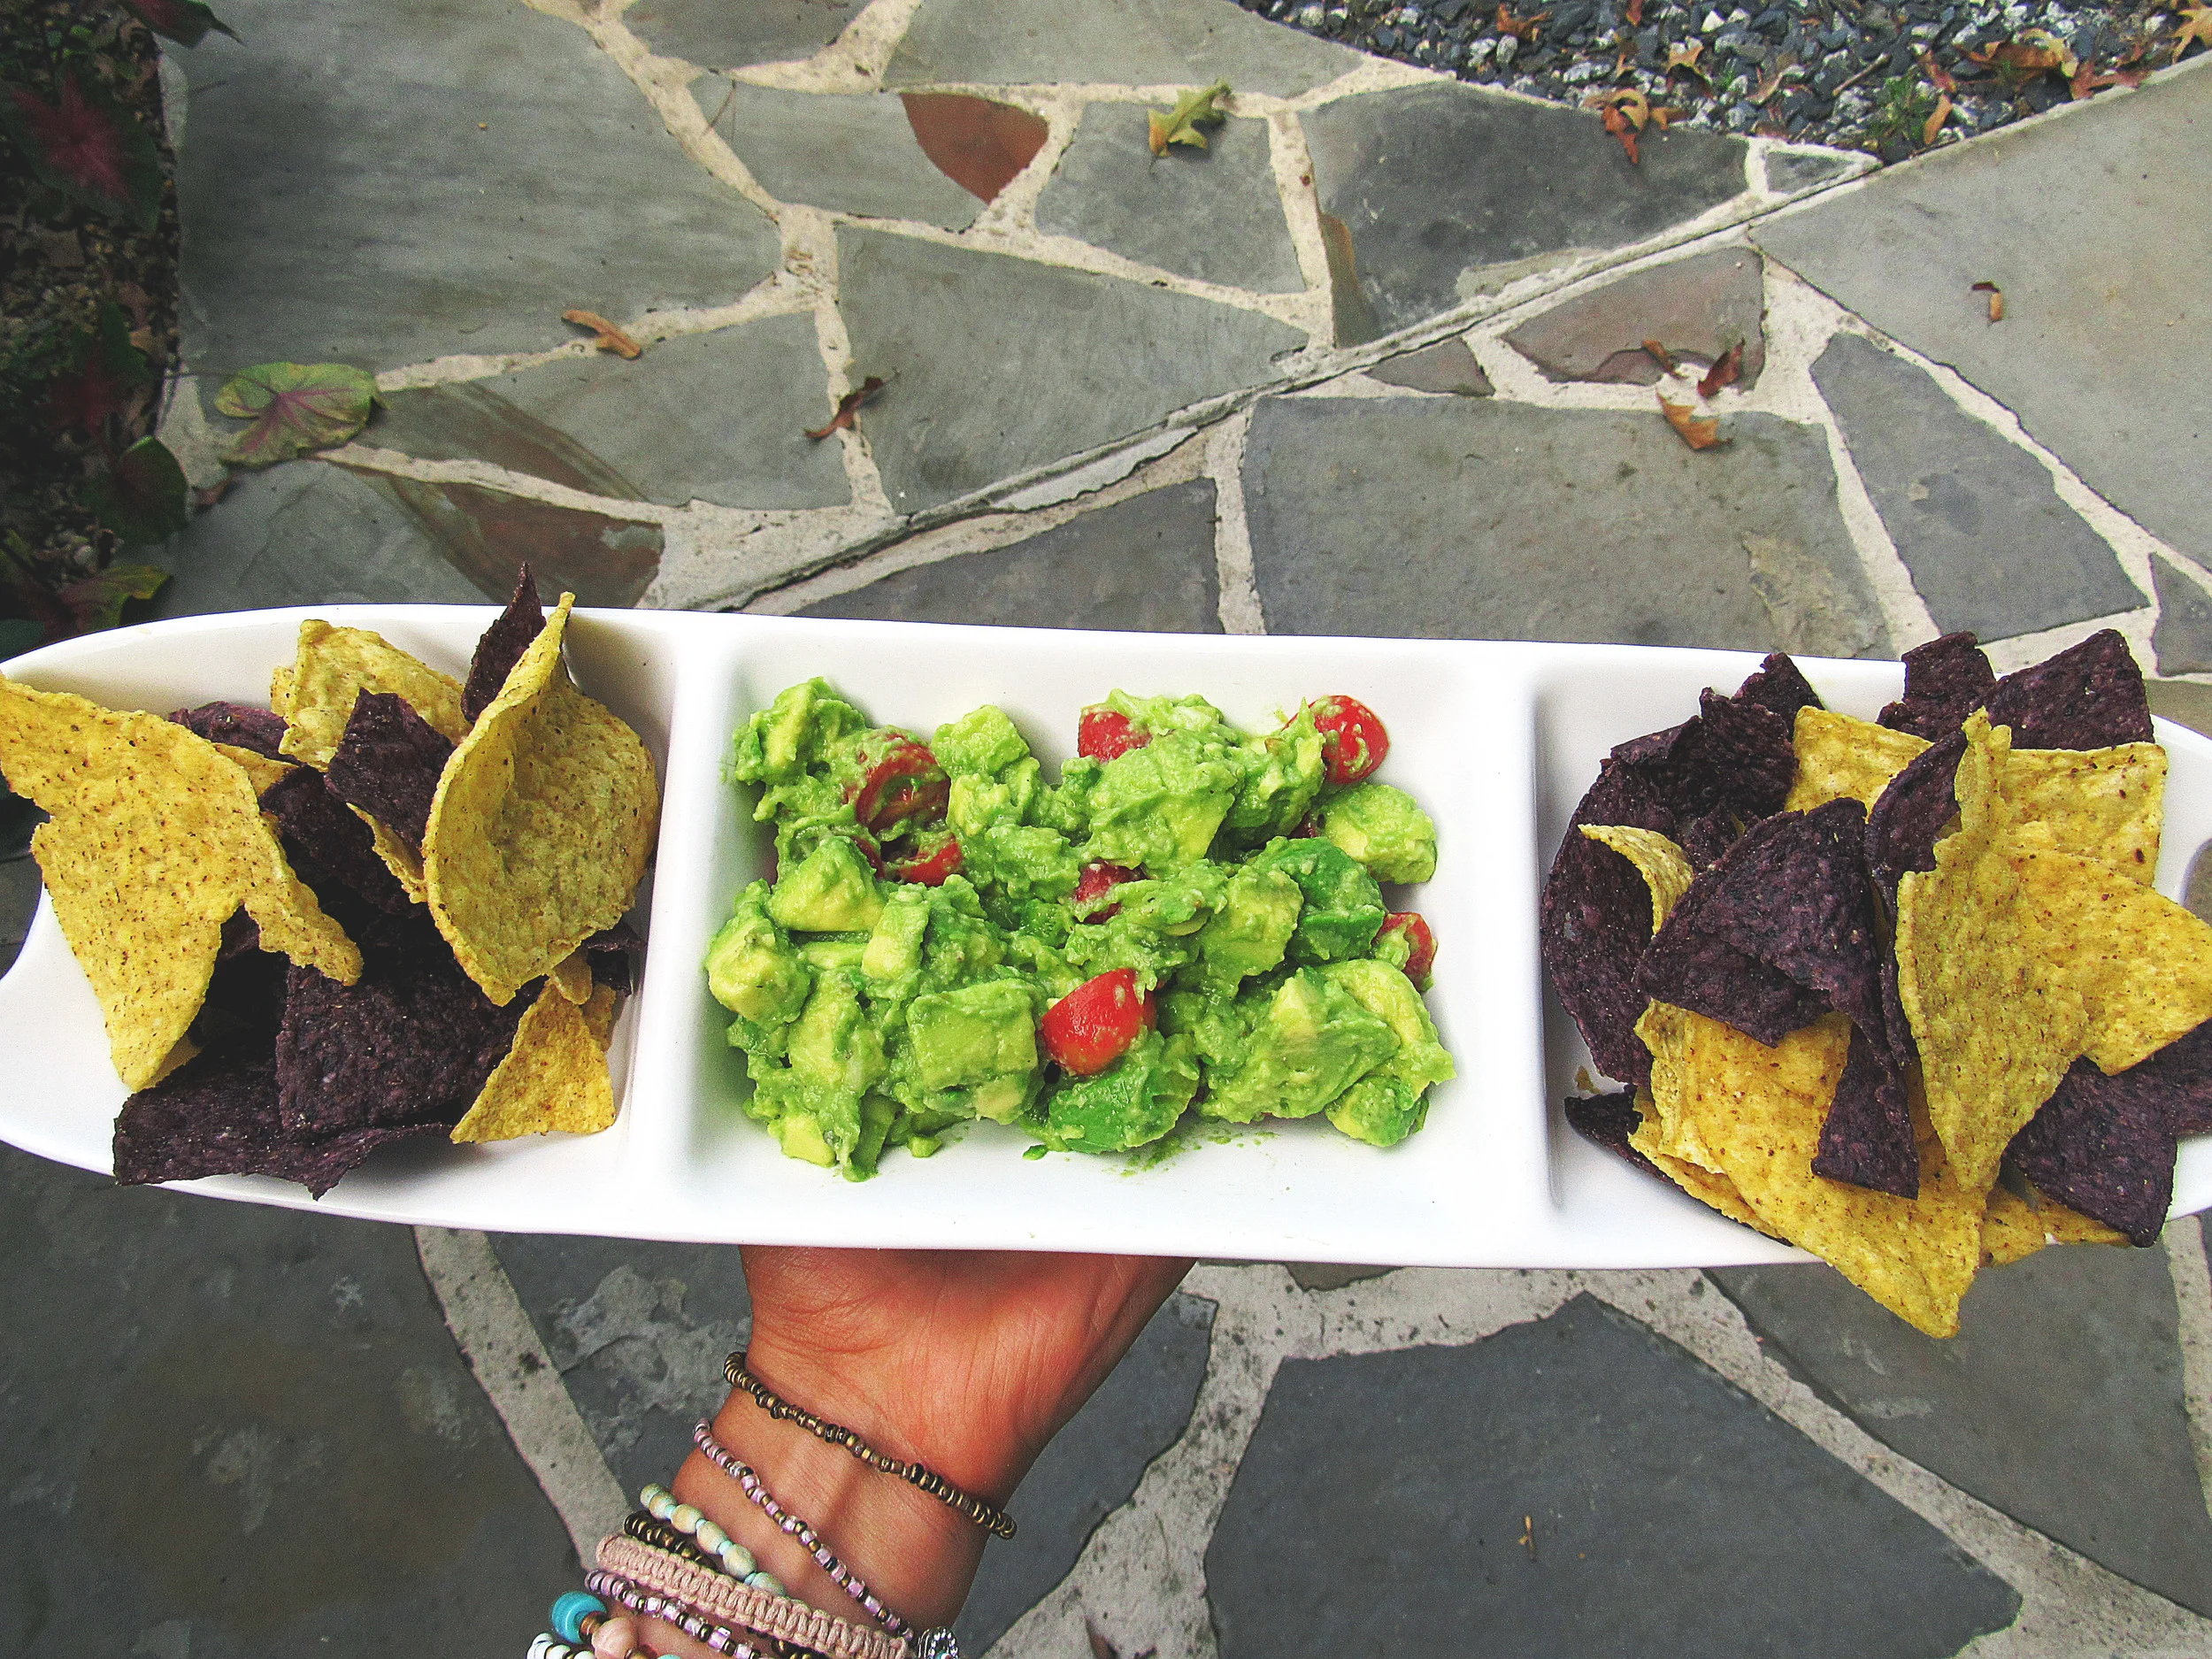
Alright, alright, so I'm a day late on National Guacamole Day. But let me show you my super simple and super tasty guacamole that you can make even when it isn't a national holiday! 

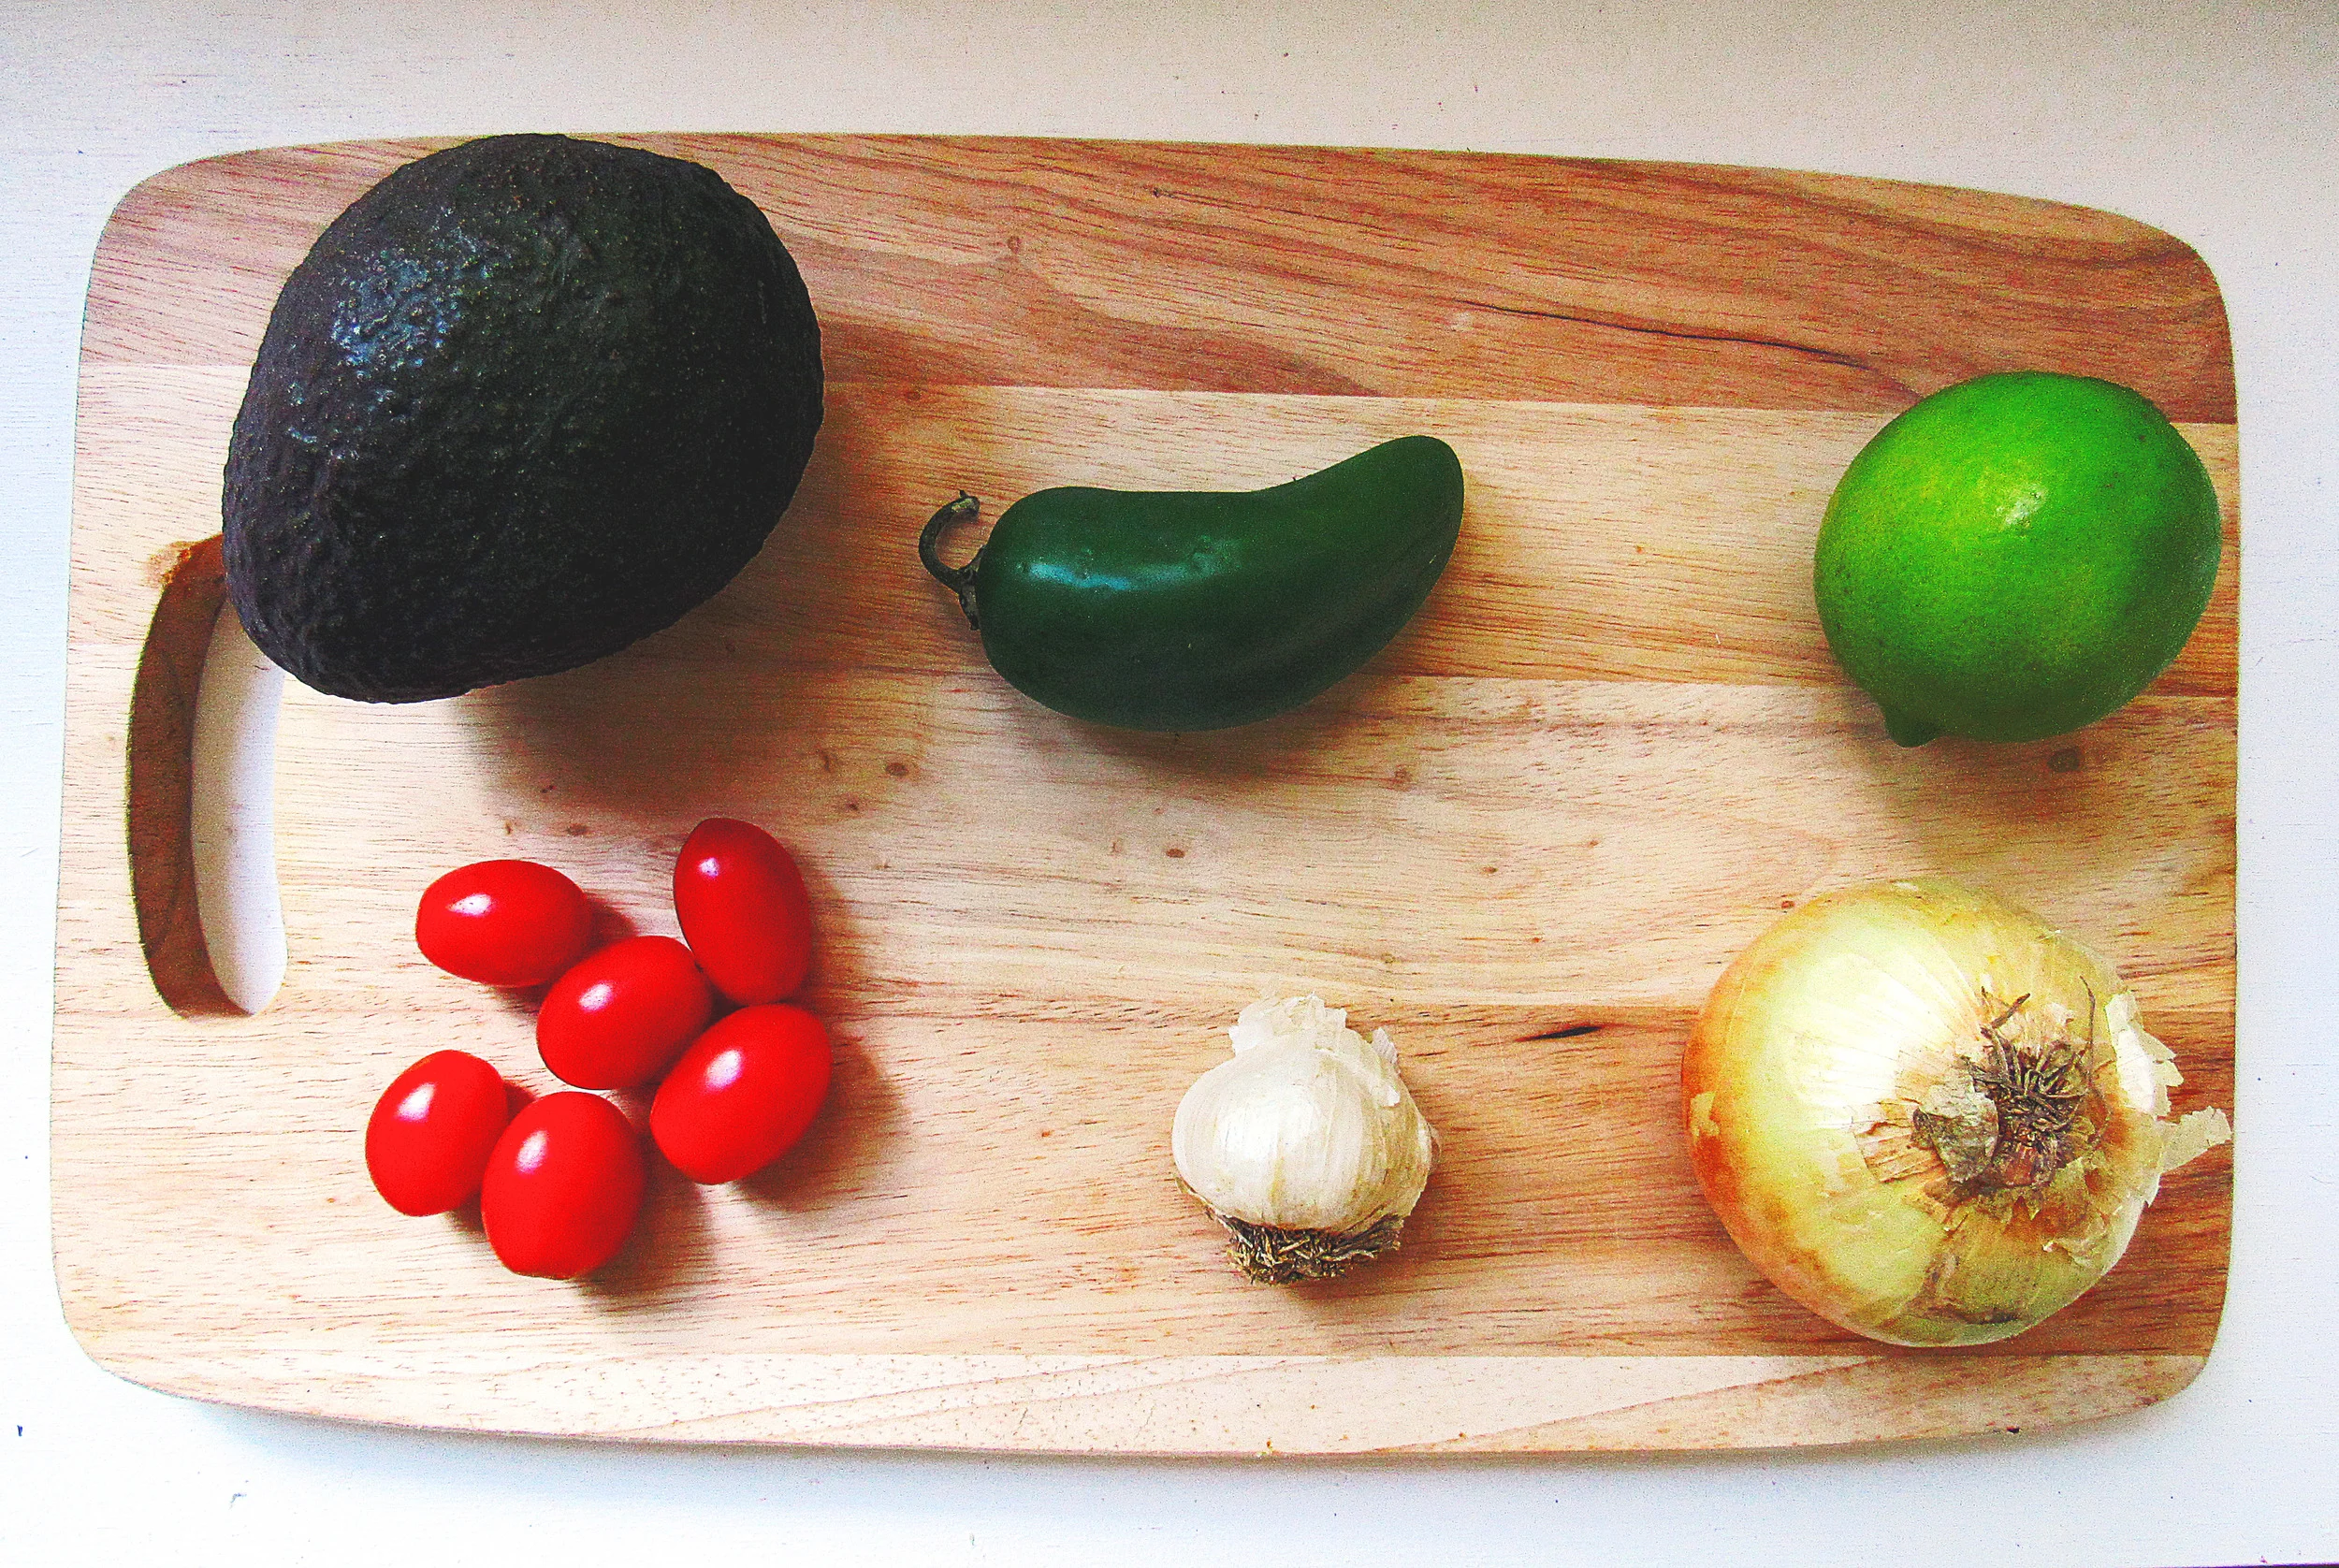
Do you notice something missing from this photo??? You're right. It's cilantro. And no, I don't want to talk about it.

OK FINE. Someone in my household threw out this beautiful guac necessity and I was not about to sit in Atlanta rush hour traffic at 5pm to get it. So I went without. If you are my sister or other folk who think cilantro tastes like soap, this is no problemo for you. For me, this is sad. But I suppose I can go without just once. 

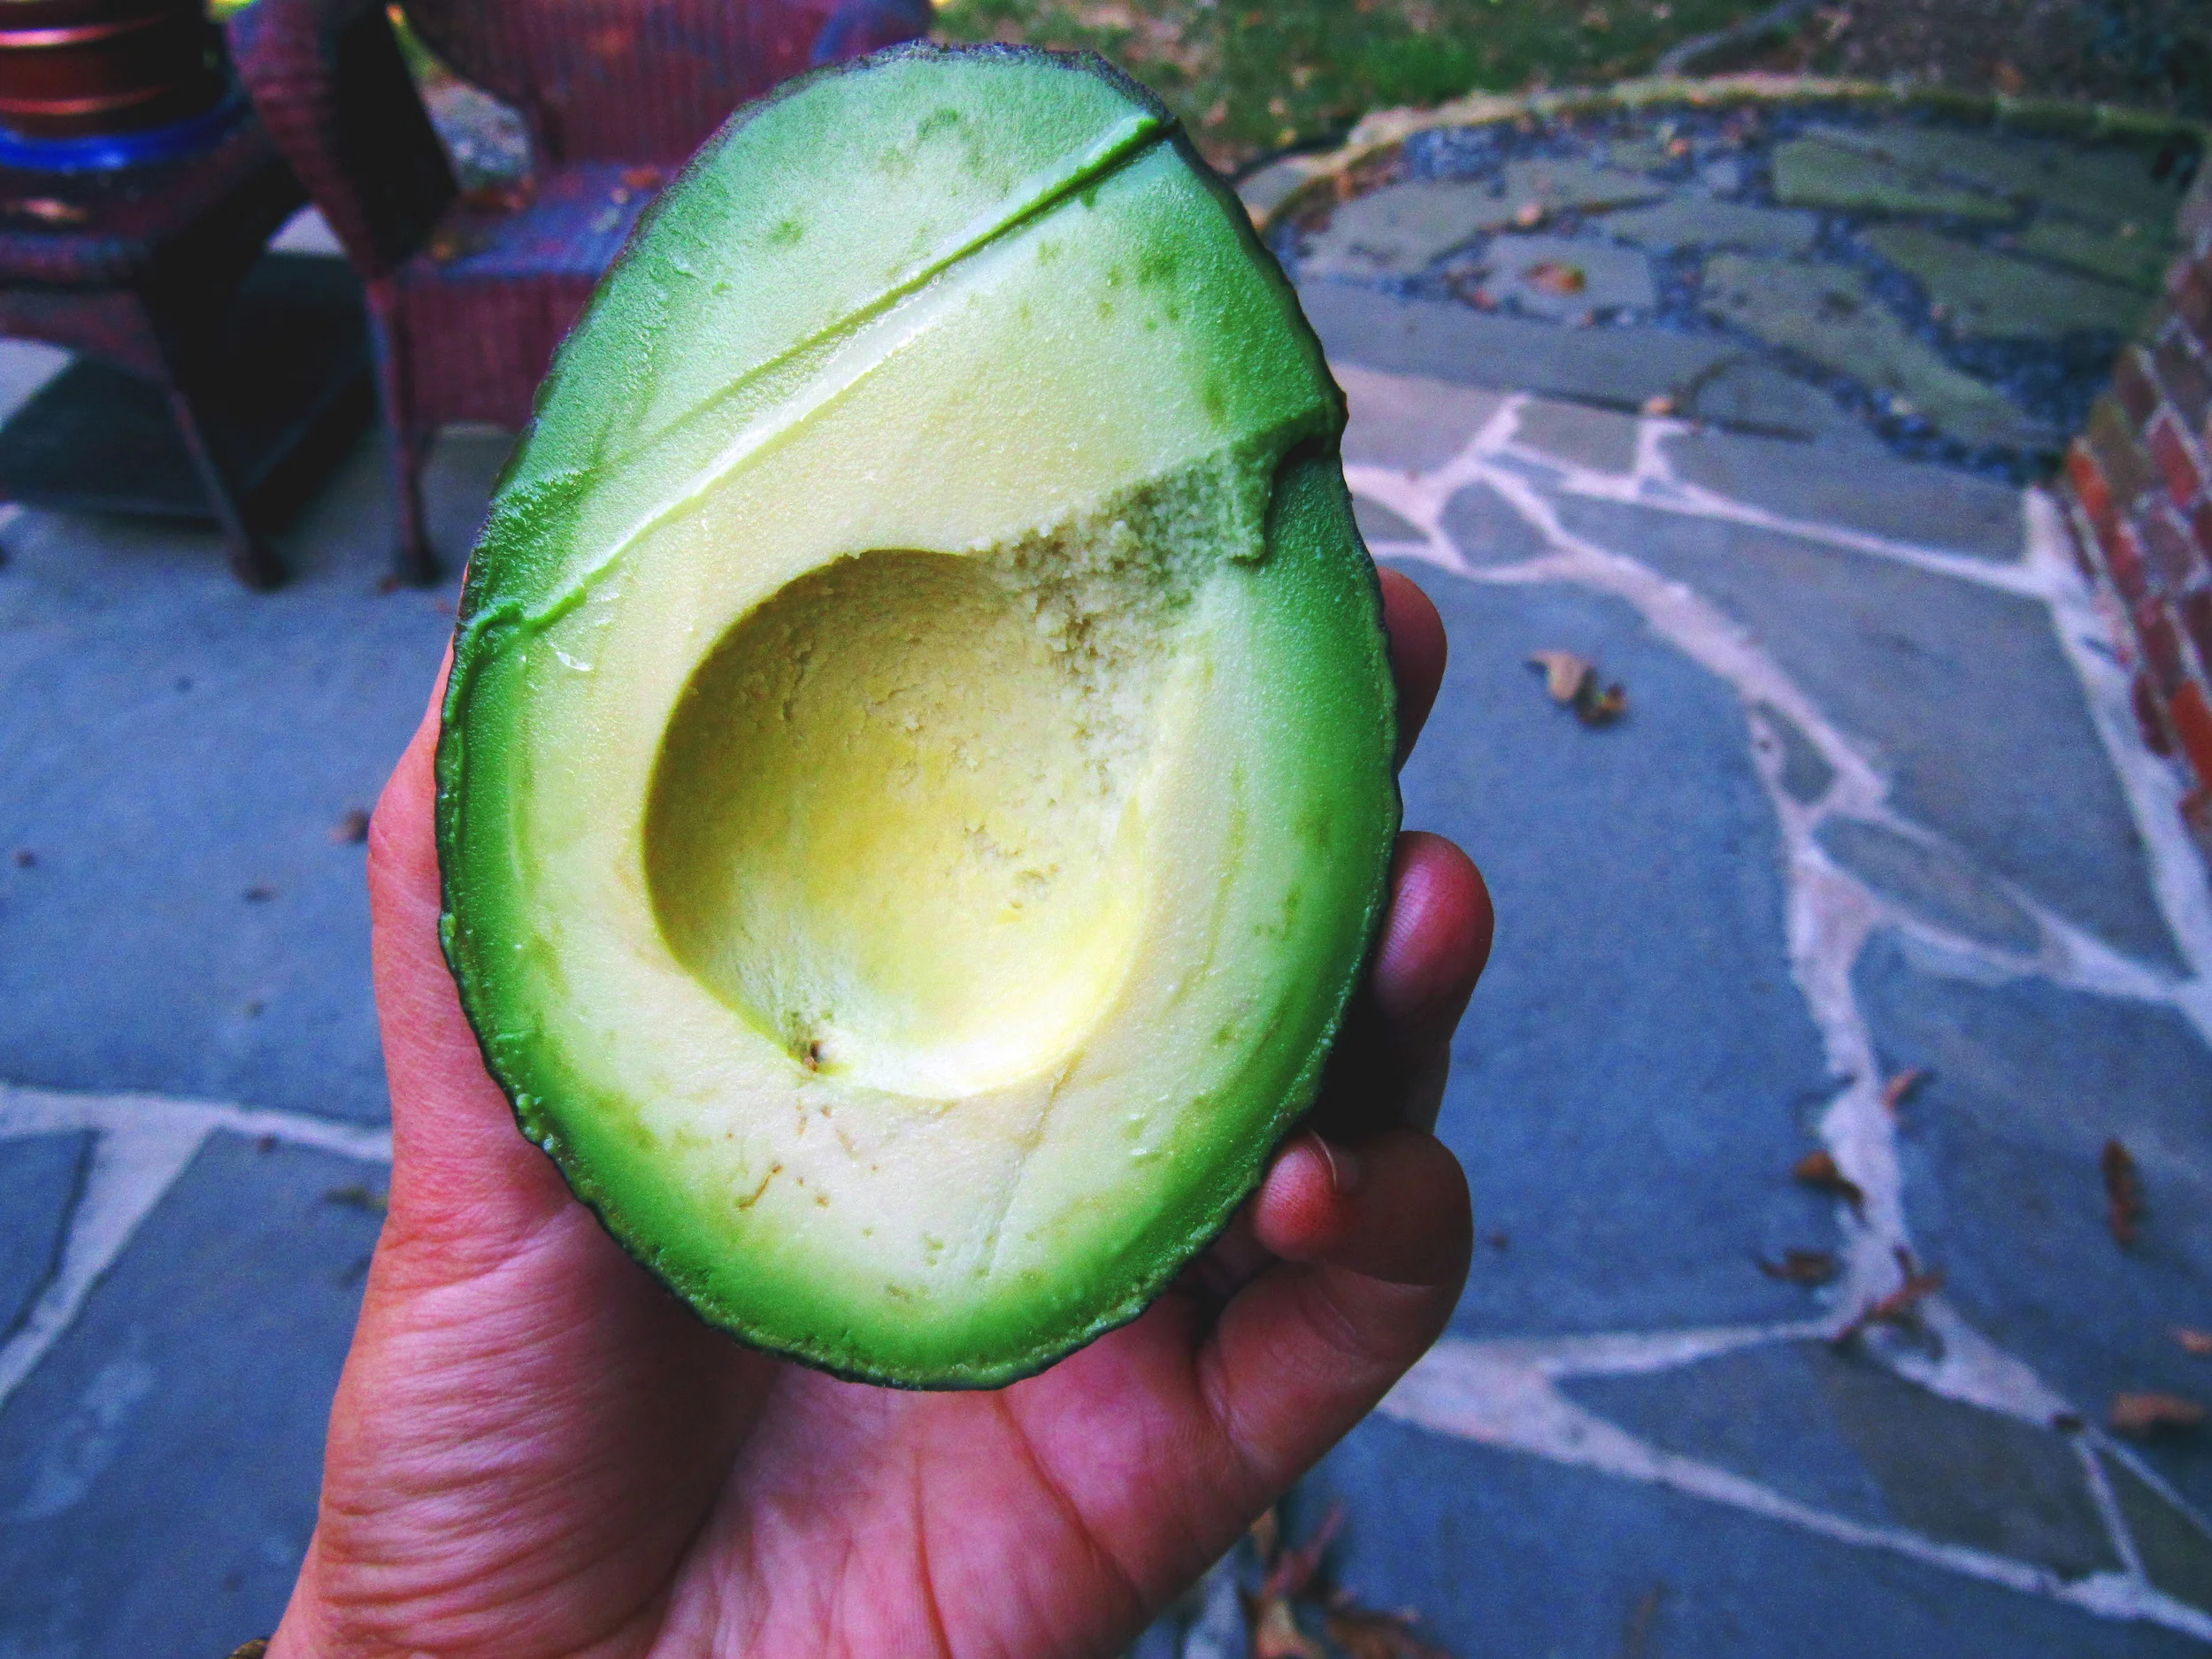
Can we talk about this avocado? Yummm.

Can we talk about this avocado? Yummm.

For real, this is super simple. I used two ripe avocados, a handful of cut-up cherry tomatoes, about 1/3 of cut up jalapeno (more if you like it mas caliente), one clove garlic, the juice of one small lime, and 1 tsp onion cut into very small piecs (if you like the onions, feel free to use more...I enjoy a tiny amount).

Munch on with crispy tortilla chips, margaritas, and enjoy amigos :)

Obviously while I guac it up I have to listen to the "Chef" sountrack. I highly suggest this:

Listen here.

a pop of color

*Original post: September 18th, 2015

Lets. Talk. Color. 

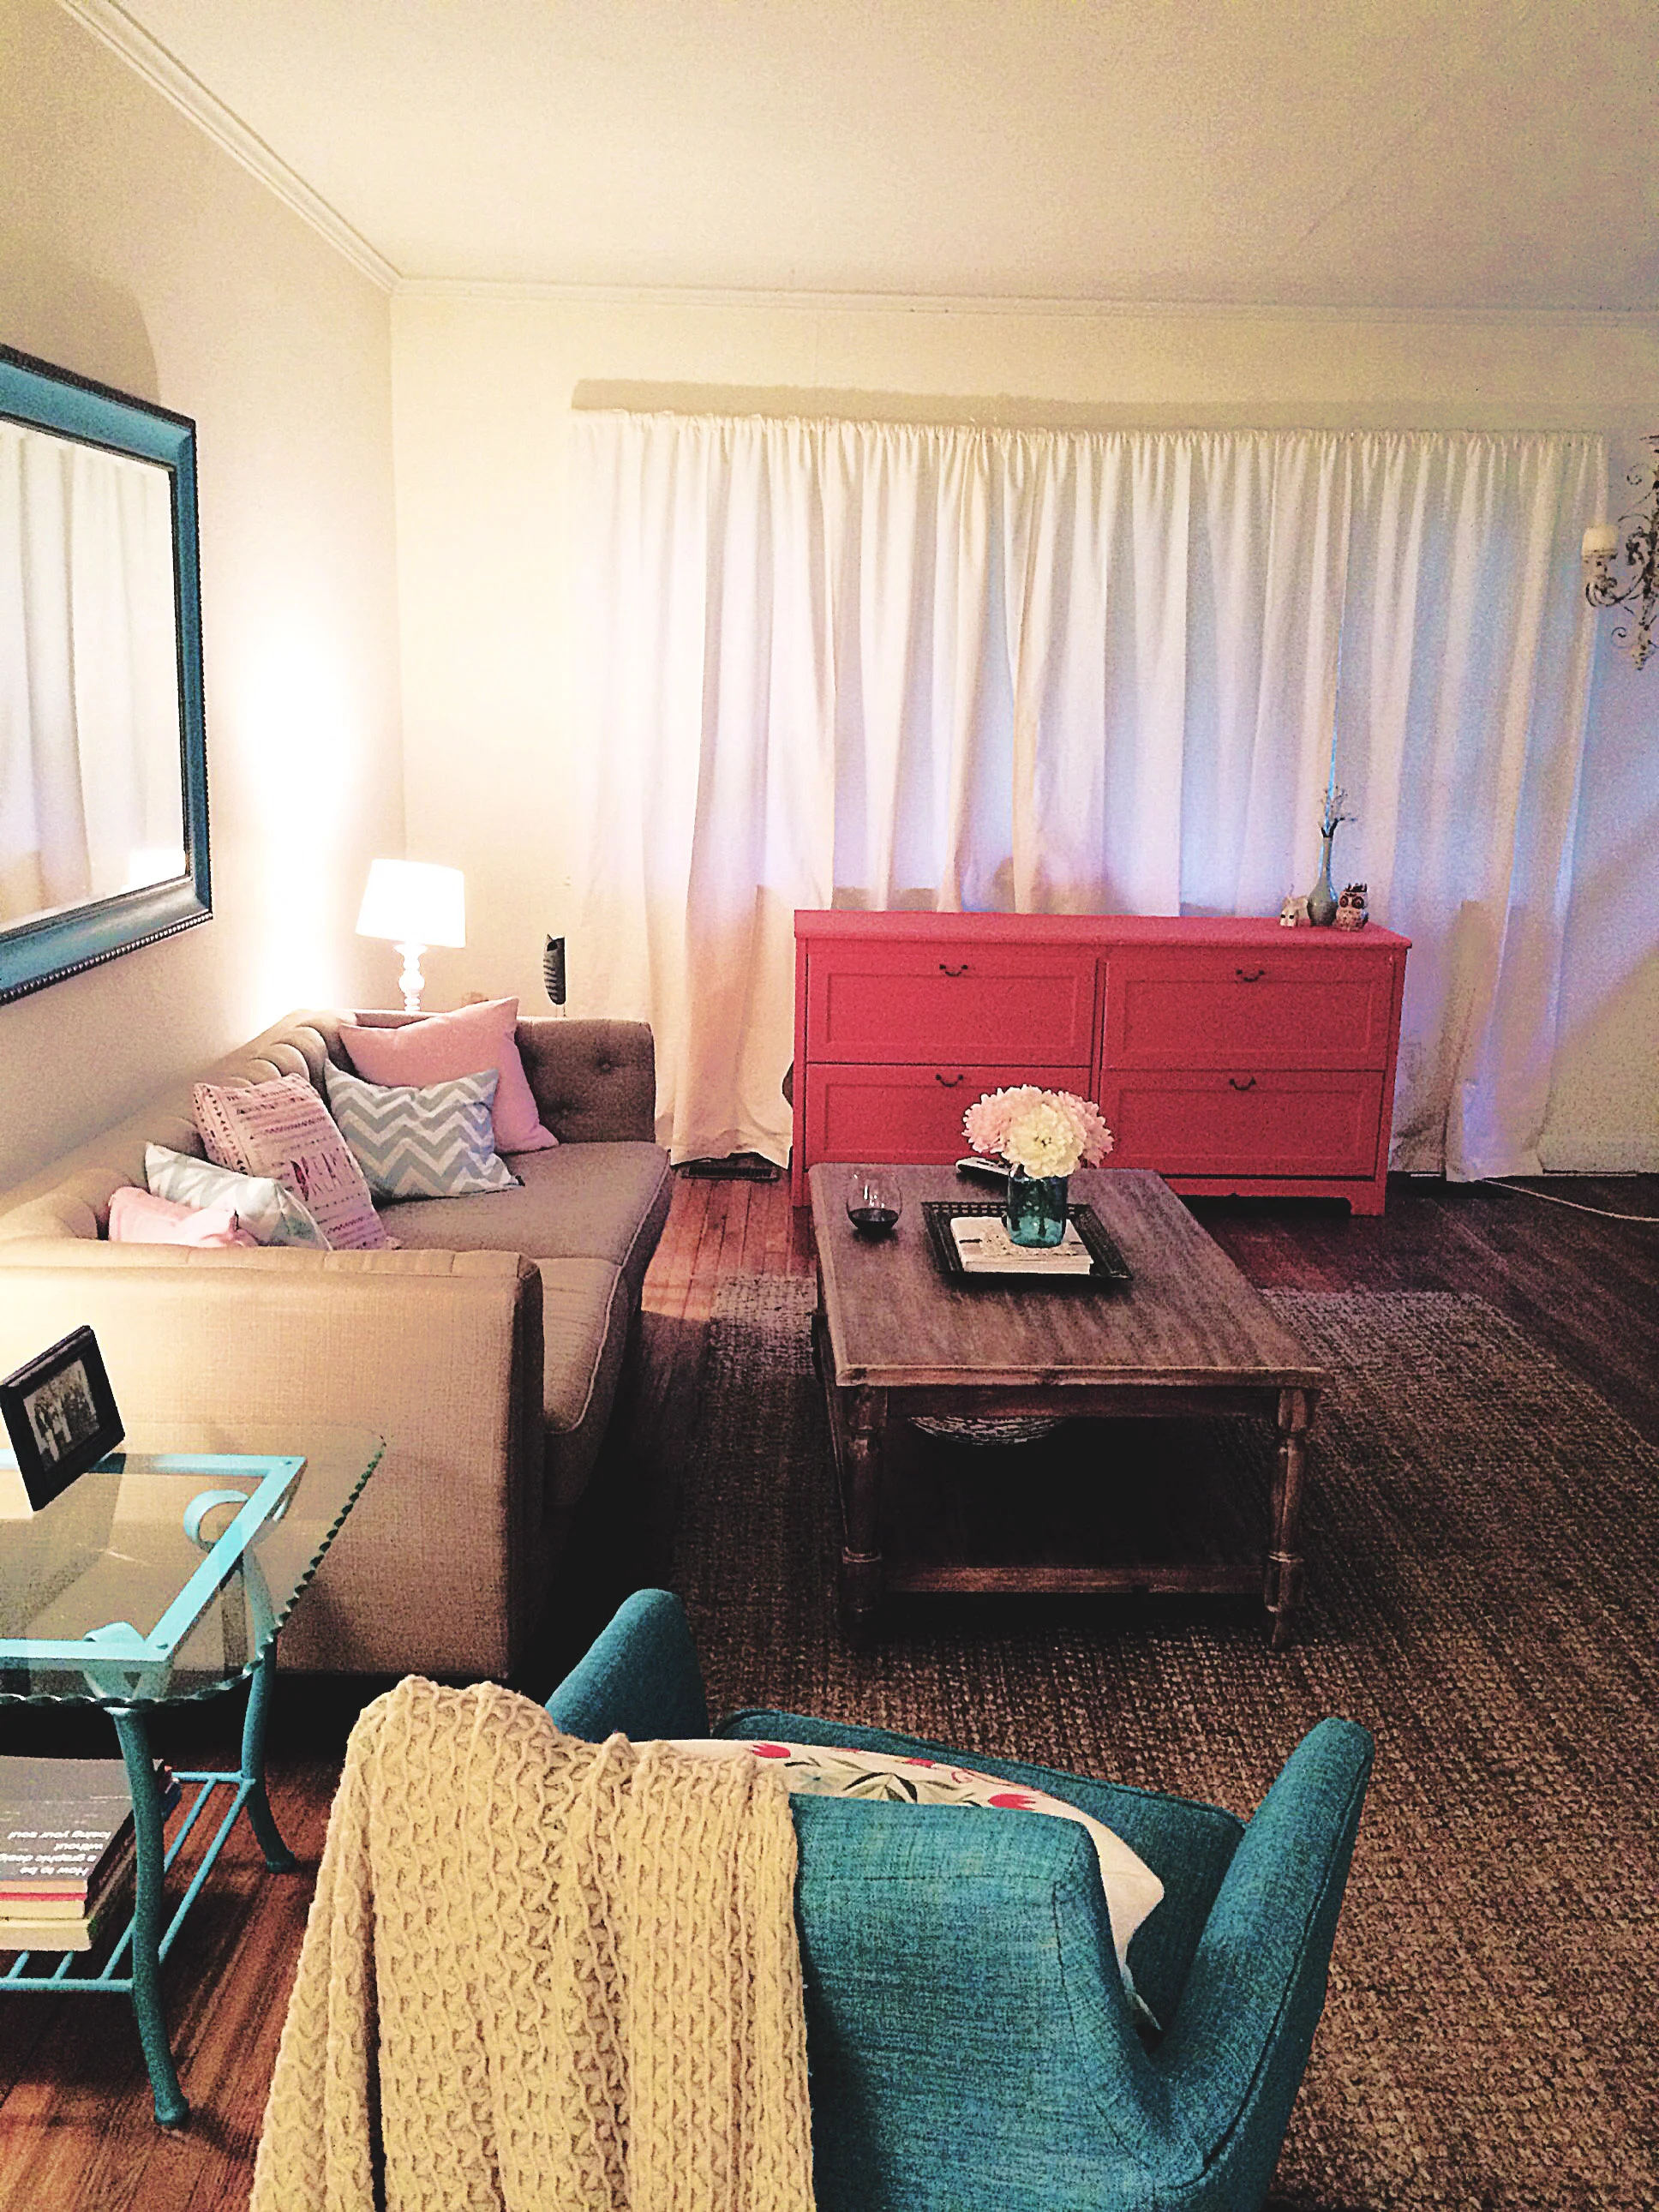
One pop of color can COMPLETELY change the look of a room. I'm not going to lie to you my friends, I am mildy obsessed with blue and/or turqoise decor in my home. The obsession seems to progressively get worse. Each time I get a new piece or project I think, "I should do something different; try a new color; branch out...".

NOPE. ALL BLUE EVERYTHING.

So, once upon a time I was living in Savannah, Georgia after college. My roomie I was living with had all the furniture (exluding my room things) we would ever need. So then, roomie gets engaged. Roomie moves in with future hubby and I'm all of a sudden left with an empty house. Sad? Yes. Exciting? OH HELL YEAH. Decorating my first house on my own was a huge, exciting step for me. 

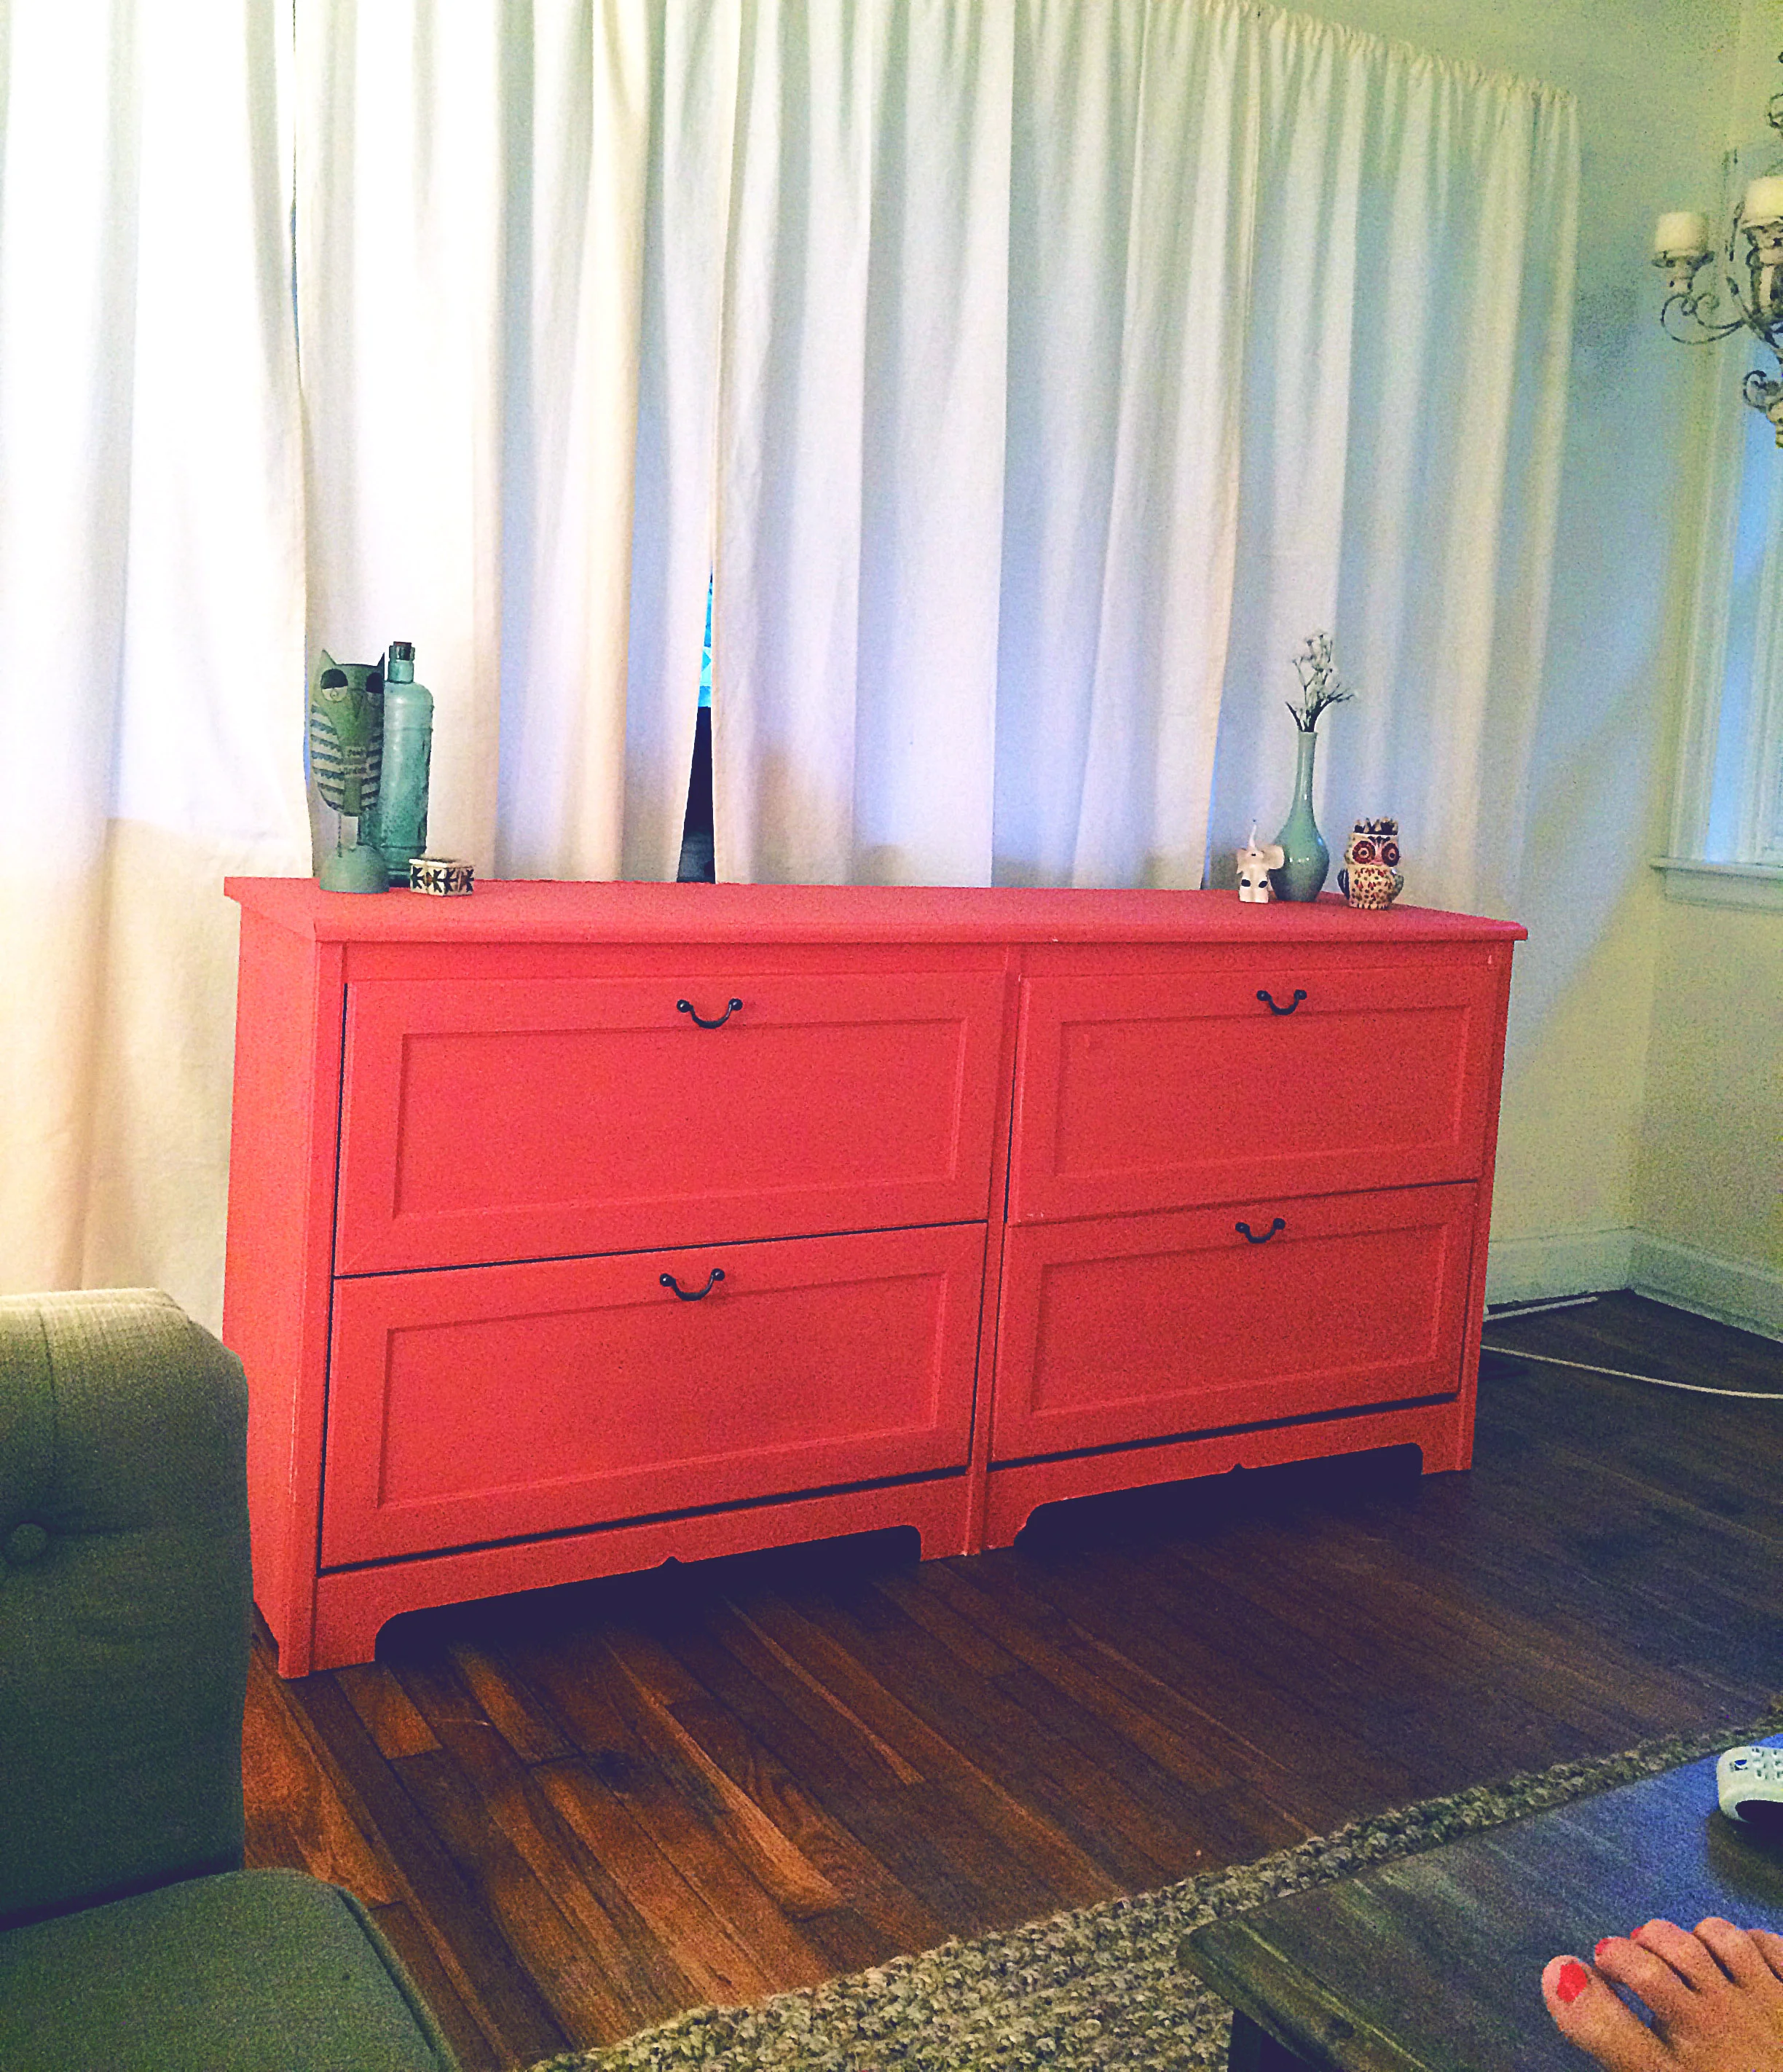
I bought this basic piece of furniture from Good Will for 40 dollars. Easy Peasy. I used Behr "Desert Coral" and used my DIY chalk paint recipe.

EVEN MY TOES ARE CORAL! That is commitment. So with DIY chalk paint, and I will have tutorials coming, I do two coats, and then wax. This is a piece that I did not want antiqued/distressed, so dark wax was not a step. I just covered the piece in Annie Sloan clear wax, waited 8 hours, ran a steel wool over the piece to distribute the wax, and buffed with a clear rag for a shine. 

Final result? Look at dat pop :) 

And while we are on color...one of my all time favorite songs:

a ramen makeover

*Original post: September 14th, 2015

Let me start by telling you about my life long love affair with Ramen noodles. It all started back in the 4th grade when my friend Charlotte introduced me to them. Chicken flavor, ate them out of coffee mugs, INSTANT love. I immediately told my mother we must have them in the household. 

The love turned more intense in the 5th grade and became a daily obsession. Every day after school, my friend Courtney and I would get off the bus, go to my house, and make ramen noodles. I had moved on from chicken flavor and onto Oriental flavor (the BEST flavor). 

Moving onto 6th grade, still my favorite after school snack. New tradition since we were in a new neighborhood. I would come home from school, make my ramen noodles and take them to the basement with a Capri Sun and probably watch Degrassi or some other teen melodrama. 

Once I got into high school, I decided I was a mature human being and I shouldn't eat plain Ramen noodles every day. So I decided to spruce things up...adding a little soy sauce here and there, leftover chicken, an egg, cucumbers, all sorts of things. I eventually realized just HOW MUCH sodium is in those little packets of heaven and I gradually cut that out (for the most part). Over the years this has been tweaked and changed, but ultimately this is the recipe it has come down to.

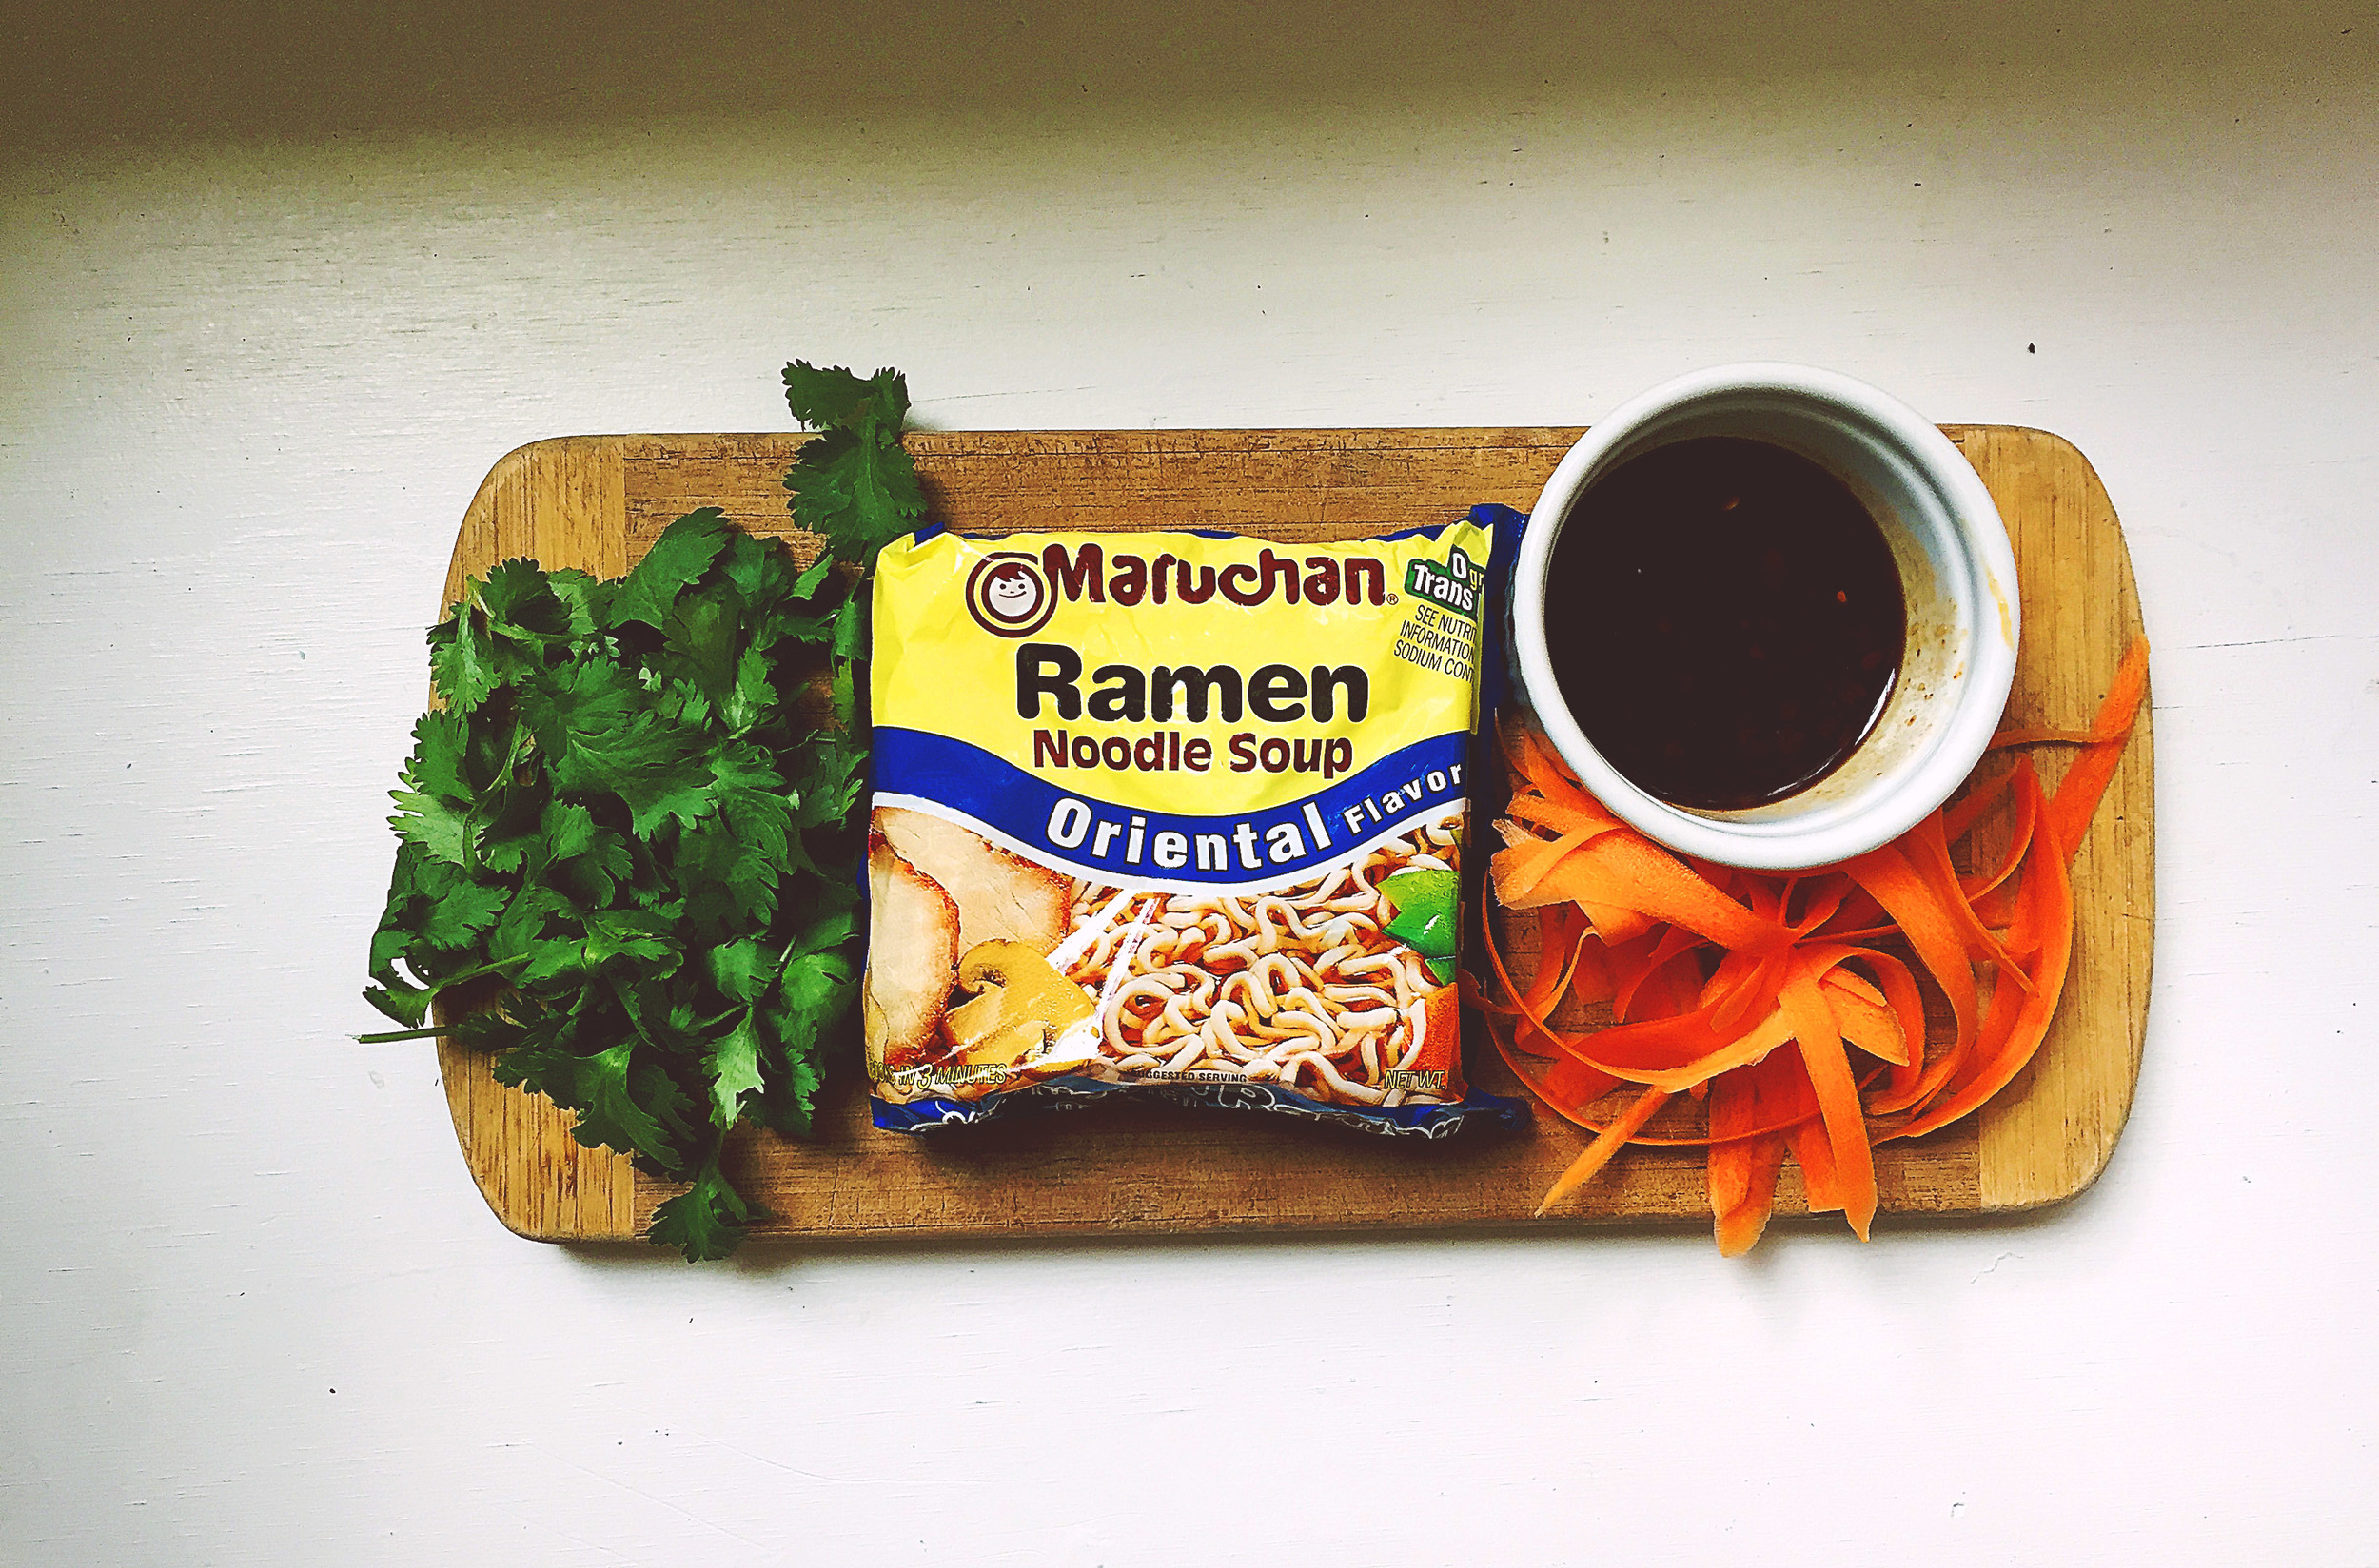
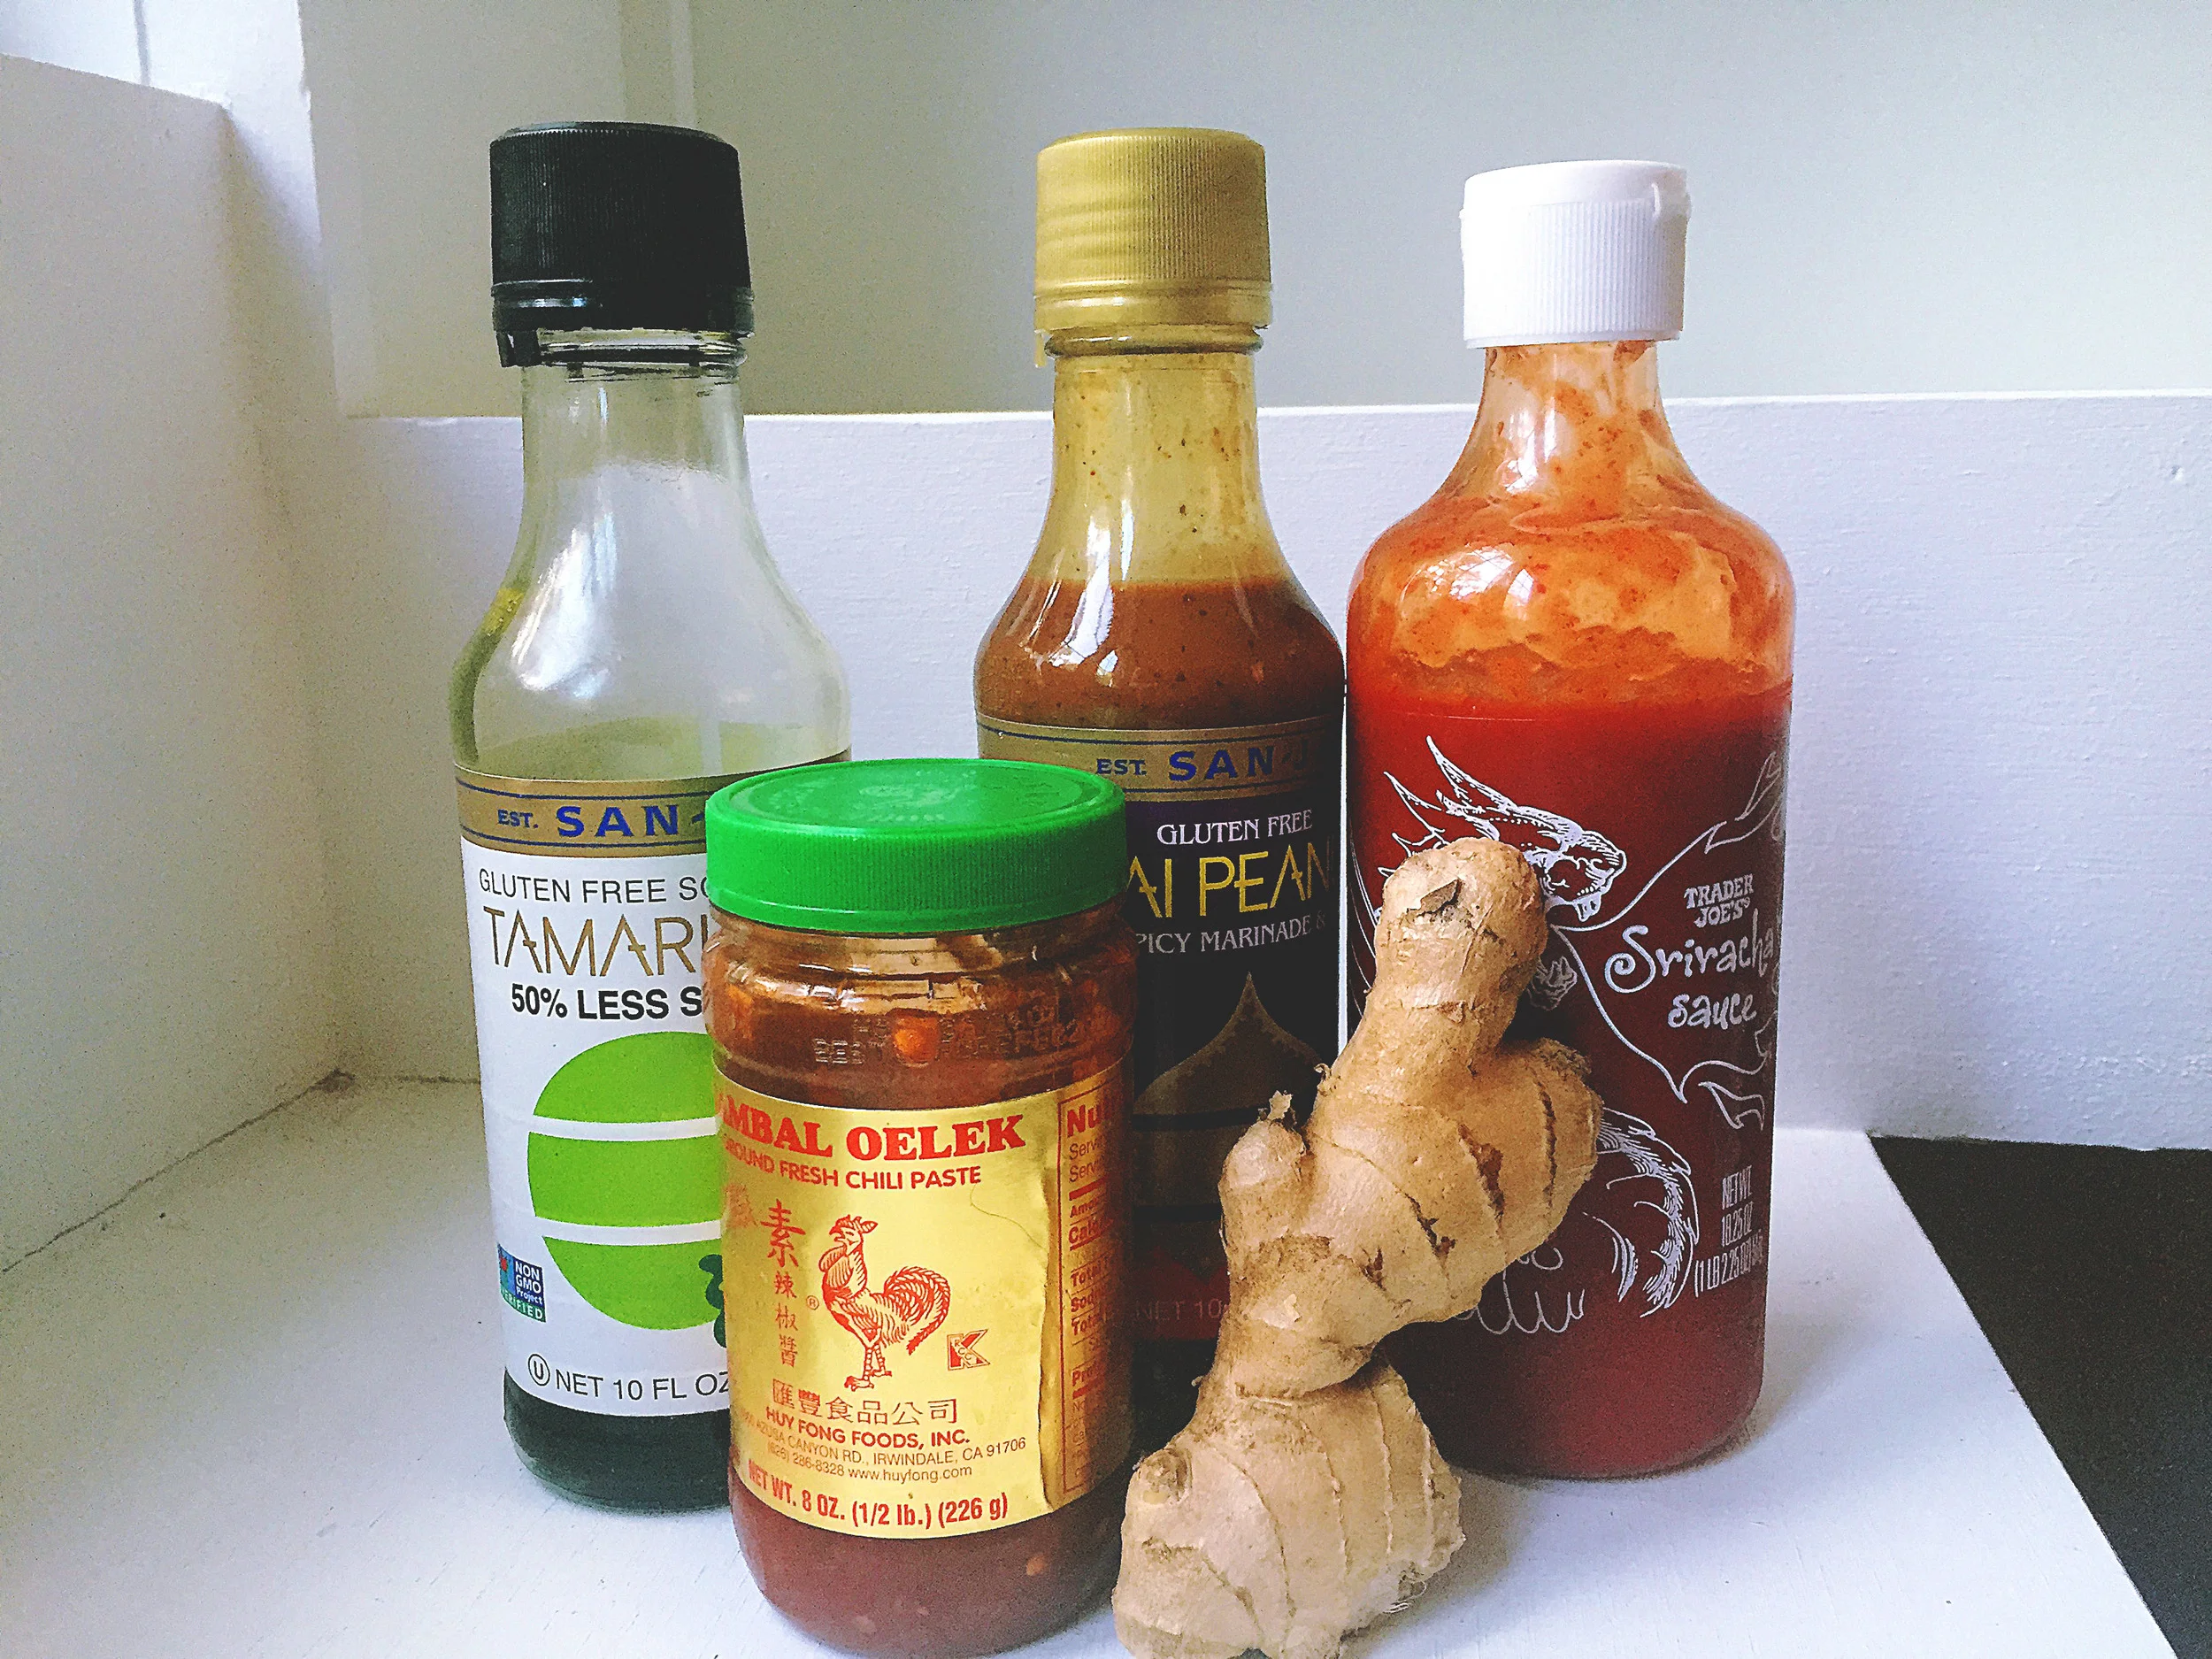
Let's start with the basics. No matter what I change up for this recipe, these are a constant. Ramen noodles (obvi), cilantro, shredded carrots, and my special asian sauce that I pretty much use for any asian recipe I make. We'll get to that. 

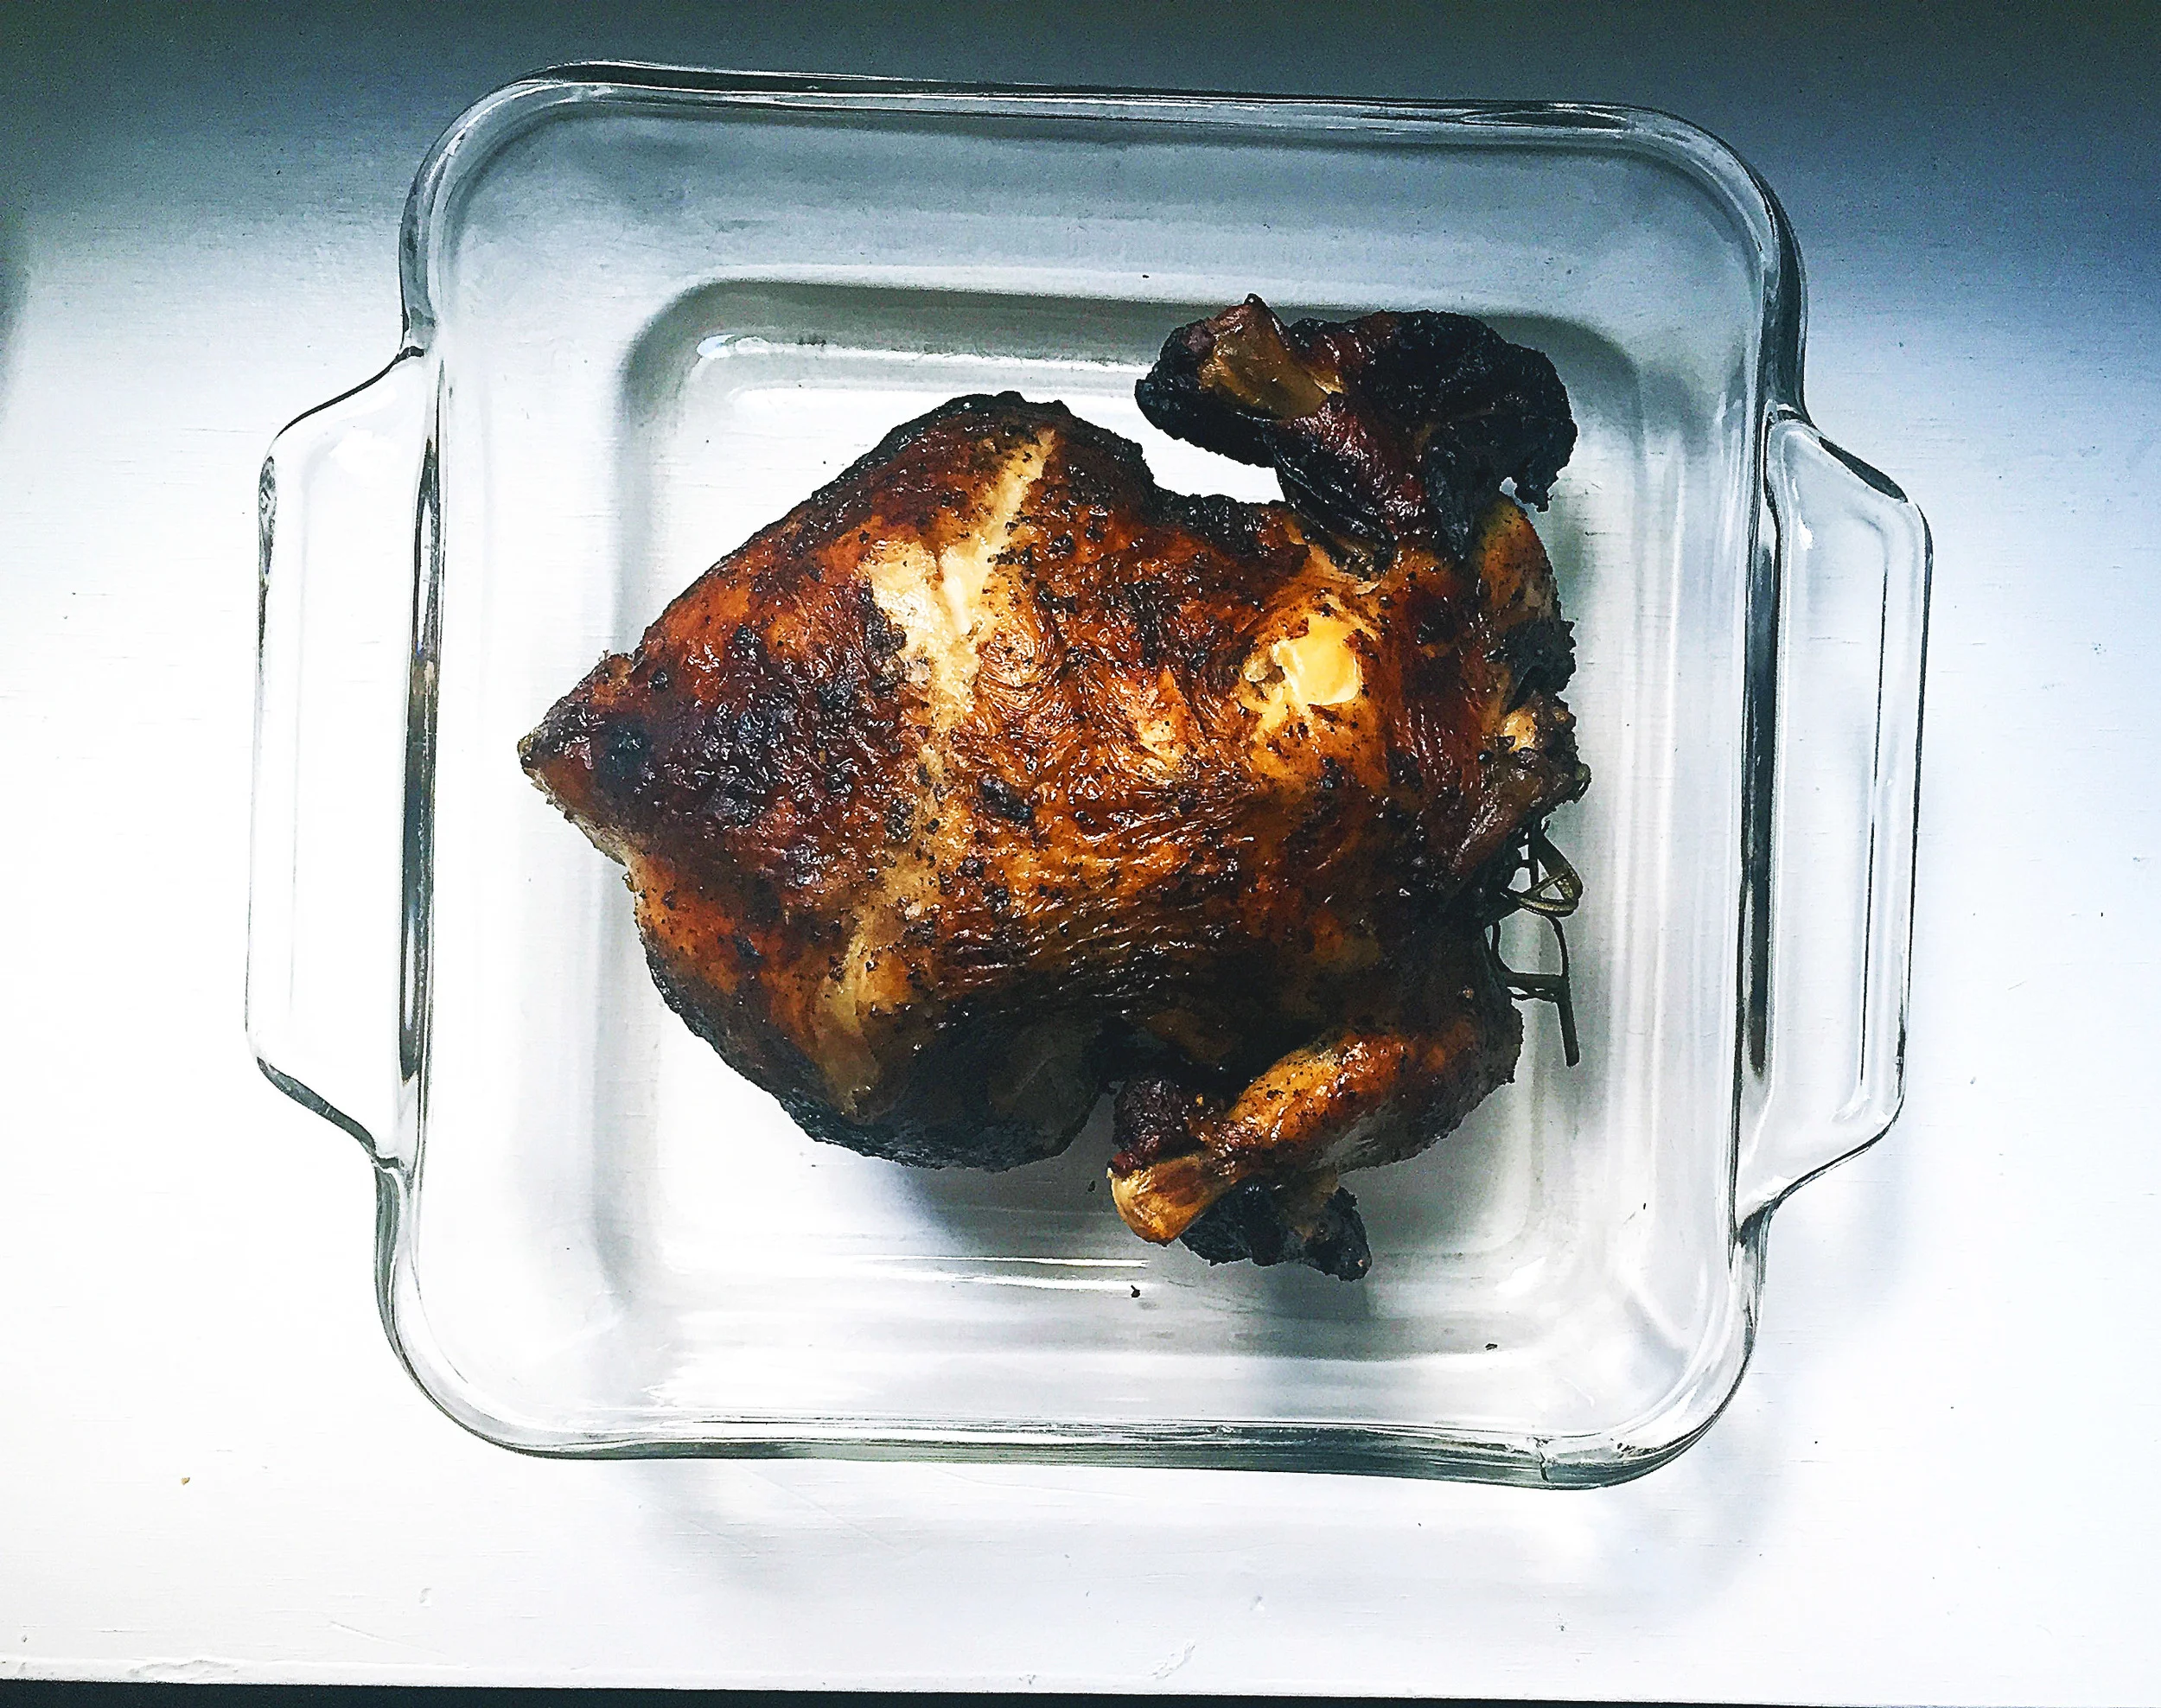
I like to add in some kind of protein if I have it available. This is a great time to use leftover chicken, steak, shrimp, or I will just use tofu. Now I wish I could take credit for this adorable, perfect little chicken, but alas I cannot. I brought this one home from work and it is delicious. Rotisserie chickens from your local grocery store work great. I cut up about 1/4 cup chicken. 

Alright, so I used to be such an OCD freak about making sure I followed the Ramen instructions to a T. Always been a big rule follower. Exactly 2 cups water (no more, no less), setting a timer for 3 minutes (just watching the clock?? no way), and using the whole seasoning packet. I have since moved on from my OCD ways, in this situation at least. So it doesn't really matter how much water you put in the pot because you will be pouring most of it out anyway. Just eyeball about 2 cups ish.

Once the water boils add in the noodles and set the timer for 3 minutes. OK OK you caught me, I still follow that rule. While the water is boiling/noodles cooking, shred the carrots, prep whatever else you are adding in, and make the special asian sauce.

Here it is, the special Asian sauce of yumminess:

- 2 tblsp tamari (soy sauce is fine too, but I prefer the taste of tamari)

-1 tsp chili paste

-1 tsp ground fresh ginger

-1 tsp peanut sauce

- however much sriracha you think can handle (I use a few squirts, about a teaspoon) 

If I am using a protein, I let the chicken or whatever I am using marinate in this sauce while I get everything else together. 

Once your noodles are done, drain out how ever much water you want. If you used 2 cups water, I will usually pour out one cup. You want the noodles to still have some liquid, but not to be too soupy. 

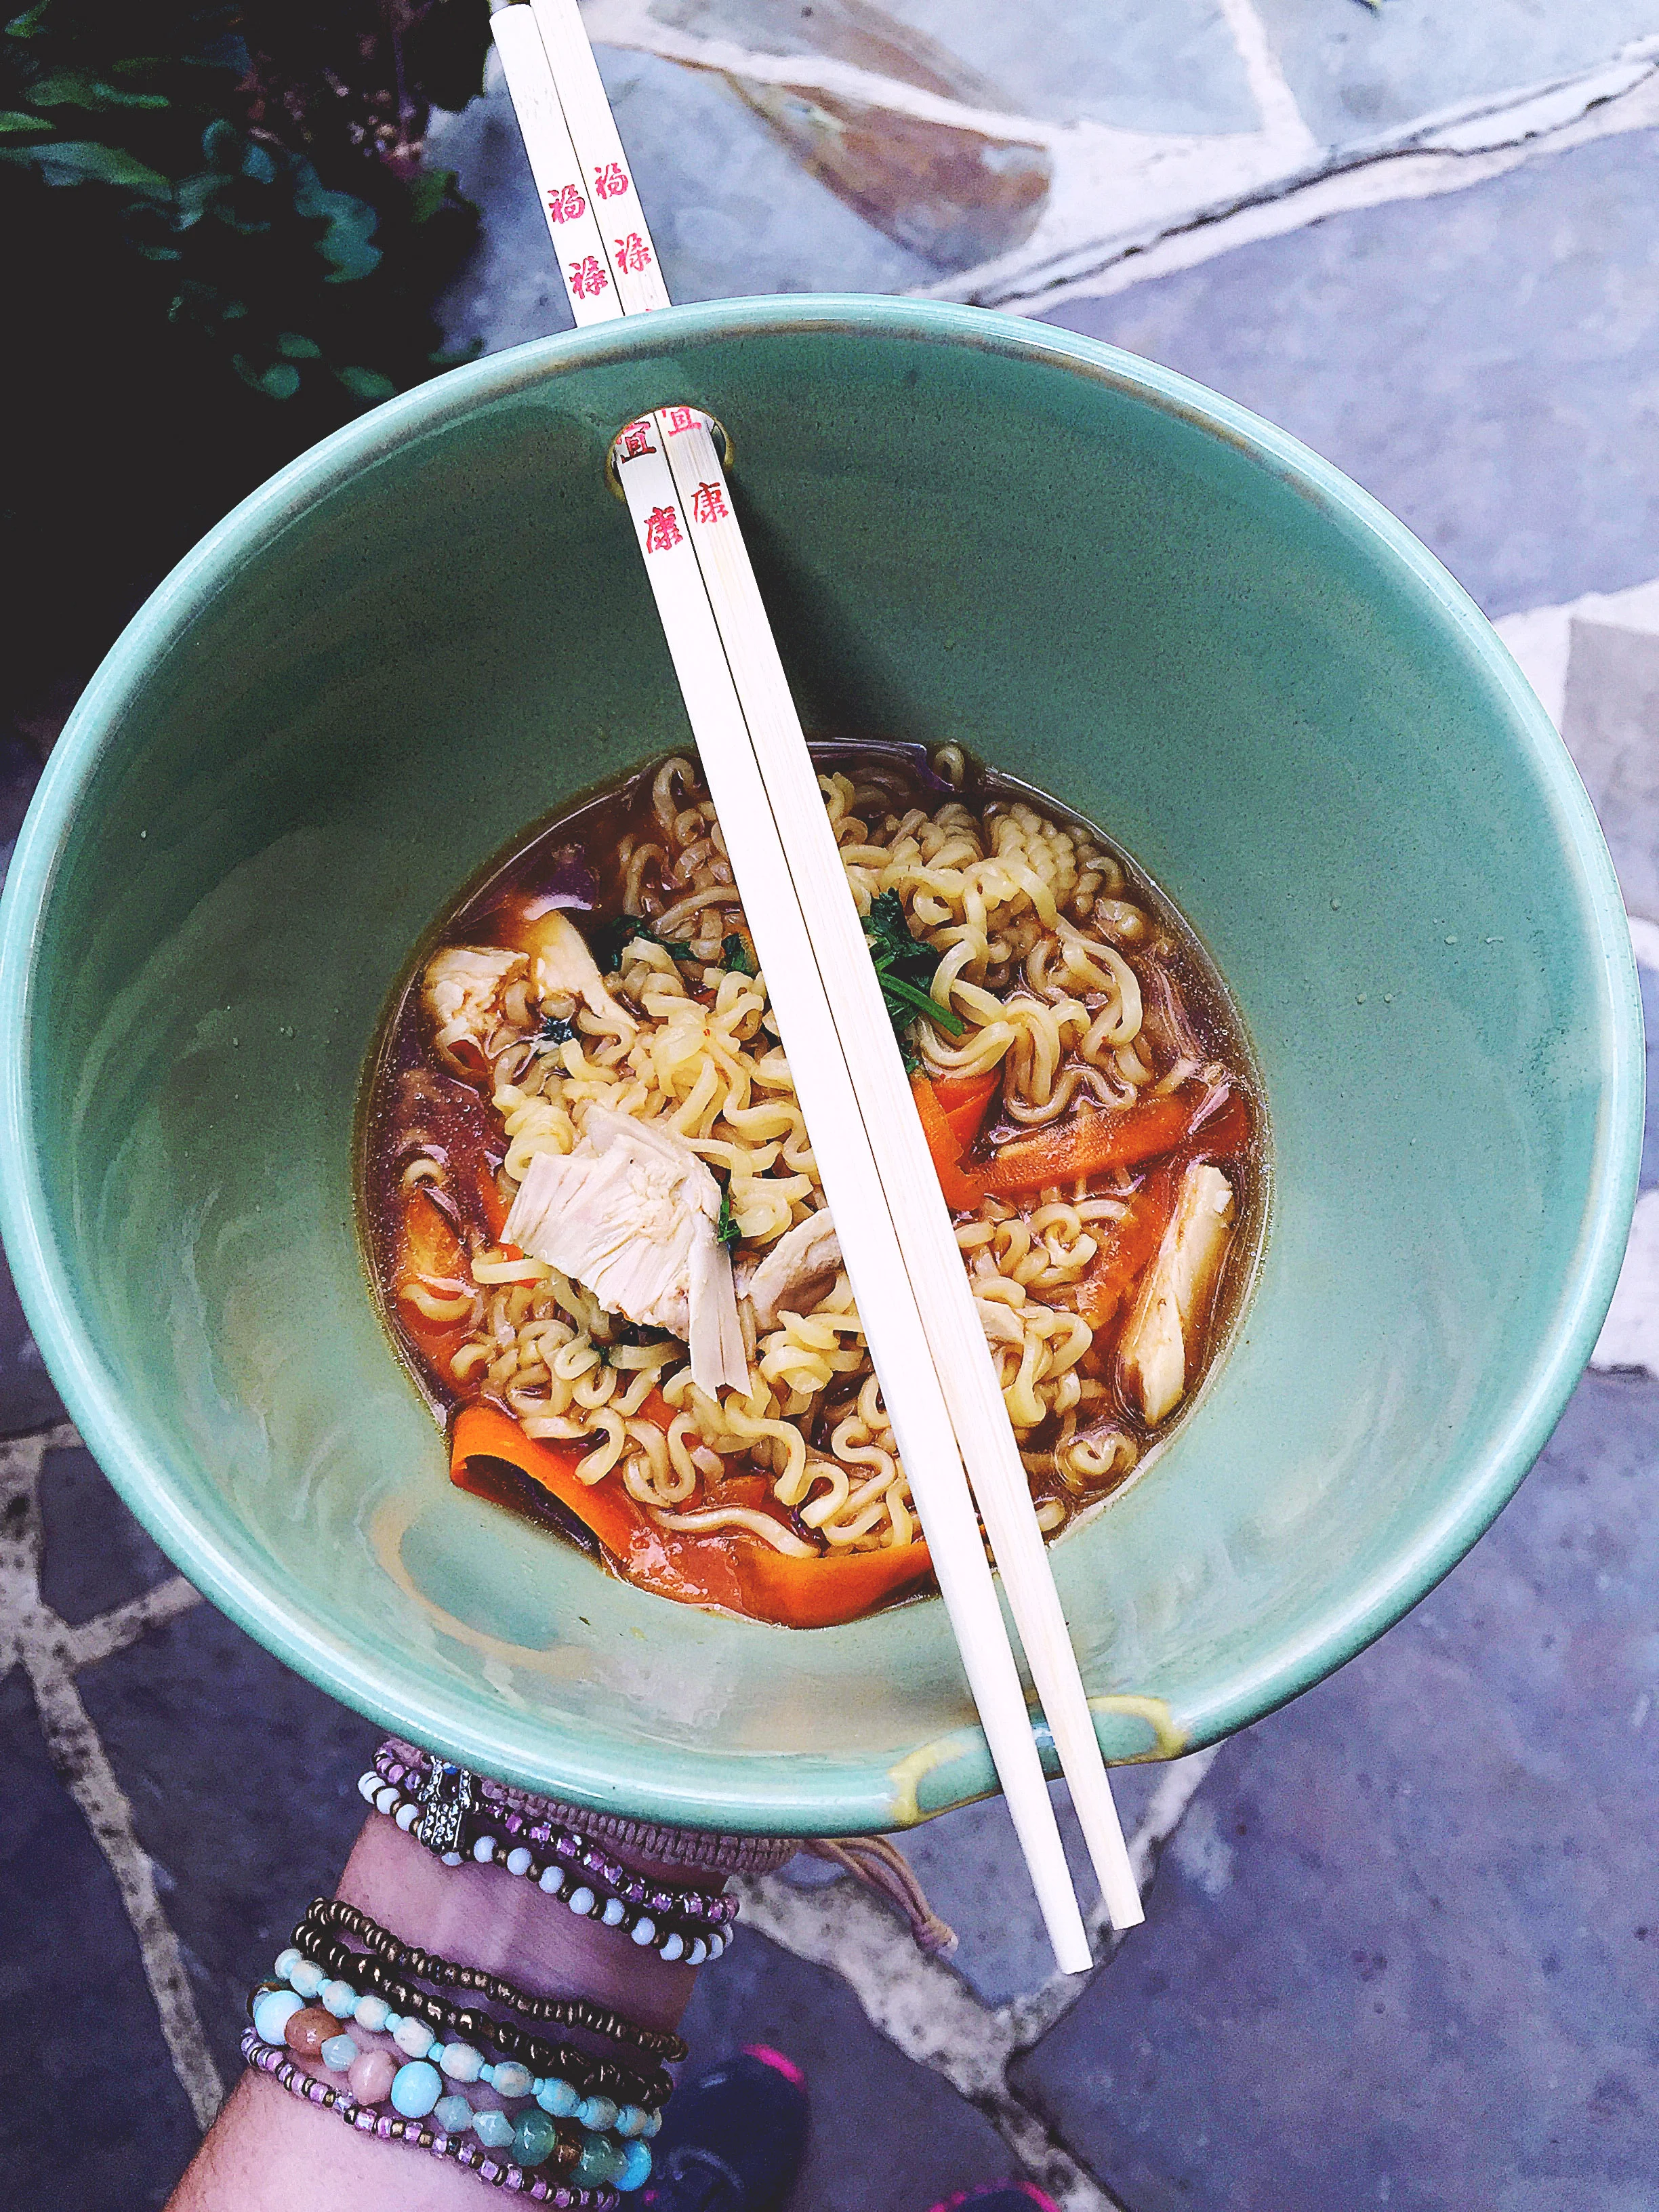
Add in the sauce, chicken, carrots, cilantro, just a dash or two of the seasoning packet and voila!

A noodle makeover. Your taste buds will thank you.  

*A healthier option: throw out the seasoning packet entirely.

**An even healthier option: use rice noodles instead of ramen. 

Tunes while I noodle it:

IMG_0977.PNG

This song is seriously addictive, just a prewarning. Listen here.

in a rush eggie breakfast

*Original post: September 19th, 2015

Good day, lovelies! I am going to show you the easiest breakfast if you don't have time for anything too fancy. This can be made with many different ingredients you have lying around in your fridge, mix and match as you please!

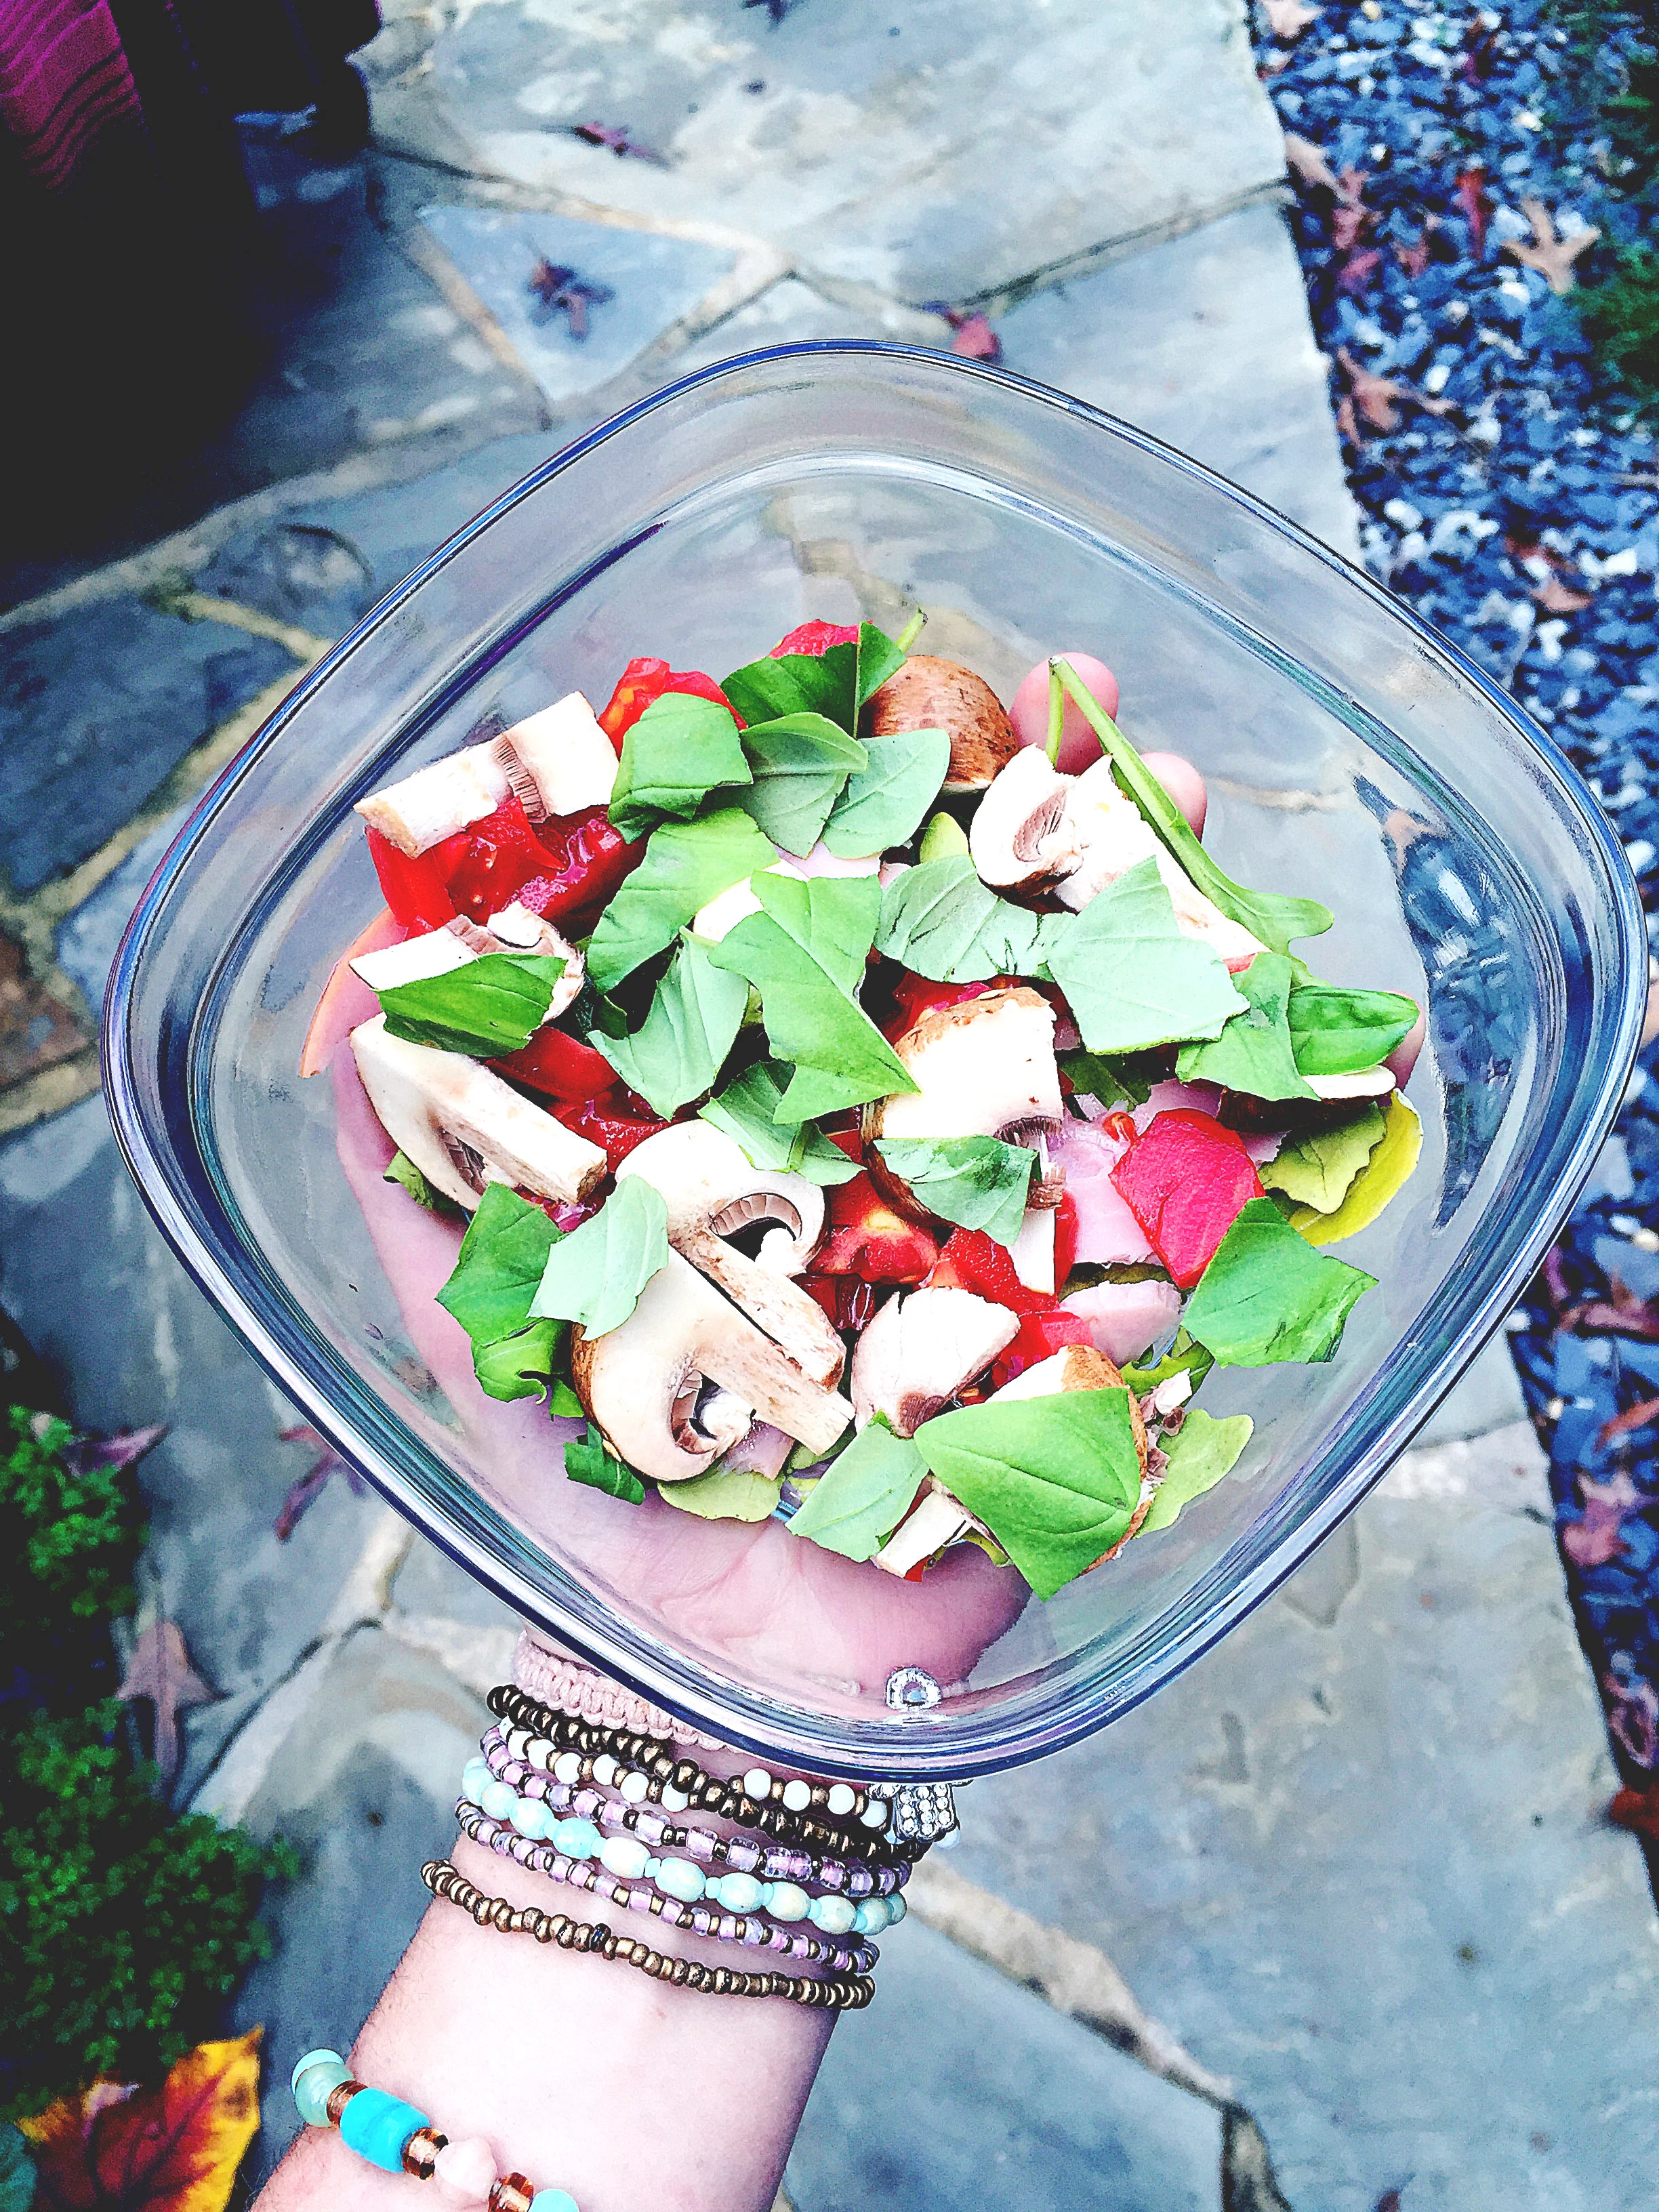
MMM...look at that tomato. 

MMM...look at that tomato. 

Ingredient that I start off with not pictured above: some sort of leafy green. I usually prefer spinach for this meal but today I only had arugula, so arugula it is!

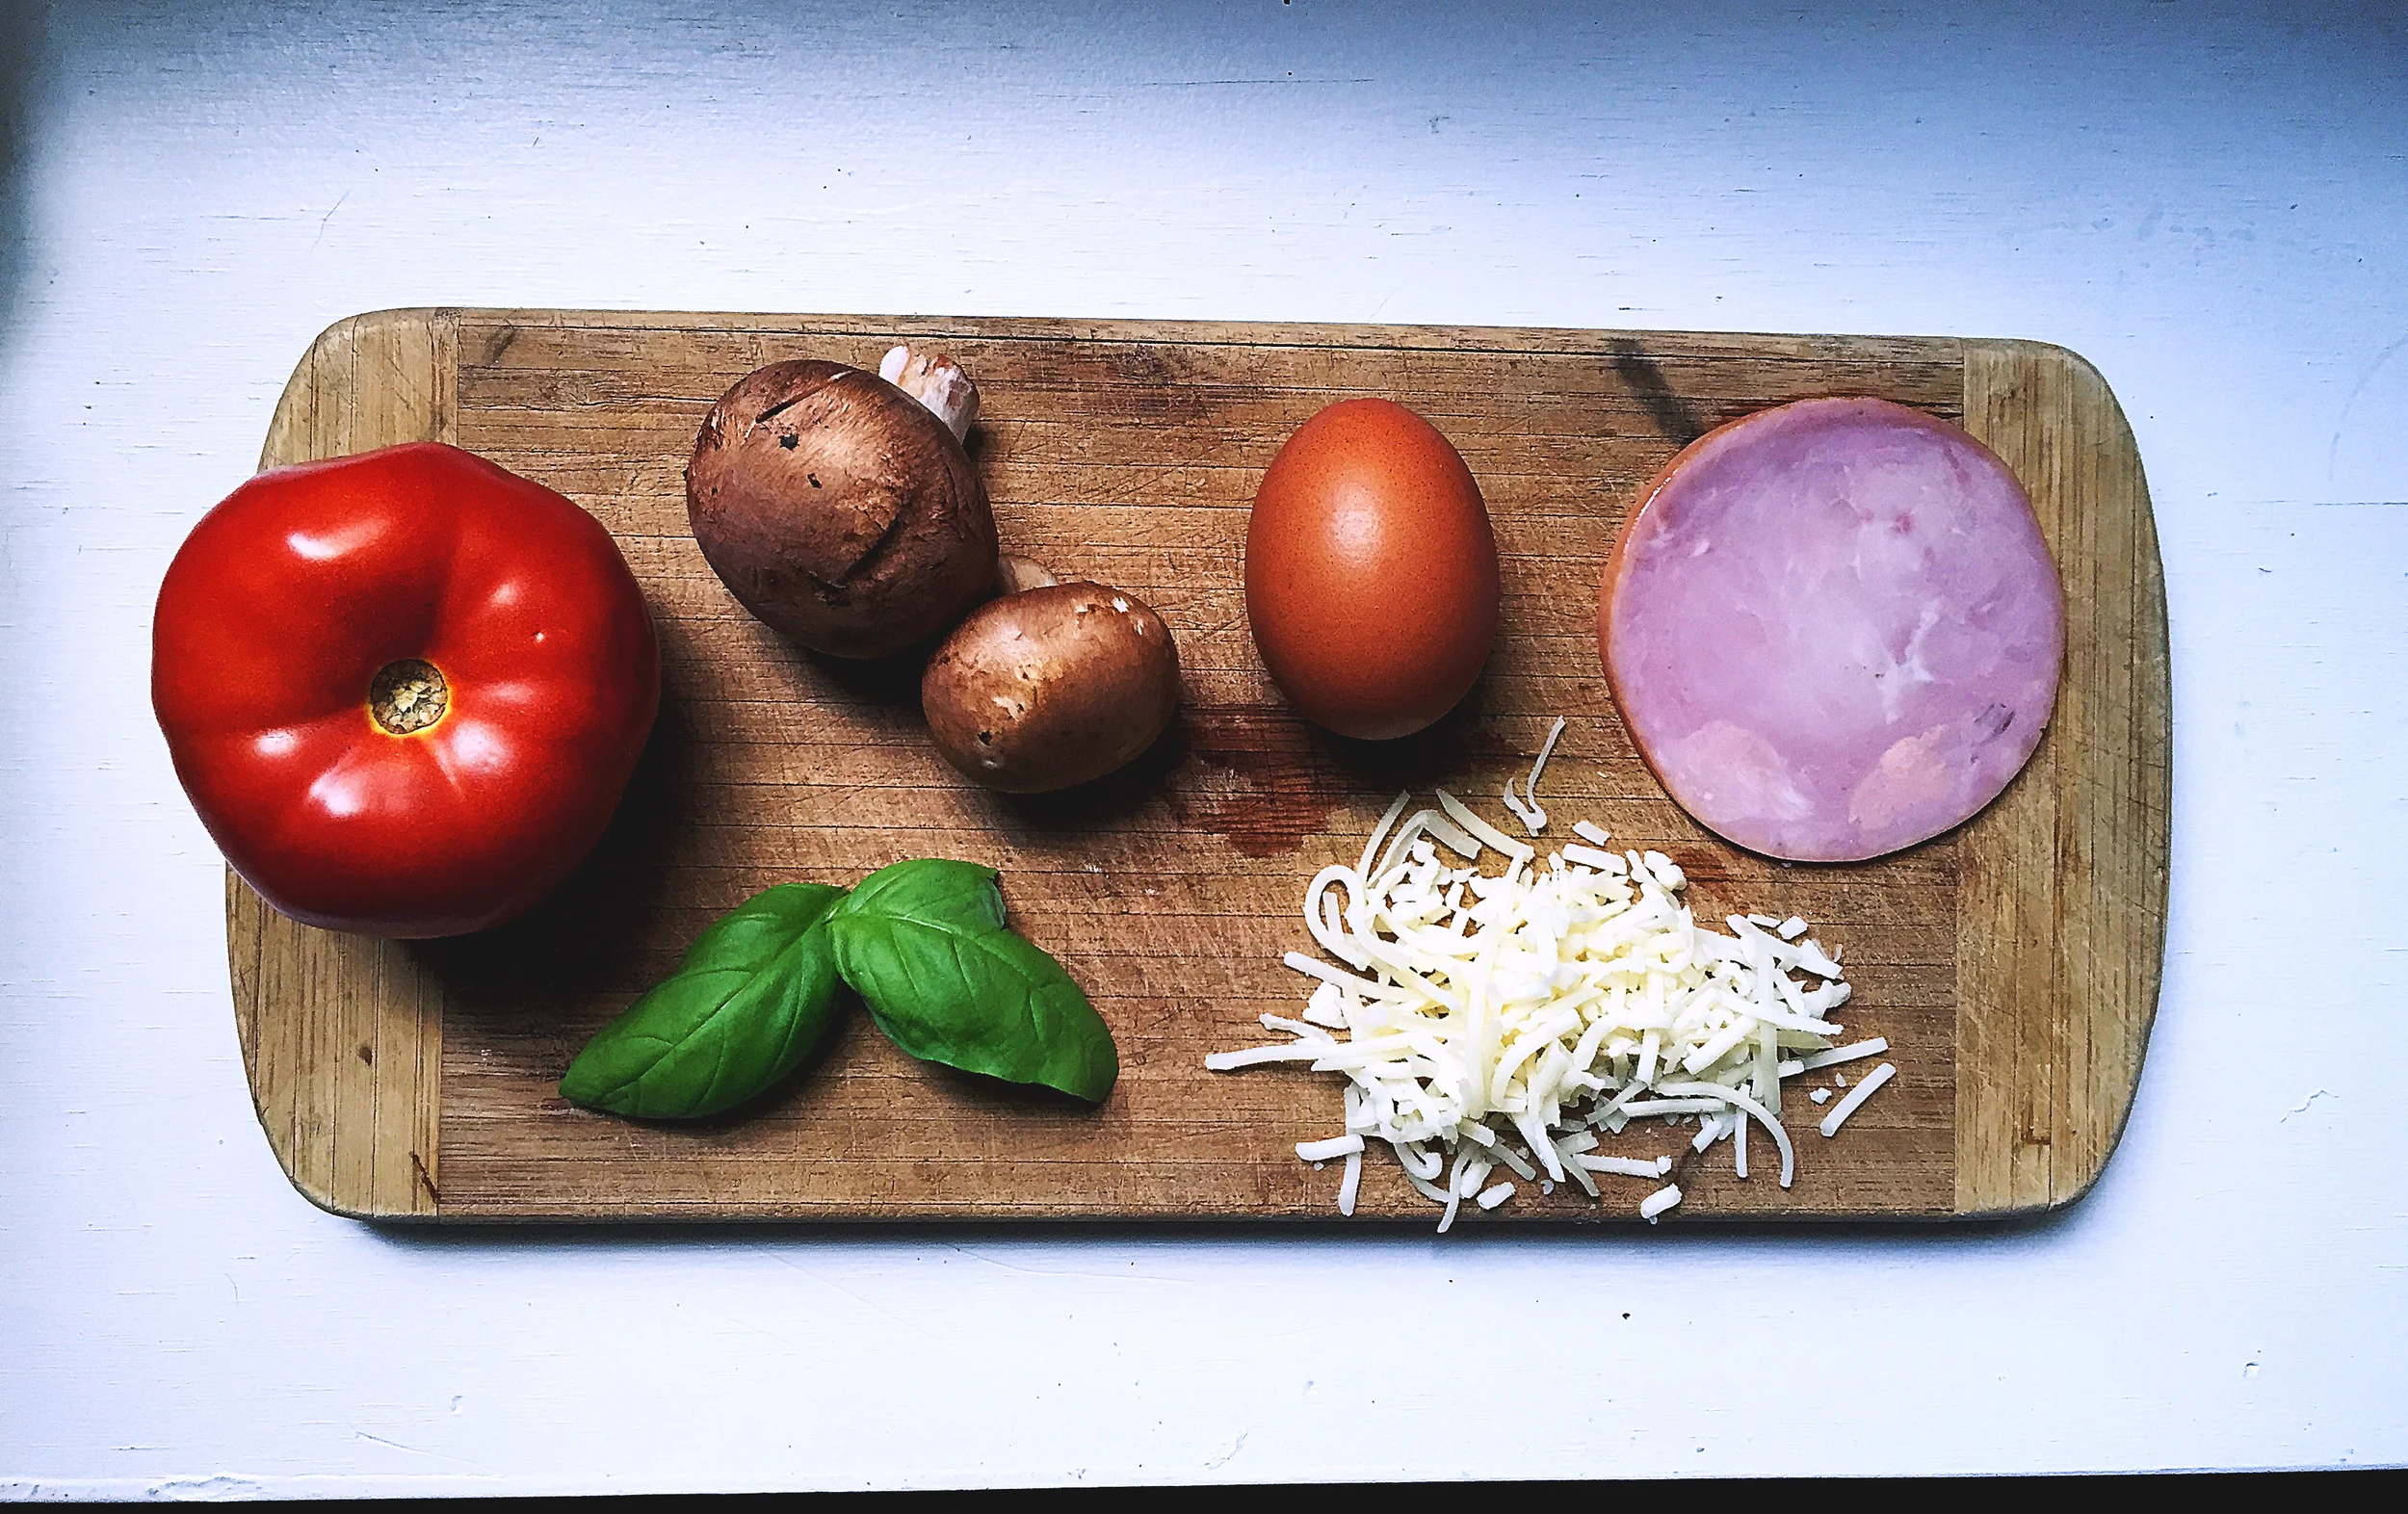
I start by layering the ingredients in a microwaveable dish, you can even make this at your office in a coffee mug if that's all you have. I put a handful of arugula on the bottom, added some chopped tomato, chopped mushroom, one piece of canadian bacon, and fresh basil. If you have other fresh herbs, I highly suggest adding those in! 

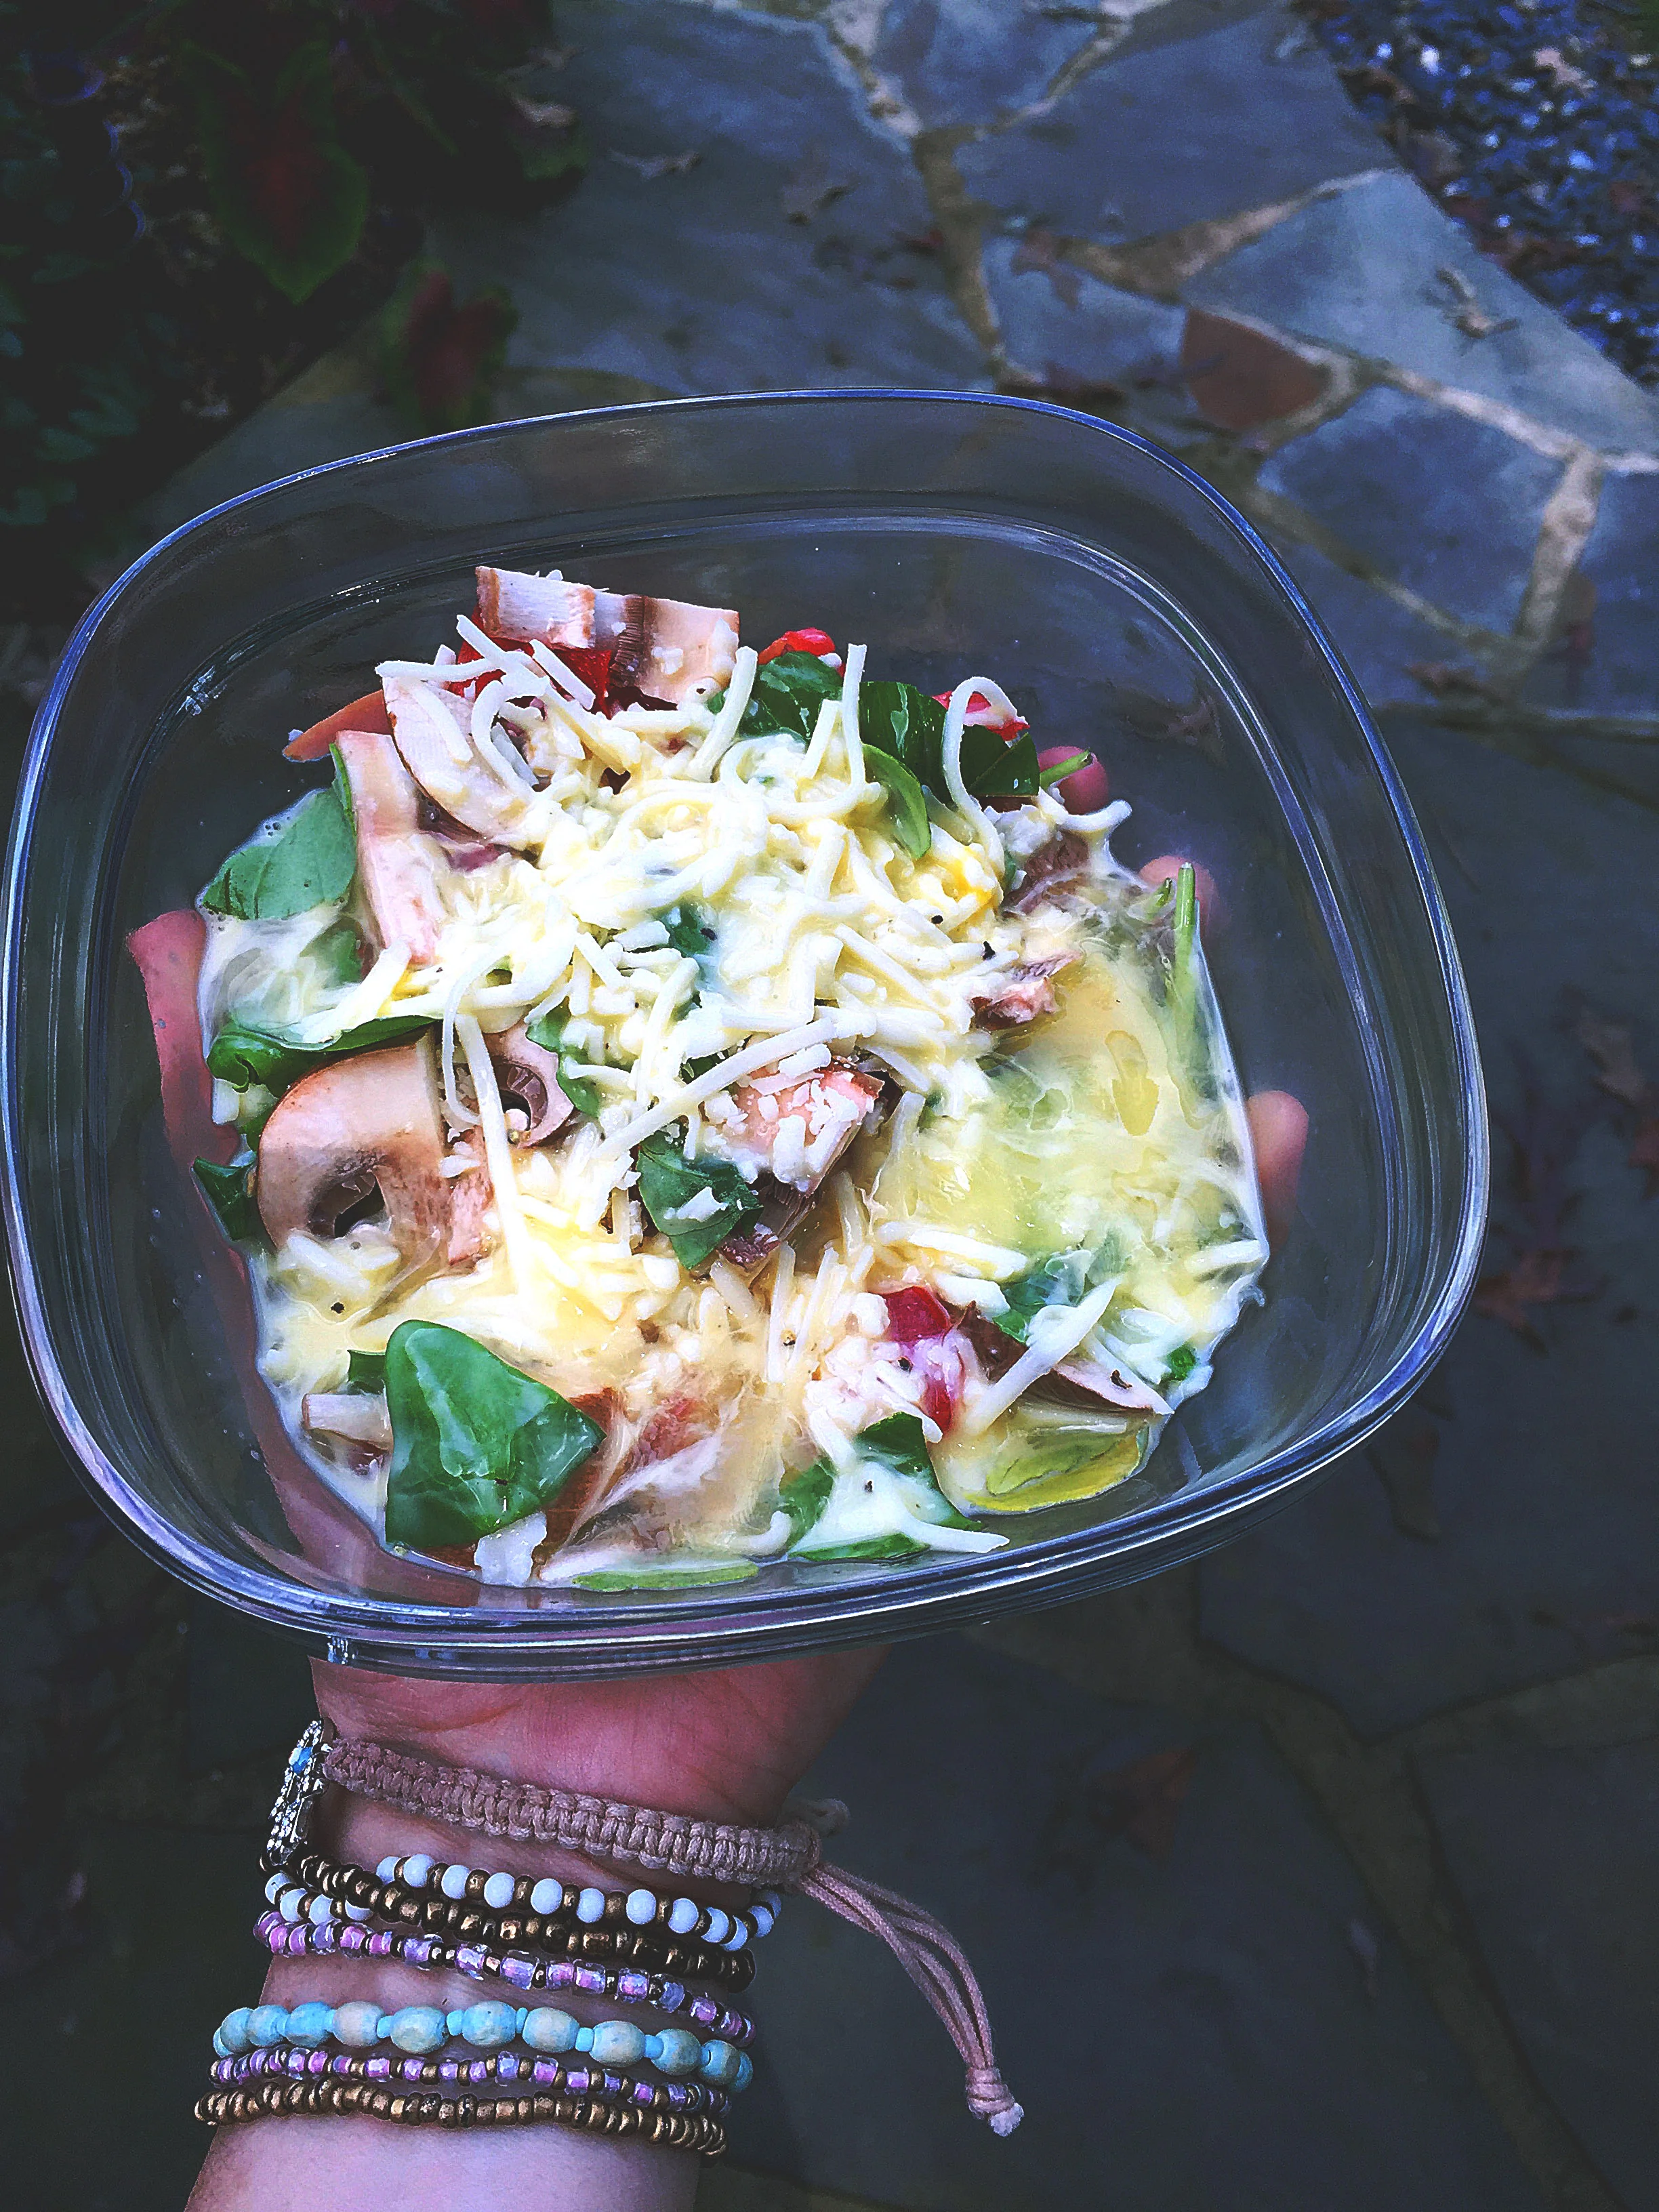
After the breakfast bowl is assembled to your liking, sprinkle the cheese of your choice on top. Wisk one egg and one egg white together in a separate bowl and season with salt and pepper. I also added in a dash of half and half, but that is optional. Pour the egg mixture over the ingredients in the bowl.

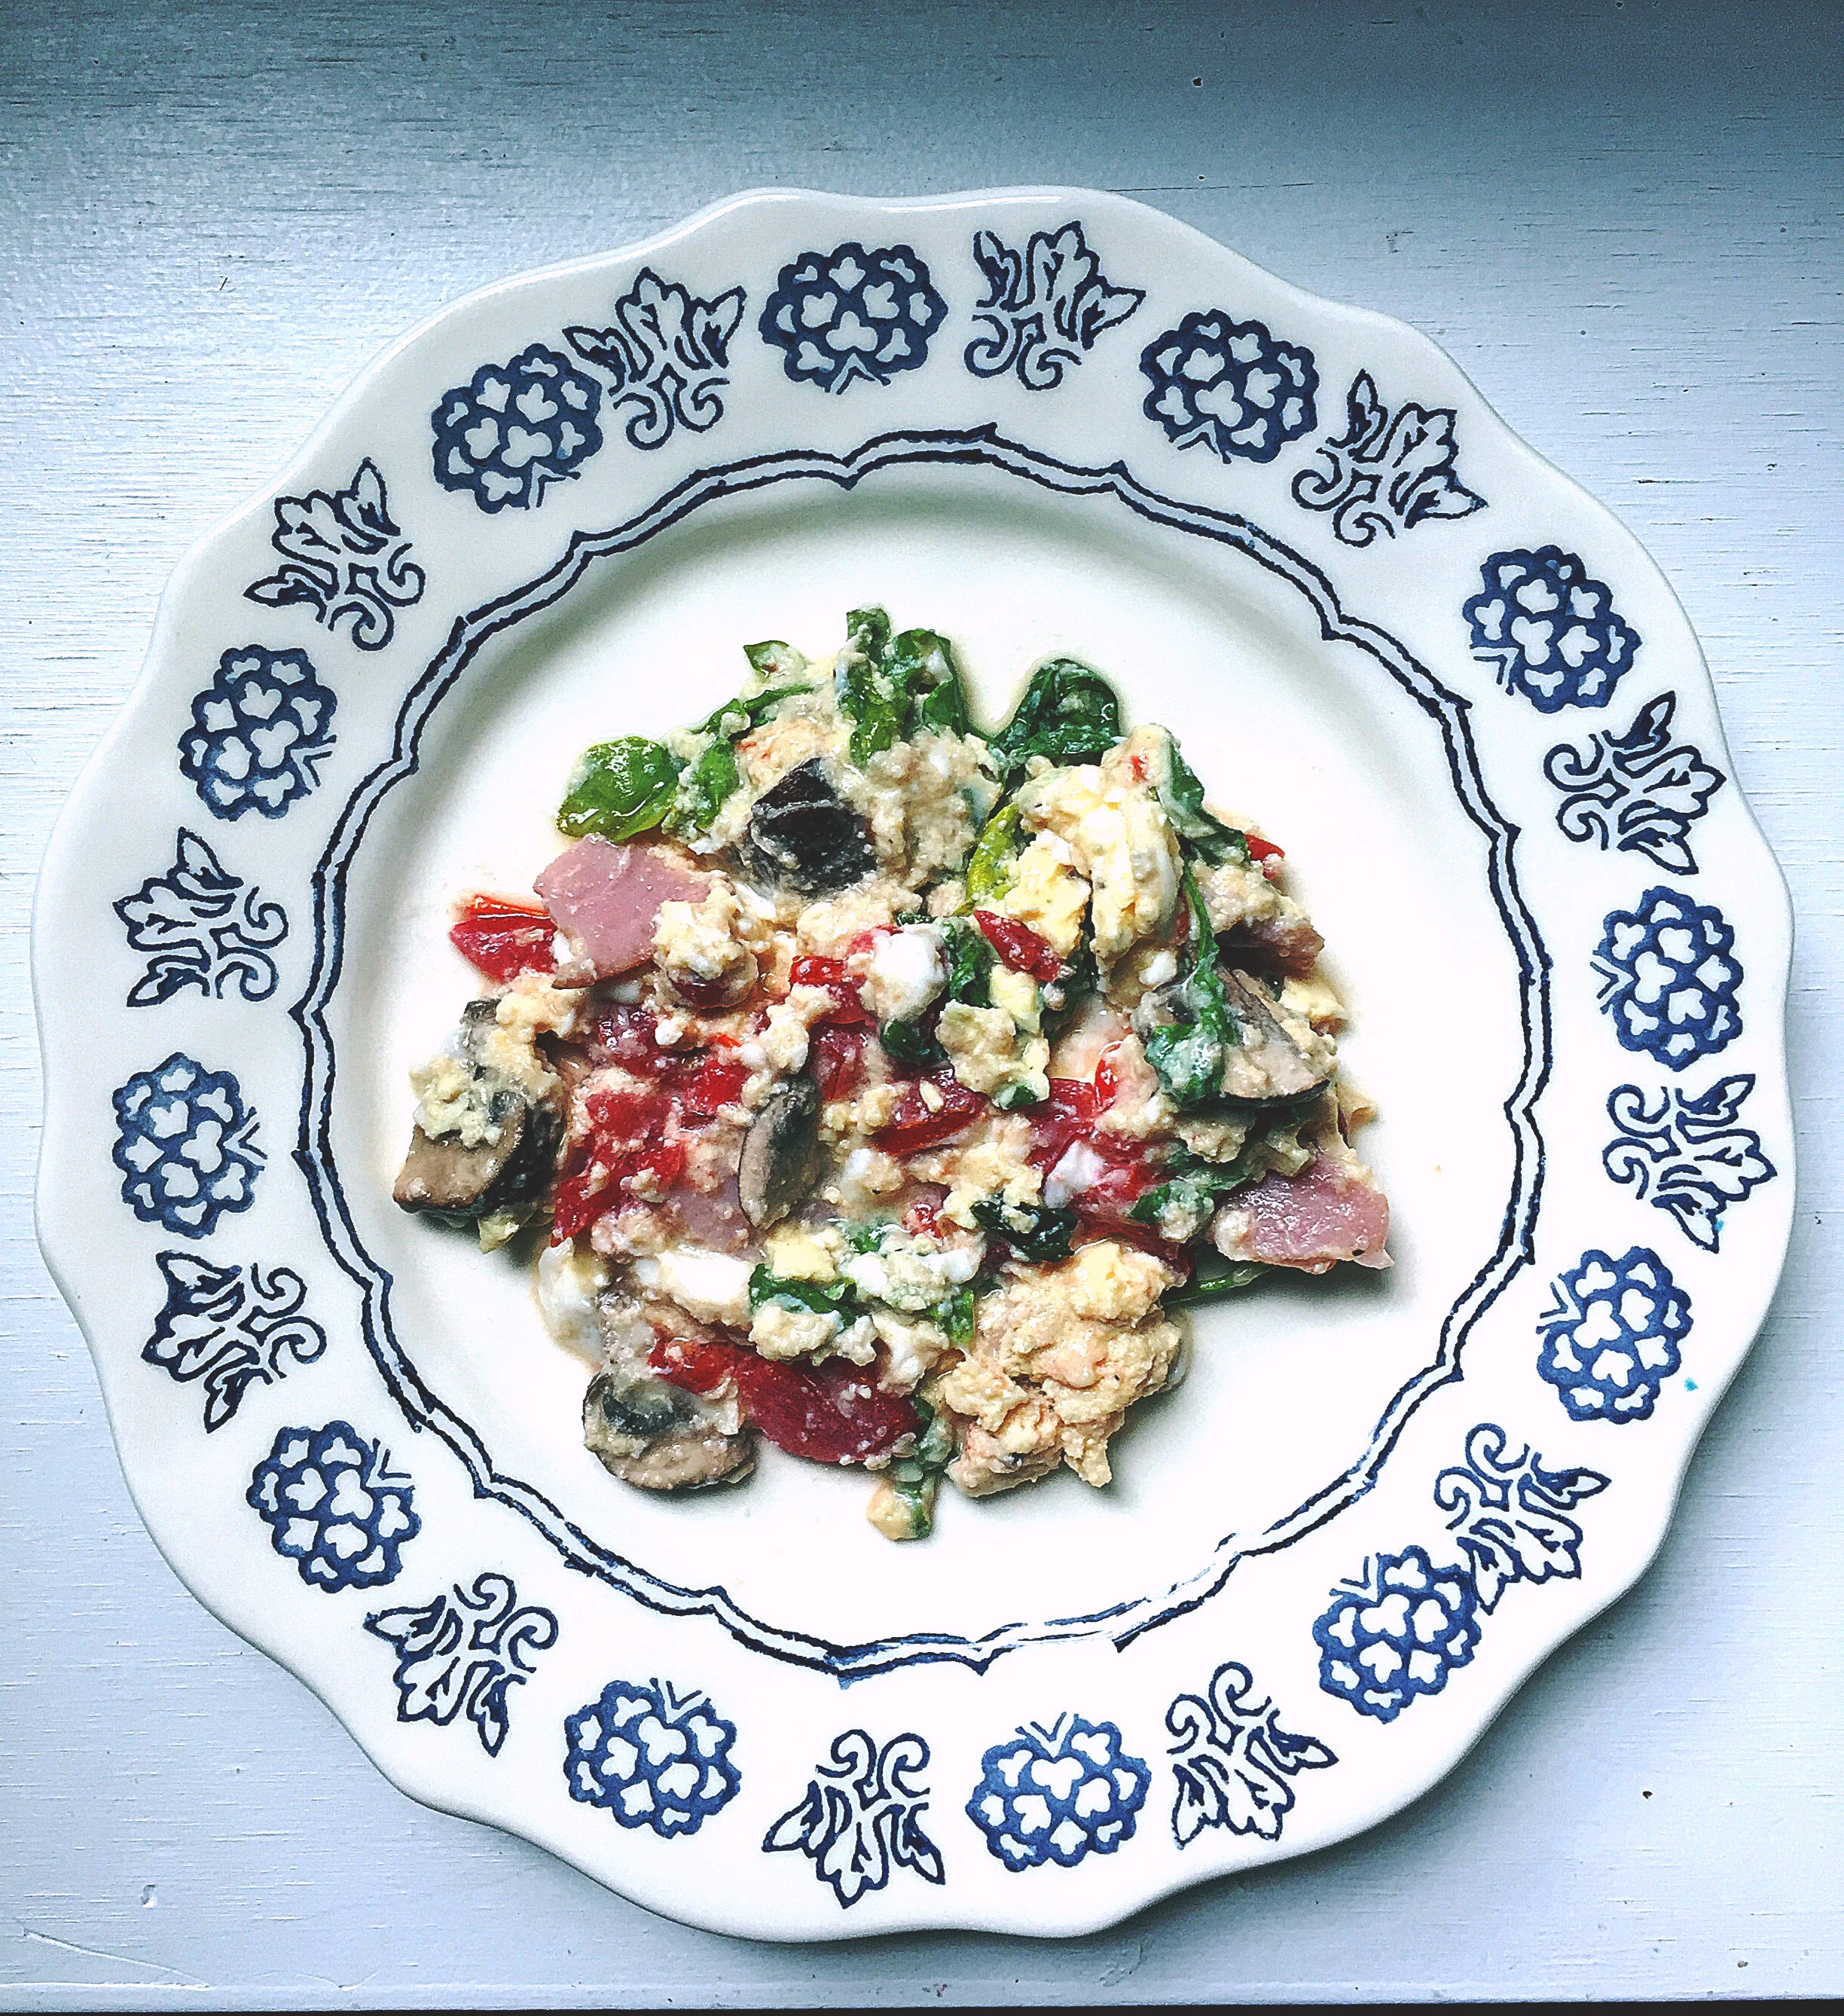
Place in the microwave and cook for one minute, stir, and then cook an additional 45 seconds. If needed, cook an additonal 10-15 seconds or as you feel is needed. I usually end up adding more time and checking. You want to make sure you do not overcook the eggs. As my mother says, if you overcook microwaved eggs, they taste like a bandaid. Not the taste we want here! Once it's done, eat right out of the bowl or transfer to a plate!

This is what I like to call, "I might not be so pretty but I taste delicious" kind of meals. 

Pair with strong coffee and the happy morning music of your choice. My tunes while preparing this breakfast:


This girl is amazing. Listen to her here.

Enjoy, friends :)

a yellow peach joins the blogging world

*Original post: August 25th, 2015

I am SUPER excited to officially join the wonderful world of blogging. This has been something on my mind for a while now so to bring it to real life is pretty wonderful. 

Things I plan on sharing with you on this blog are:

A - Furniture tips. As you may or may not know, I am furniture painting fanatic. Nothing makes me happier than taking a drab piece to a whole new level of fab. So whether it's just a before and after project I'm working on or a whole tutorial, I hope to be able to help with any questions you may have.

B - FOOD. Is there anything better than cooking and feeding people? The answer: no. A lot of the recipes are my own that I have tweaked over the years, or recipes that I am trying out for the first time (credit always given). And let me tell you something...cooking is NOT always pretty! My kitchen is a messy place, just the way it works. Embrace the mess!

C - Randomness of my life. This includes, but is not limited to: adventures of my crazy cat, Finnigan, funky finds I come across in thrift stores and/or vinyl finds, food I get at restaurants I try out ( and I have a LOT to try out), places I visit, my beautiful family and friends, and much more.

Mmm espresso martinis.

Mmm espresso martinis.

Stay tuned, friends.